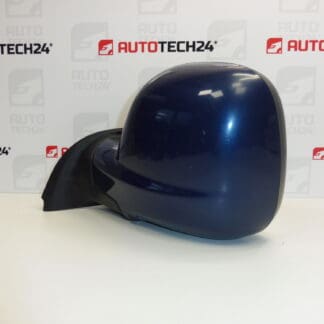
Descrizione
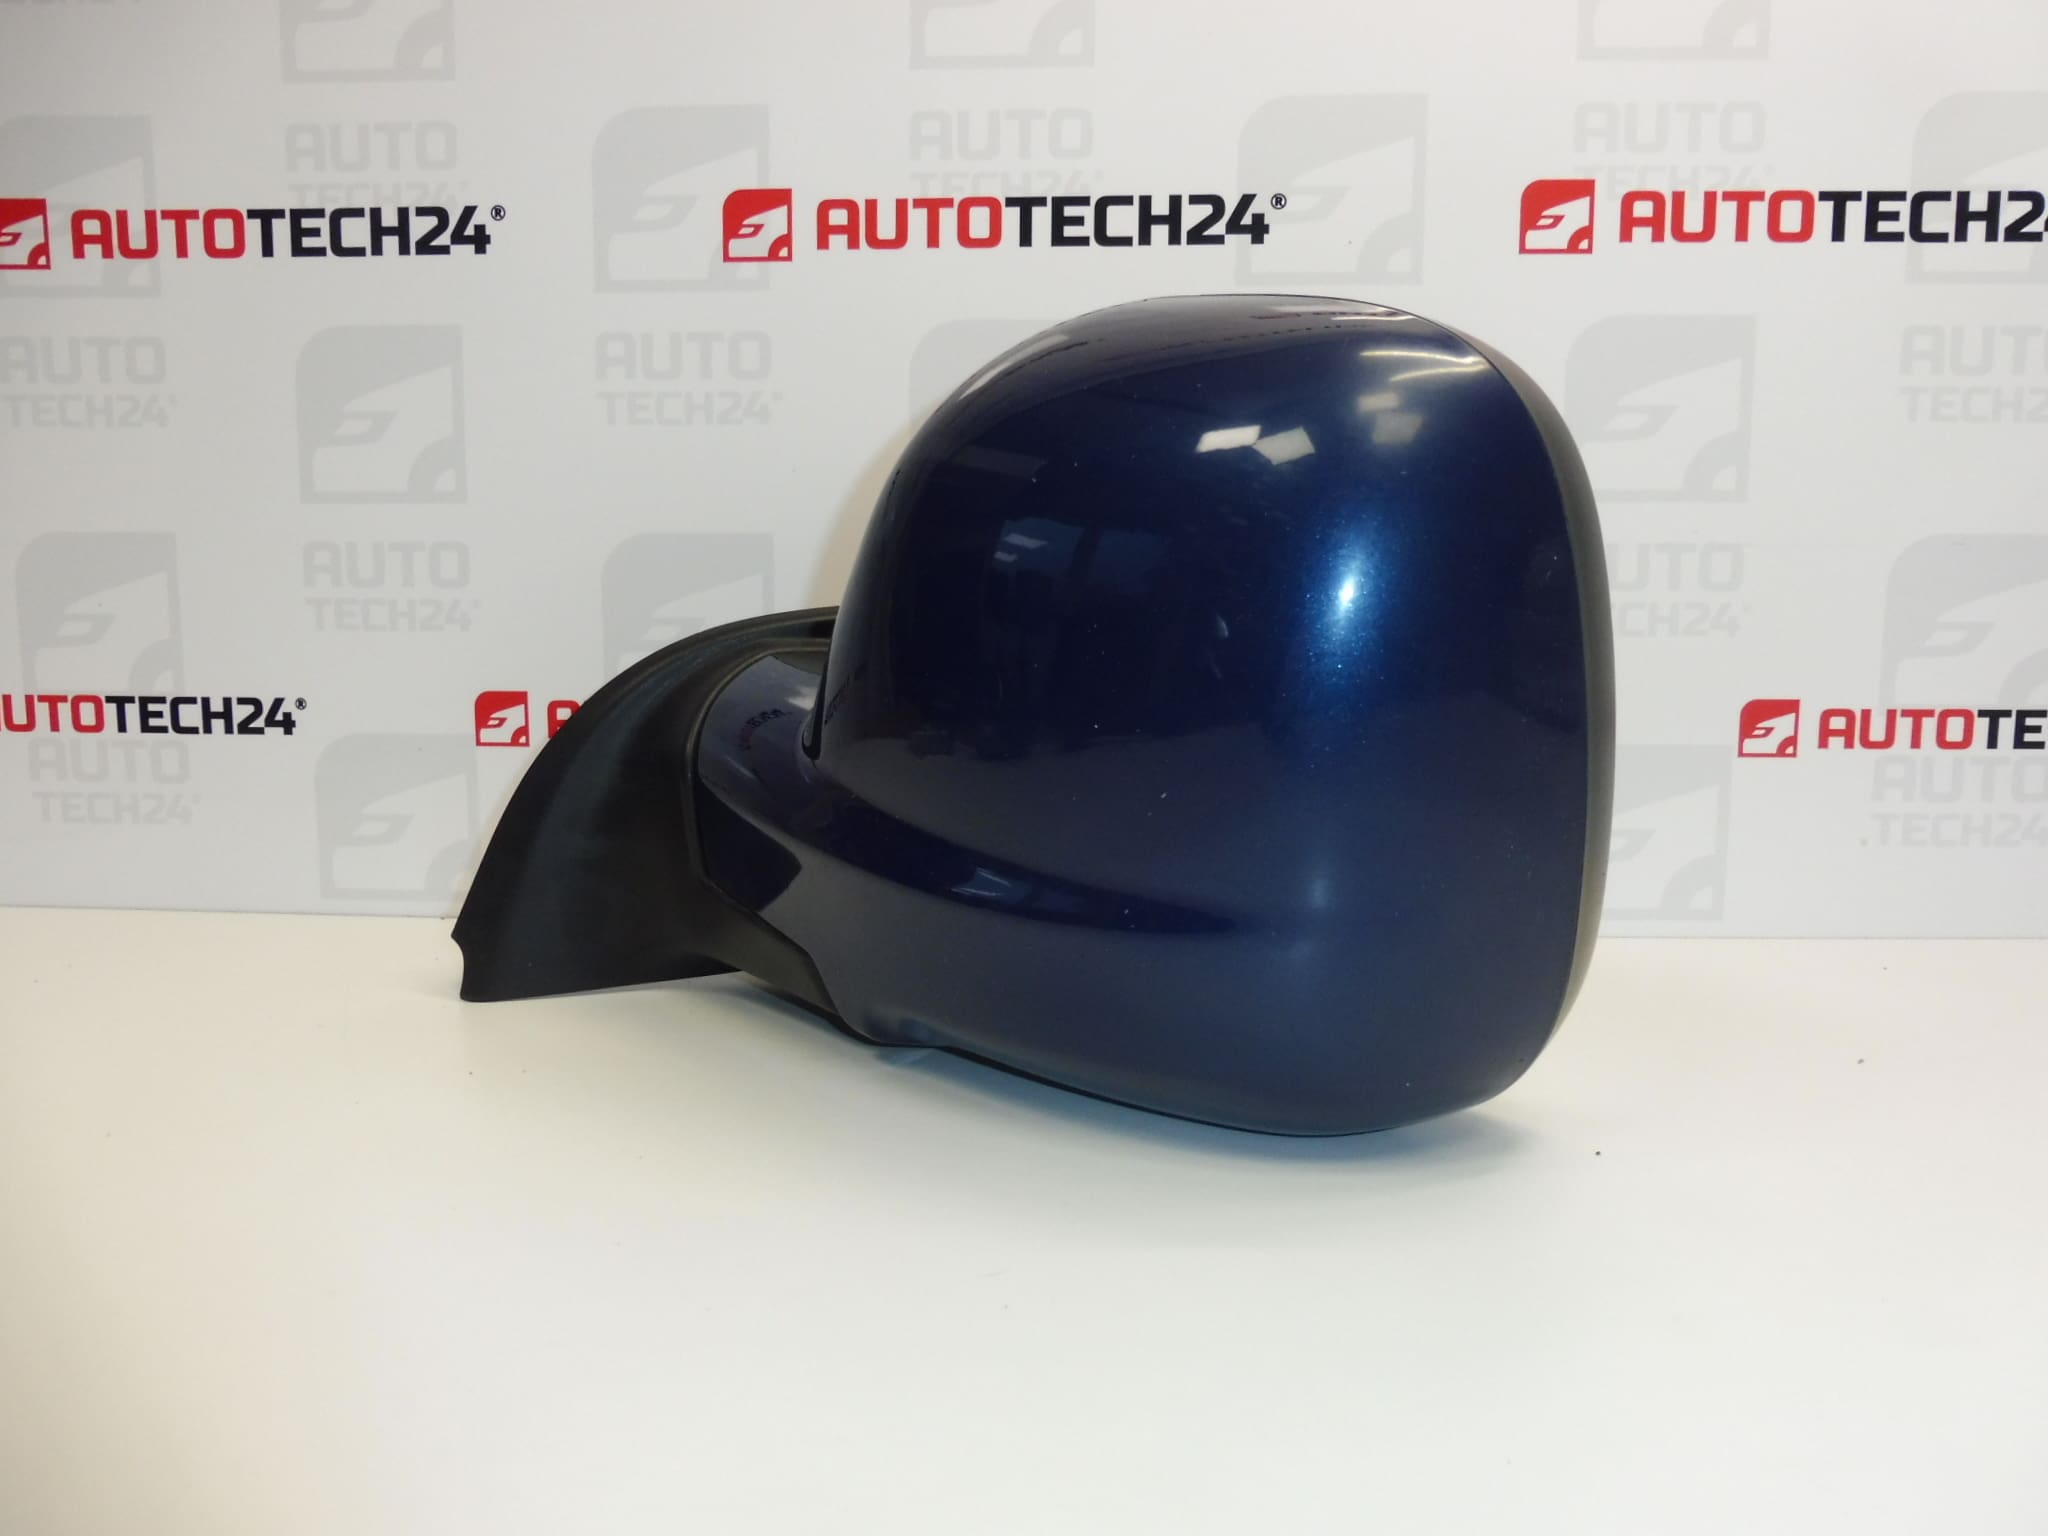
Right passenger-side wing mirror for Stellantis vehicles
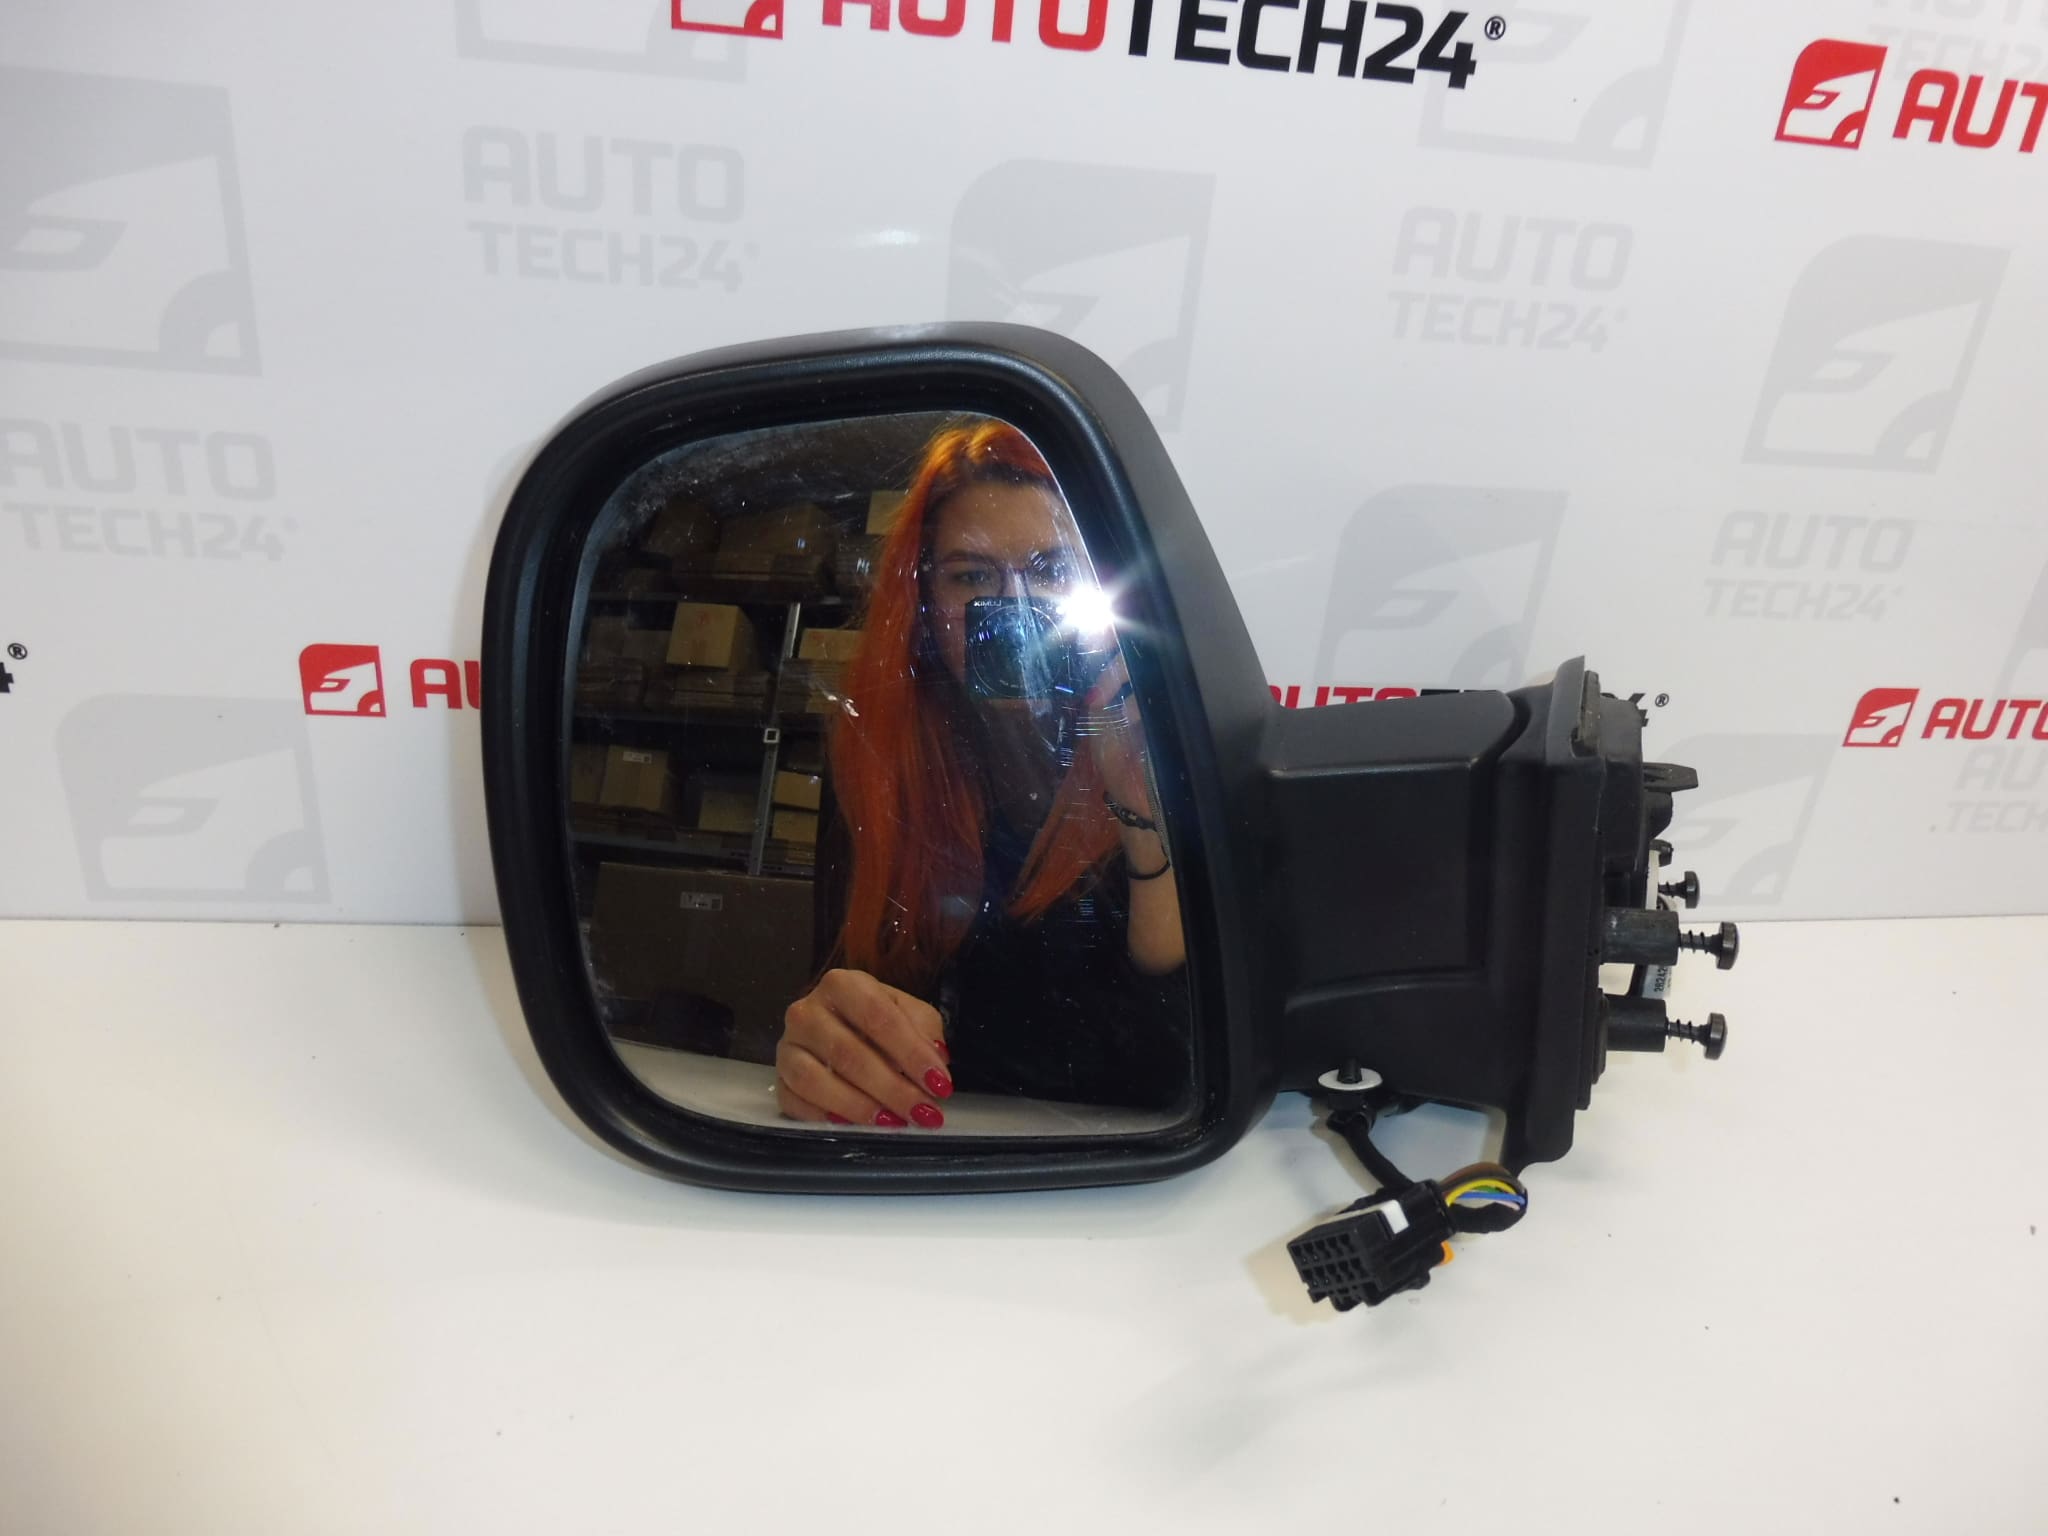
Electrically adjustable and heated, electrically foldable toward the vehicle
Color EJG – NUIT BLUE PAINT
FXT – CORNELIE BLACK
Driver’s door
7 PIN
Part description
Used exterior rear-view mirror with part number 98169900XT offers electric adjustment, heating and electric folding toward the vehicle. It is a practical replacement if the mirror is damaged or its controls fail, provided it matches the original configuration. The information specifies a 7-pin connection and the color codes EJG – Nuit blue and FXT – Cornelie black.
Installation-side note: the product name specifies a left mirror, while the original description specifies a right passenger-side mirror and also refers to the driver’s door. The information is therefore contradictory on this point, and the side cannot be confirmed unambiguously. When selecting a part, compare the original part number, its shape, mounting points and connector; the pin count alone is not sufficient.
Technical information
- Manufacturer: not specified; the information includes the designation Stellantis CITROEN PEUGEOT.
- Model: Citroën Berlingo K9; FIAT DOBLO III; OPEL COMBO E K9; PEUGEOT RIFTER; Toyota ProAce City.
- Other numbers: not specified.
- Part type: exterior rear-view mirror.
- Condition: used part.
- Functions: electric adjustment, heating and electric folding toward the vehicle.
- Connection: 7 PIN.
- Color codes: EJG – NUIT BLUE PAINT; FXT – CORNELIE BLACK.
- Installation side: ambiguous due to contradictory information.
The model names are taken from the product labels. They do not by themselves determine suitability for every version of the listed vehicles; compatibility with the specific mirror and its electrical equipment is decisive.
Product codes
- Product codes: 98169900XT.
- Color code: EJG – NUIT BLUE PAINT.
- Additional color code: FXT – CORNELIE BLACK.
When searching for a replacement mirror by part number 98169900XT, also compare the side, base configuration, connector and available functions with the removed part.
Installation recommendations
The following procedure generally applies to electrically adjustable and folding rear-view mirrors. The exact access to the fasteners, removal of the trim and power disconnection procedure depend on the specific model and vehicle configuration. Follow the manufacturer’s service procedure.
1) Before installation
- First resolve the discrepancy in the side designation by comparing the physical configuration with the original mirror.
- Compare the product number, base, mounting points, sealing surface, wiring route and connector shape, including the arrangement of the contacts.
- Inspect the glass, housing, mounting points, joint and wiring of the used part. Look for cracks, looseness, damaged insulation or corroded contacts.
- Verify that the original mirror has the corresponding electrical functions. Do not force the folding mechanism.
2) Required tools and materials
Suitable hand tools for the fasteners used, plastic trim removal tools, protection for painted surfaces and a soft cloth are generally sufficient. For any electrical measurements, use an appropriate measuring instrument and the wiring diagram for the specific vehicle.
3) Step-by-step installation procedure
- Park the vehicle safely, switch off the ignition and secure it against accidental operation.
- Following the manufacturer’s instructions, allow the electrical systems to enter their sleep state and disconnect the power supply as specified.
- Protect the surrounding painted surfaces and carefully remove only the covers or trim required to access the mounting points and connector.
- Make a note of the original wiring route. Release the connector lock and disconnect it without pulling on the wires.
- Support the mirror and gradually release its fasteners so that it does not fall and damage the door.
- Remove the original part, clean the mounting surface and inspect the condition of the seal and the vehicle’s mounting points.
- Compare the two parts again. If the side, base or electrical connection does not match, do not proceed with installation.
- Position the replacement mirror without pinching the wiring or seal. Tighten the fasteners according to the manufacturer’s service procedure.
- Route the wiring along the original path, secure it and connect the connector so that its lock engages correctly.
- Restore the power supply following the manufacturer’s instructions, check the functions and reinstall the removed covers and trim.
4) Post-installation checks and function verification
- Test the electric glass adjustment and folding and unfolding. Movement should be smooth, without sticking or unusual noises.
- Check the heating under the conditions in which the specific vehicle activates it.
- Check that the mirror is securely mounted, the seal sits flush and the trim is correctly fitted.
- Adjust the view before driving. During a short test drive, watch for image vibrations or unusual aerodynamic noise; test folding with the vehicle stationary.
5) Most common installation errors and how to avoid them
- Wrong side or equipment: compare the physical configuration and electrical connection; do not rely on the product name alone.
- Pinched wiring: check its route and ensure there is sufficient clearance before tightening.
- Damage to mounting points from overtightening: follow the manufacturer’s procedure and do not use excessive force.
- Incorrectly seated seal: clean the mounting surface and check that the seal sits evenly.
- Forcing the mirror to fold or incorrectly connecting power: operate the mechanism as intended and perform electrical tests only if you understand the wiring.
Reasons why the part may become damaged
Common causes of damage to this type of rear-view mirror include:
- Impacts while parking or passing obstacles, which can damage the housing, glass, joint or mounting points.
- Forcing the mirror to fold or moving it against an obstacle or ice, which overloads the folding mechanism.
- Moisture and corroded contacts, which can interfere with electric adjustment or heating.
- Wear of moving parts from long-term use.
- Damaged wires or incorrect previous installation, for example pinched wiring or inadequate sealing.
These are general causes and do not describe any defects found in the item offered.