Descrizione
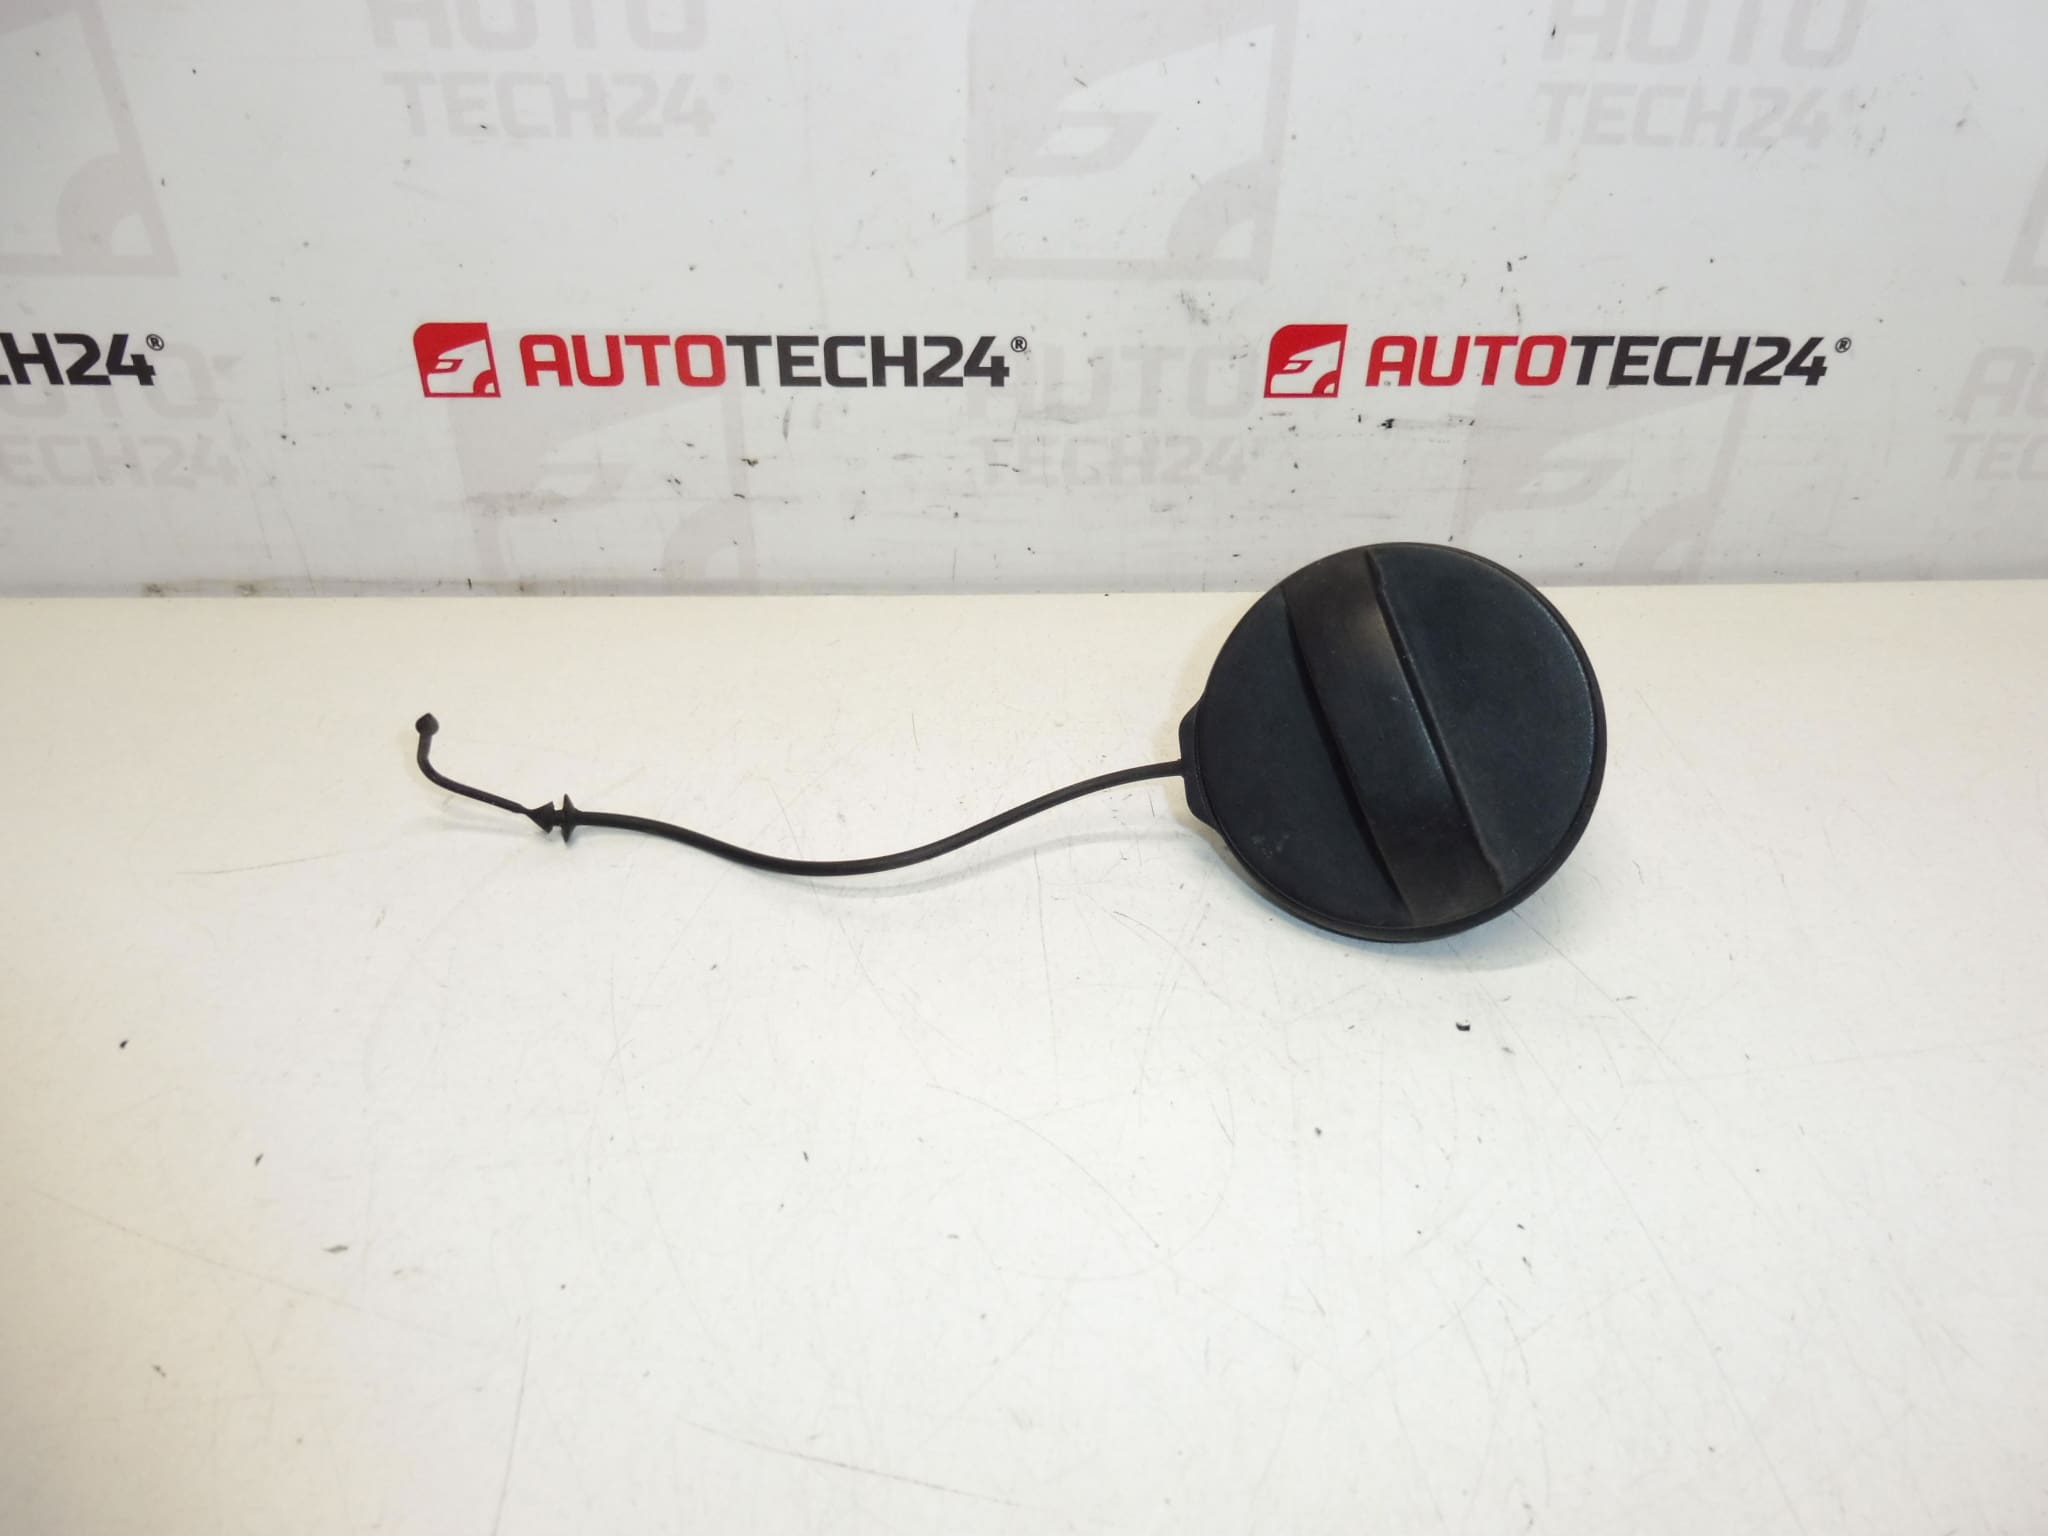
Fuel tank cap for CITROEN and PEUGEOT vehicles
Part description
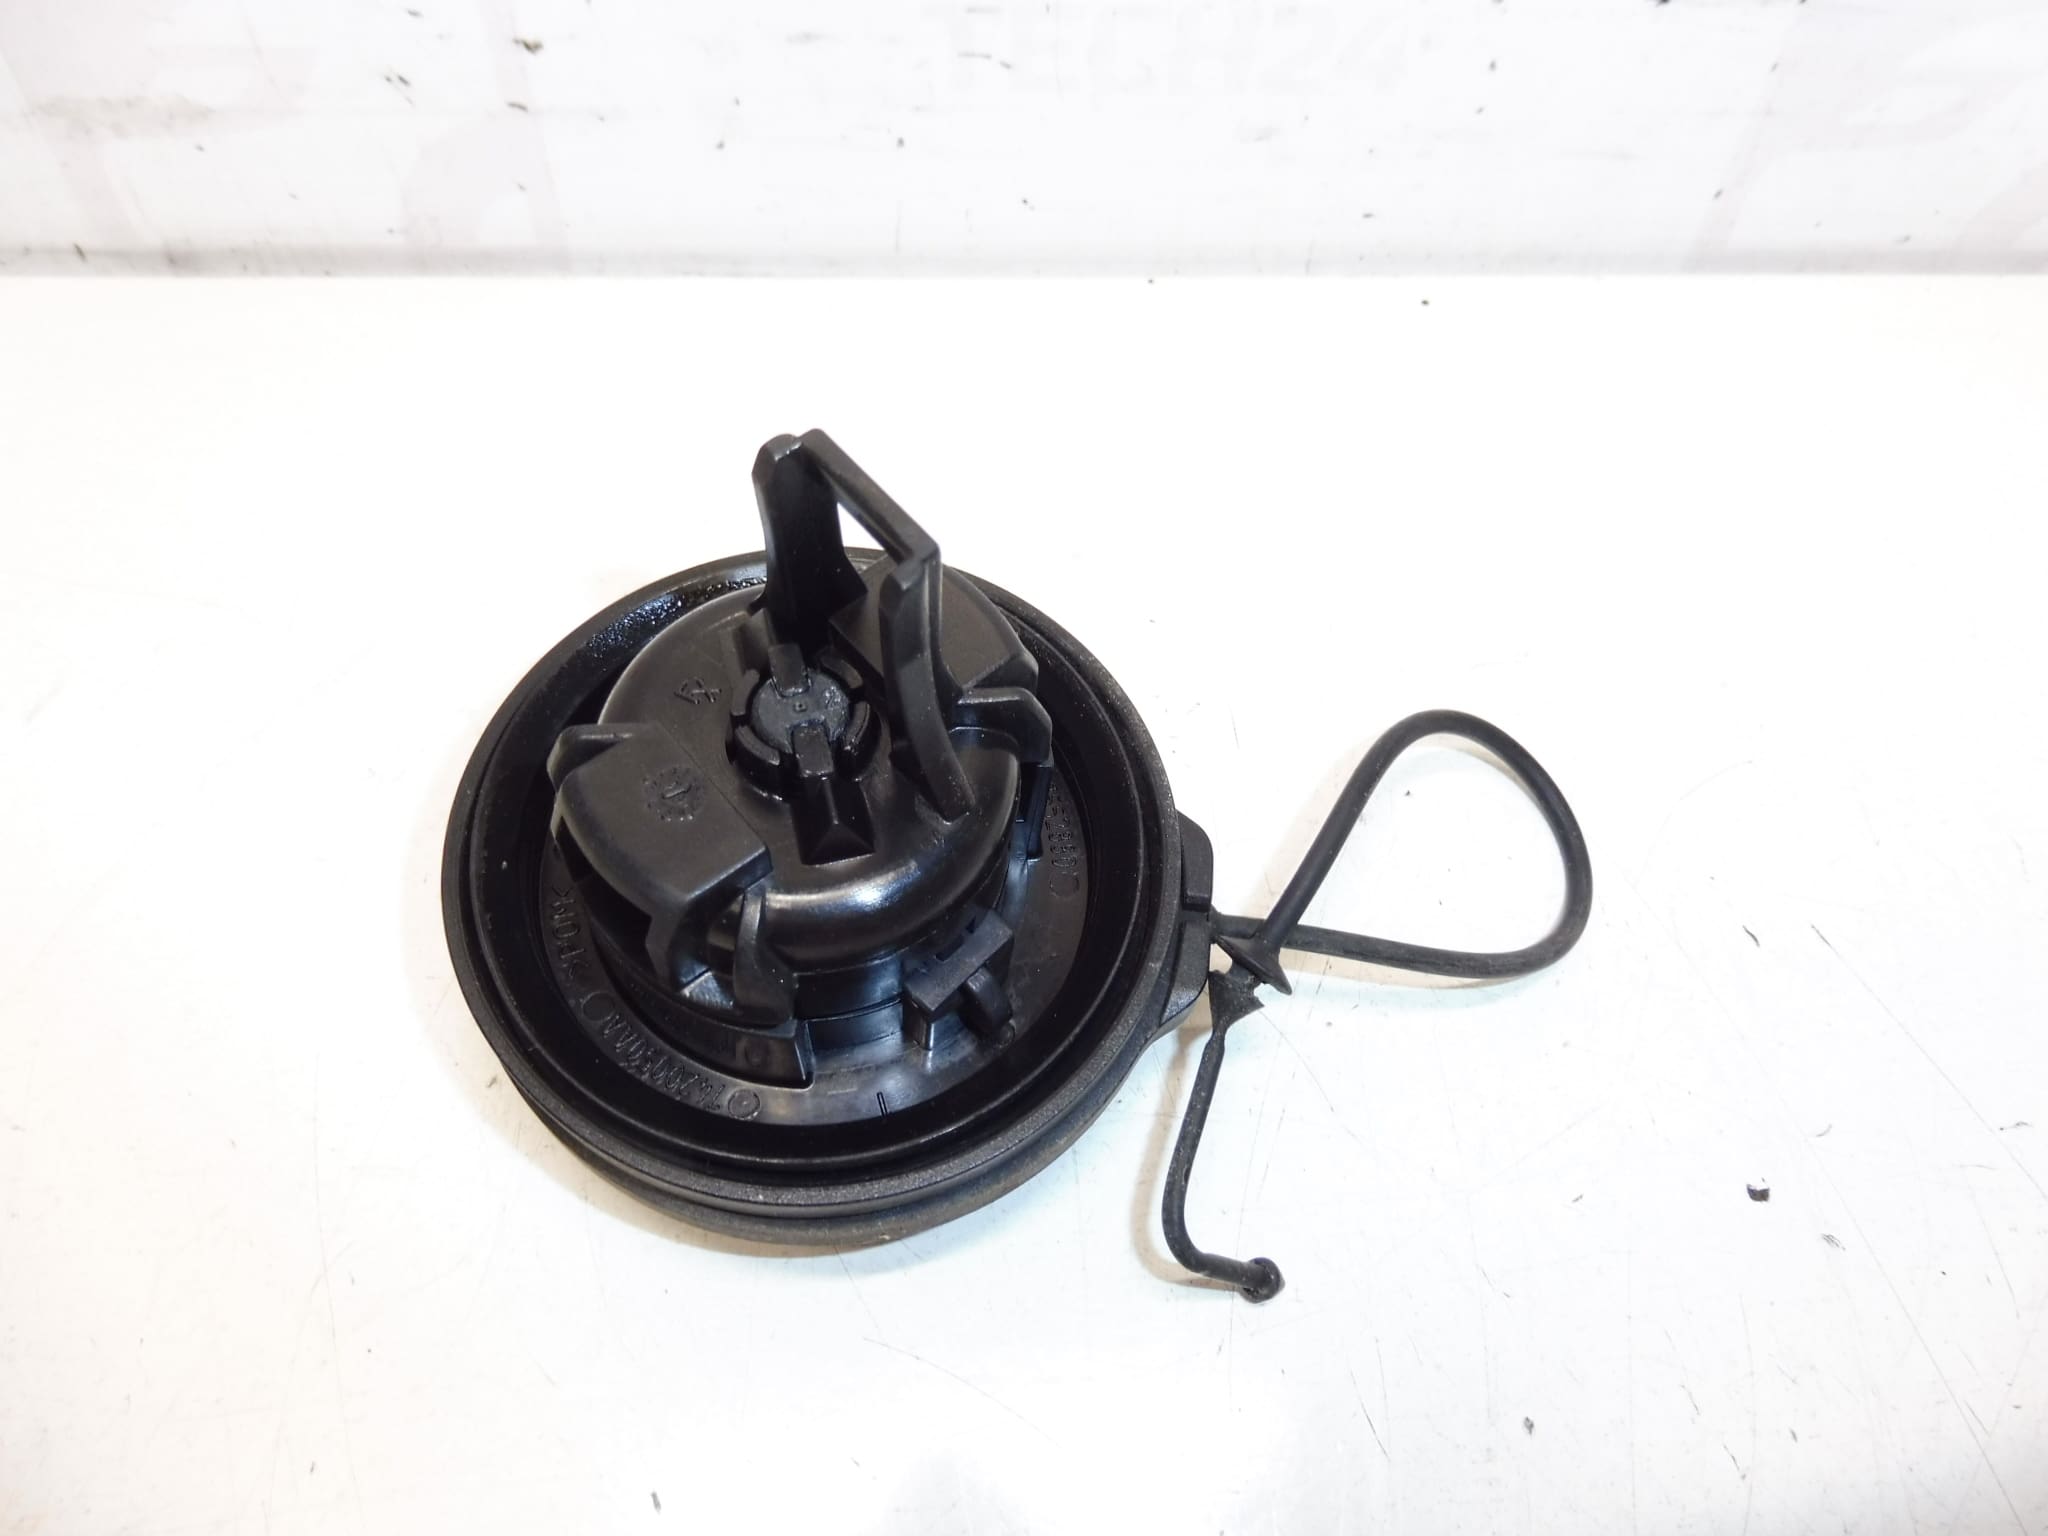
The used Citroën / Peugeot fuel tank cap with product number 1508N7 is a replacement part for replacing a damaged or missing cap. The documentation lists it for the Citroën C-Elysée and Peugeot 301 models. When selecting a part, rely primarily on the part number and check that its design matches the original part.
Replacing a damaged cap helps ensure that the filler opening is properly closed and protected from dirt. A used part is a practical repair option that avoids the need to purchase a new one. The specific design of the closing mechanism and the condition of the seal are not described in the documentation.
Technical information
- Manufacturer: not specified; the documentation lists the designation Stellantis CITROEN PEUGEOT.
- Model: Citroën C-Elysée, Peugeot 301.
- Part type: fuel tank cap.
- Condition: used part.
- Product number: 1508N7.
- Other numbers: not specified.
- Years and engine variants: not specified.
Product codes
- Product codes: 1508N7.
Number 1508N7 is the primary reference for finding this fuel tank cap. Before replacing it, also compare its shape, dimensions, and closing method with the existing part.
Installation recommendations
The following procedure applies generally to this type of part. The documentation does not specify the cap’s design or attachment method. The exact steps therefore depend on the specific vehicle model and version; follow the vehicle manufacturer’s instructions for opening and closing it.
1) Before installation
- Compare the product number, shape of the contact surface, and closing mechanism with the original cap.
- Inspect the used part for cracks, deformation, or damaged locking components.
- If the cap includes a seal, check that it is intact, flexible, and correctly seated. Do not overlook a hardened or cracked seal.
- Inspect the filler neck. A damaged contact surface can prevent proper closure even with an undamaged cap.
2) Tools and materials required
- A clean, lint-free cloth and protective gloves.
- Depending on the design, basic hand tools for any retaining strap attachment.
- For a locking version, the appropriate key; the documentation does not state whether it has a lock or whether a key is supplied.
Replacing a manually removable cap typically does not require special tools.
3) Step-by-step installation procedure
- Park the vehicle, switch off the engine, and work in a well-ventilated area away from open flames and sources of sparks. Do not smoke.
- Access the cap as described in the vehicle owner’s manual.
- Clean the area around the filler opening so that dirt does not fall into the tank when the cap is removed.
- Carefully release the original cap according to its design. If it is locked, unlock it first; do not use force.
- If the cap has a retaining strap, release its attachment only in a manner appropriate for that design.
- Compare the removed and replacement parts side by side. If the closing mechanism or contact surfaces differ, do not proceed with installation.
- Check and carefully clean the filler neck’s contact surface. Prevent dirt or cleaning products from entering the tank.
- If the replacement version uses a retaining strap, attach it so that it is not twisted and does not prevent the cap from closing.
- Position and close the cap correctly according to its design and the manufacturer’s instructions. Do not try to overcome incorrect seating by applying greater force.
- Check that the cap is secured and, if applicable, that the lock works. Close the outer cover if the vehicle has one.
4) Post-installation checks and function verification
- Test opening and closing the cap again. It must sit evenly and must not come loose on its own.
- Check that any retaining strap is not pinched and does not restrict closing.
- A test drive is generally not necessary for the replacement itself. During subsequent use, watch for an unusual fuel smell or signs of leakage around the cap.
- If there is a leak or a strong smell of fuel, do not use the vehicle until the cause has been resolved.
5) Common installation mistakes and how to avoid them
- Confusing it with a similar-looking part: compare both the number 1508N7 and the mechanical design.
- Fitting it at an angle or using excessive force: release the cap, realign it, and close it using the specified method.
- Dirt on the contact surface: clean both the filler neck and the cap’s contact surfaces before fitting it.
- Overlooking damage to the seal or filler neck: check both sides of the connection, not just the cap.
- Using unsuitable lubricants: do not use products that the manufacturer has not specified for the mechanism and seal material in question.
Reasons why the part can become damaged
Fuel tank caps generally become damaged mainly as a result of normal wear and improper handling. This does not describe defects in this specific part.
- Material aging: temperature changes and prolonged exposure to the environment can make plastic brittle or cause the seal to lose its flexibility.
- Forcing it open or closed: excessive force can damage the closing mechanism or the cap body.
- Dropping or impact: this can cause cracks and deformation of the contact surfaces.
- Dirt in the mechanism: dust and sand impair the operation of the cap and accelerate wear.
- Strain on the retaining strap: pulling or pinching can damage the strap attachment on versions that have one.
- Unsuitable chemical products: these can damage plastic parts or seals.