Descrizione
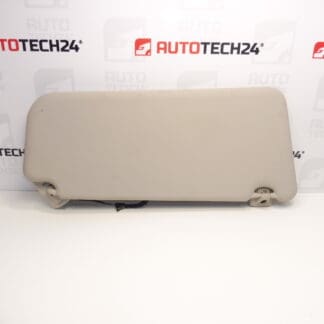
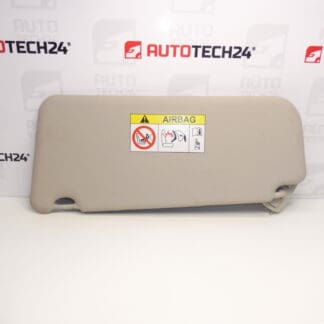
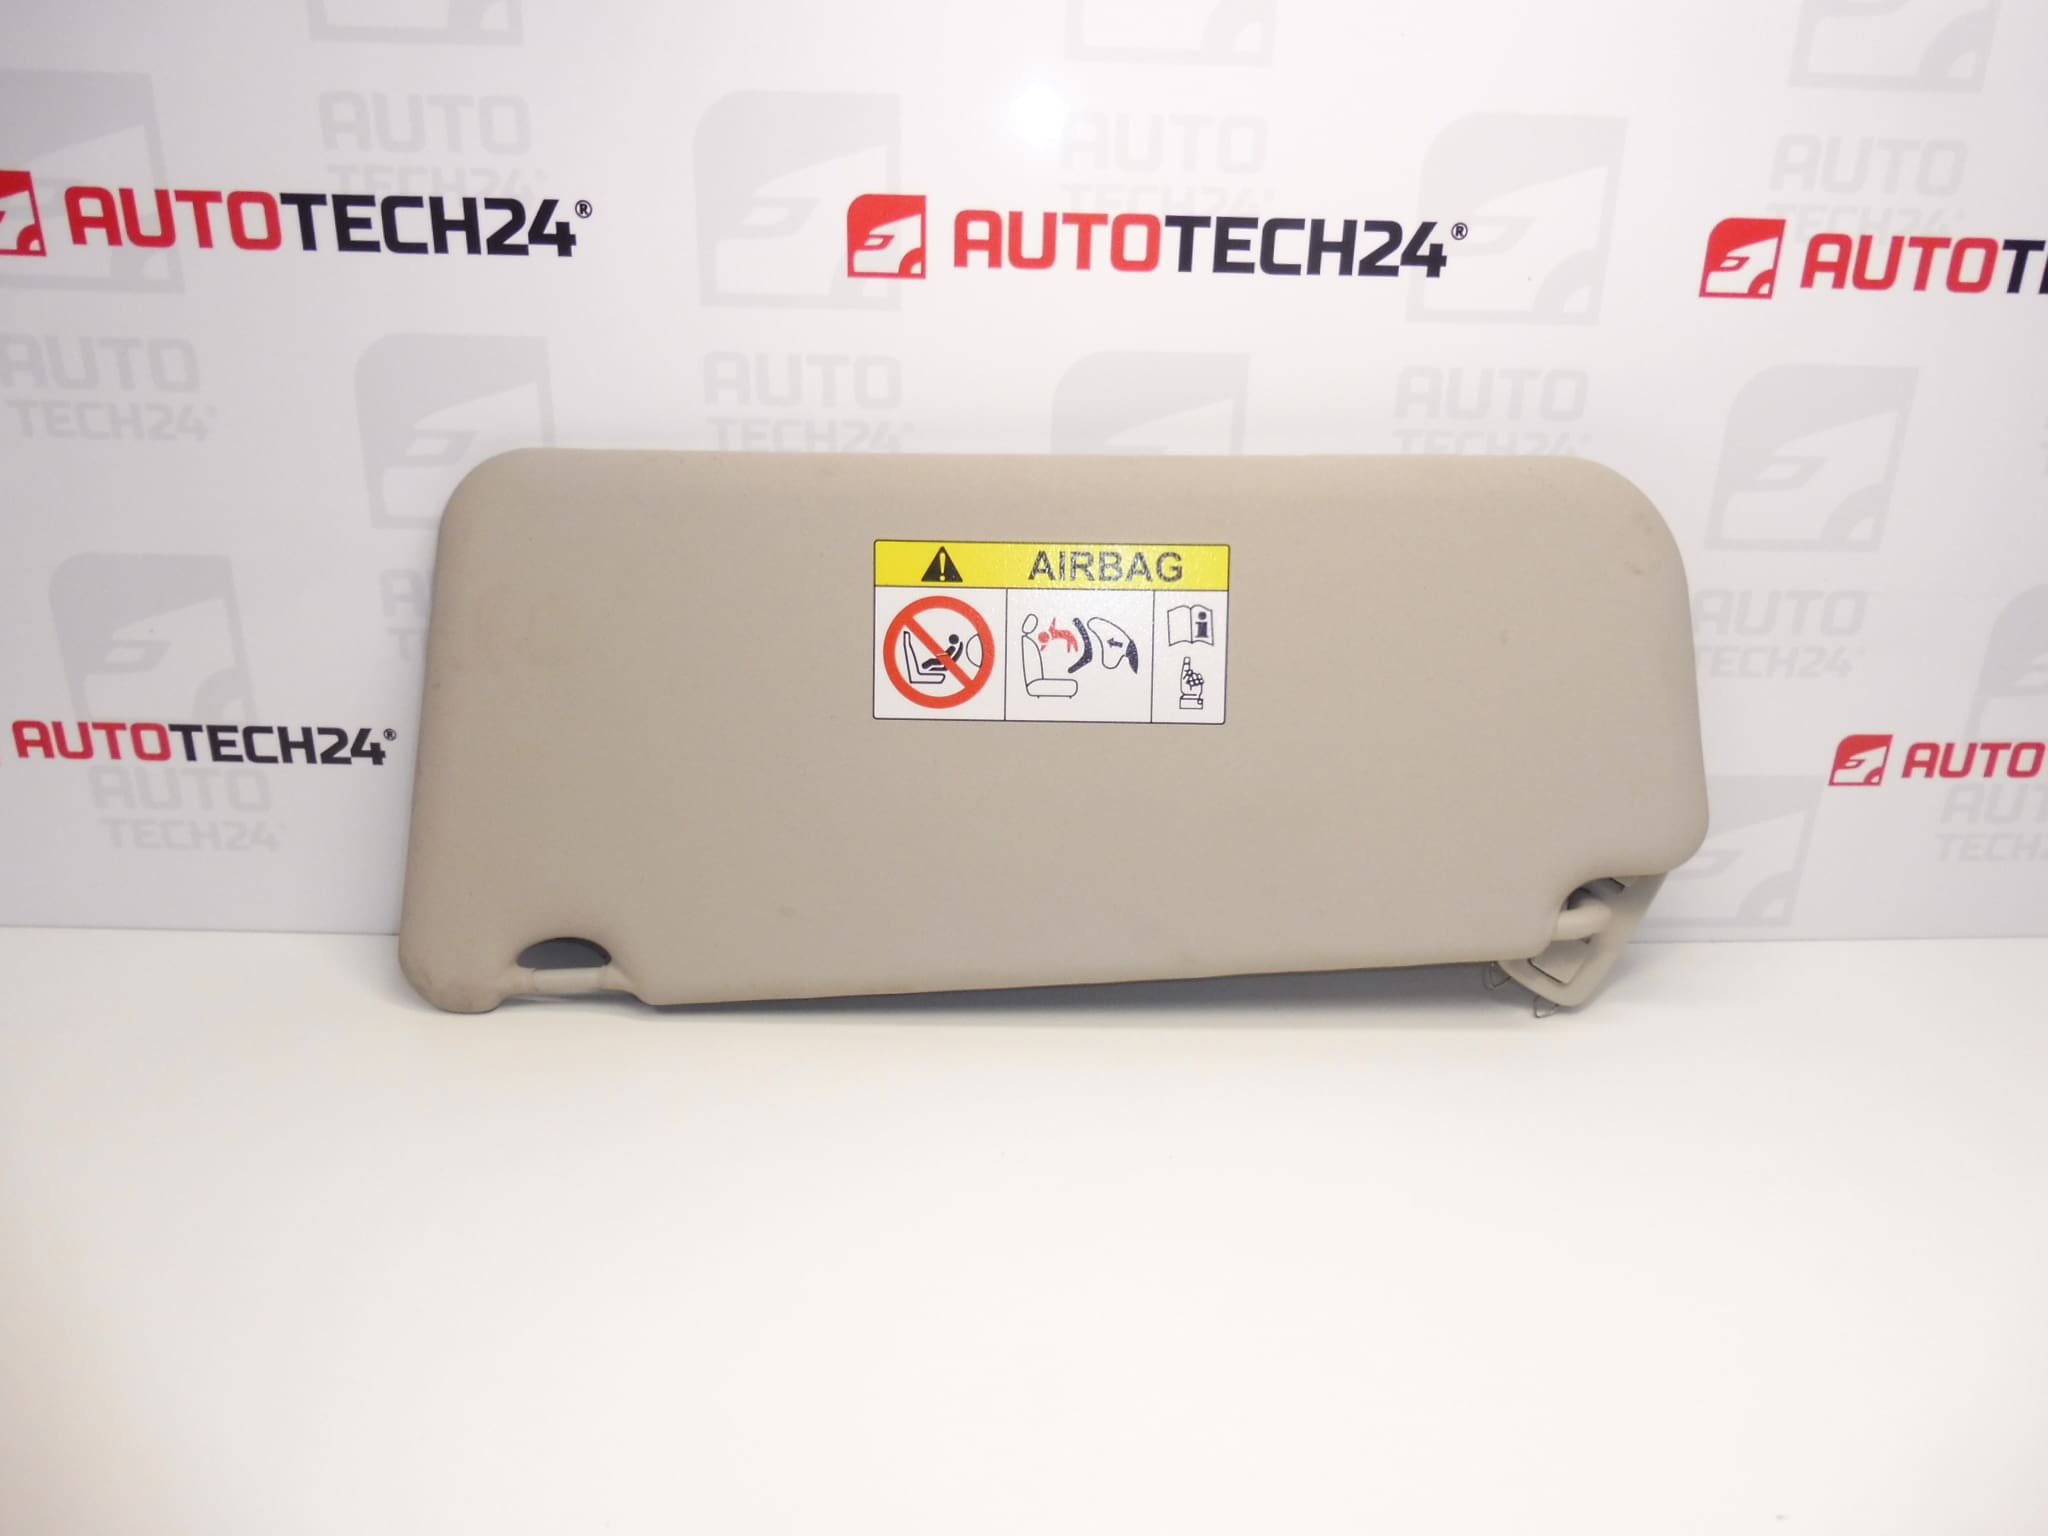
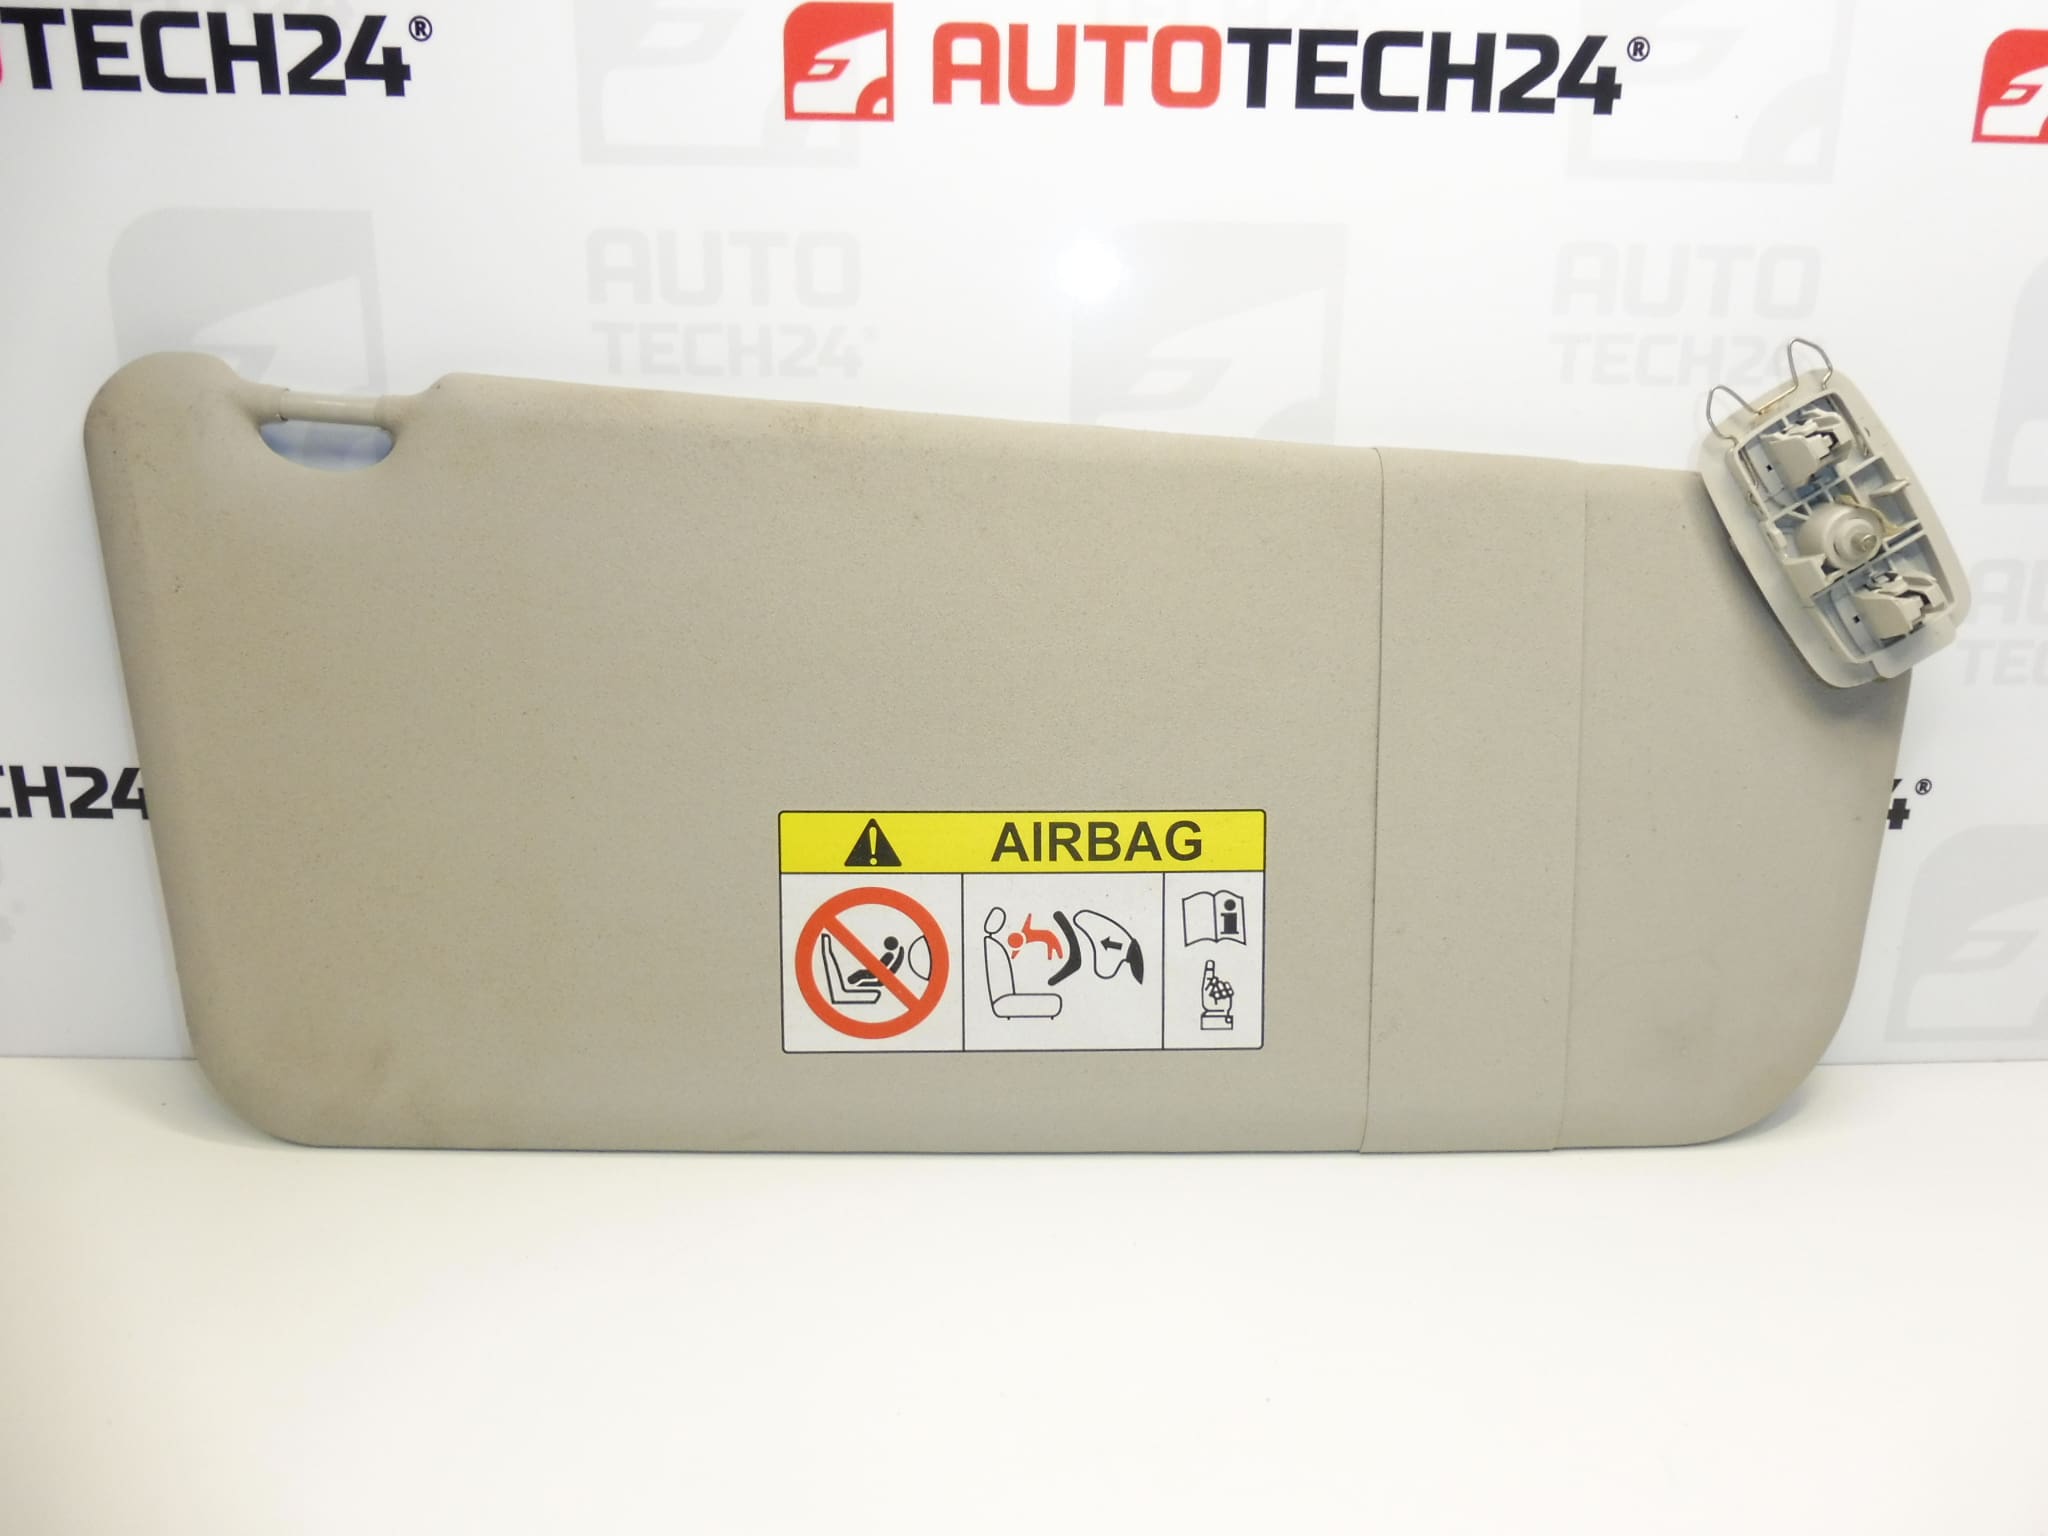
Passenger sun visor for vehicles from the Stellantis group
This is a used item and may be slightly dirty
Part description
Passenger sun visor 98094983BJ is designed to reduce sun glare and increase comfort while driving. It is a suitable replacement for a damaged visor that will not stay in the set position, has a cracked mounting point, or has a worn surface. The documentation lists the part for Citroën Berlingo K9, OPEL COMBO E K9, PEUGEOT PARTNER III and PEUGEOT RIFTER models.
When selecting a replacement, rely primarily on the product number 98094983BJ and compare its design with the original part. As this is a used visor, allow for the possibility that it may be slightly dirty; the color, material and any additional equipment are not specified in the documentation.
Technical information
- Manufacturer: Stellantis – according to the designation in the documentation; the specific part manufacturer is not specified.
- Model: Citroën Berlingo K9, OPEL COMBO E K9, PEUGEOT PARTNER III, PEUGEOT RIFTER.
- Part type: passenger sun visor.
- Condition: used part; may be slightly dirty.
- Product number: 98094983BJ.
- Other numbers: not specified.
- Color and additional equipment: not specified.
Product codes
- Product codes: 98094983BJ.
The number 98094983BJ is the primary detail to use when searching for this part. Before installation, compare it with the marking on the original visor and check that the mounting and equipment match.
Installation recommendations
The following procedure applies in general to this type of part. The exact method for releasing the visor, the design of the clips and any electrical connection depend on the specific model and vehicle equipment. The documentation does not specify whether this item has electrical equipment.
1) Before installation
- Compare the product number, shape and dimensions of the visor, joint design, mounting base and locking mechanism with the original part.
- Inspect the clips and the area around the joint. They should not show cracks or deformation that could prevent secure mounting.
- Carefully test the visor’s movement and its ability to stay in the set position. Do not rotate the joint beyond its natural stop.
- If the original visor has a mirror, lighting or a connector, compare this design as well. The supplied documentation does not confirm that the equipment matches.
2) Required tools and materials
- A screwdriver or suitable bit for the actual type of fastener.
- A plastic tool for carefully releasing covers, if present.
- A soft cloth and a mild cleaning product suitable for the visor surface.
- A small container for removed fasteners and covers.
3) Step-by-step installation
- Park the vehicle safely, switch off the ignition and ensure adequate lighting for the work.
- Inspect the original visor mounting and determine how to release it by following the service procedure for the vehicle.
- If the visor is electrically connected, follow the manufacturer’s instructions for safely disconnecting the battery before unplugging the connector.
- Support the visor and, if necessary, release it from the auxiliary holder so that it does not put strain on the mounting during removal.
- If mounting covers are present, carefully remove them using a plastic tool. Do not force them against the trim.
- While supporting the visor, release the fasteners or locking mechanism according to the actual design.
- Carefully remove the original visor. If there is a connector, unplug it using its locking tab; never pull on the wires.
- Check the condition of the mounting points in the vehicle and compare the removed part with the replacement visor again. Repair any damaged substrate first.
- If electrical connection is part of the equipment, connect the matching connector and route the wires so that they are not pinched or strained by the visor’s movement.
- Position the replacement visor without forcing it and secure it in the original manner. Tighten screw fasteners according to the manufacturer’s instructions, without overloading the plastic parts.
- Refit the covers, fold the visor up and check that it is properly secured in the holder. If the battery was disconnected, reconnect it according to the vehicle manufacturer’s procedure.
4) Post-installation checks and function test
- Slowly lower and fold up the visor several times. It must move smoothly and stay in the selected position.
- Check that the mounting is stable, the covers are fitted correctly and the trim is undamaged.
- Check the mirror, its cover and the lighting, if the visor is equipped with them.
- Test the function while the vehicle is stationary first. If you take a short test drive, watch for unintended folding or rattling; do not repair the visor while driving.
5) Common installation mistakes and how to avoid them
- Choosing the wrong design: do not rely on a similar appearance alone. Compare the code, mounting points and any electrical equipment.
- Breaking covers or clips: first determine how they are secured and do not force the parts loose.
- Overtightening: excessive force can damage the plastic base. Follow the manufacturer’s service instructions.
- Pinched wiring: for electrically equipped visors, check the wire routing before securing the visor.
- Installing onto damaged mounting points: the newly installed visor will not be held securely if the holder or mounting point in the vehicle is damaged.
Reasons why the part may become damaged
Sun visors can generally become damaged through repeated use, exposure to heat and rough handling. The following causes do not describe defects in the item being offered:
- Joint wear: frequent folding can gradually reduce the visor’s ability to stay in position.
- Forcing it past its stop or pulling on it: movement beyond the stop can damage the joint, base and holder.
- Aging plastics and exposure to heat: prolonged stress in the vehicle interior can contribute to brittleness and cracking.
- Mechanical surface damage: scuffs, catching on an object or unsuitable cleaning can damage the visor surface.
- Rough removal: prying off covers and forcing fasteners can damage an otherwise functional part.