Descrizione
BOSCH brake booster for Stellantis vehicles
From a vehicle with 33,000 km mileage
Part description
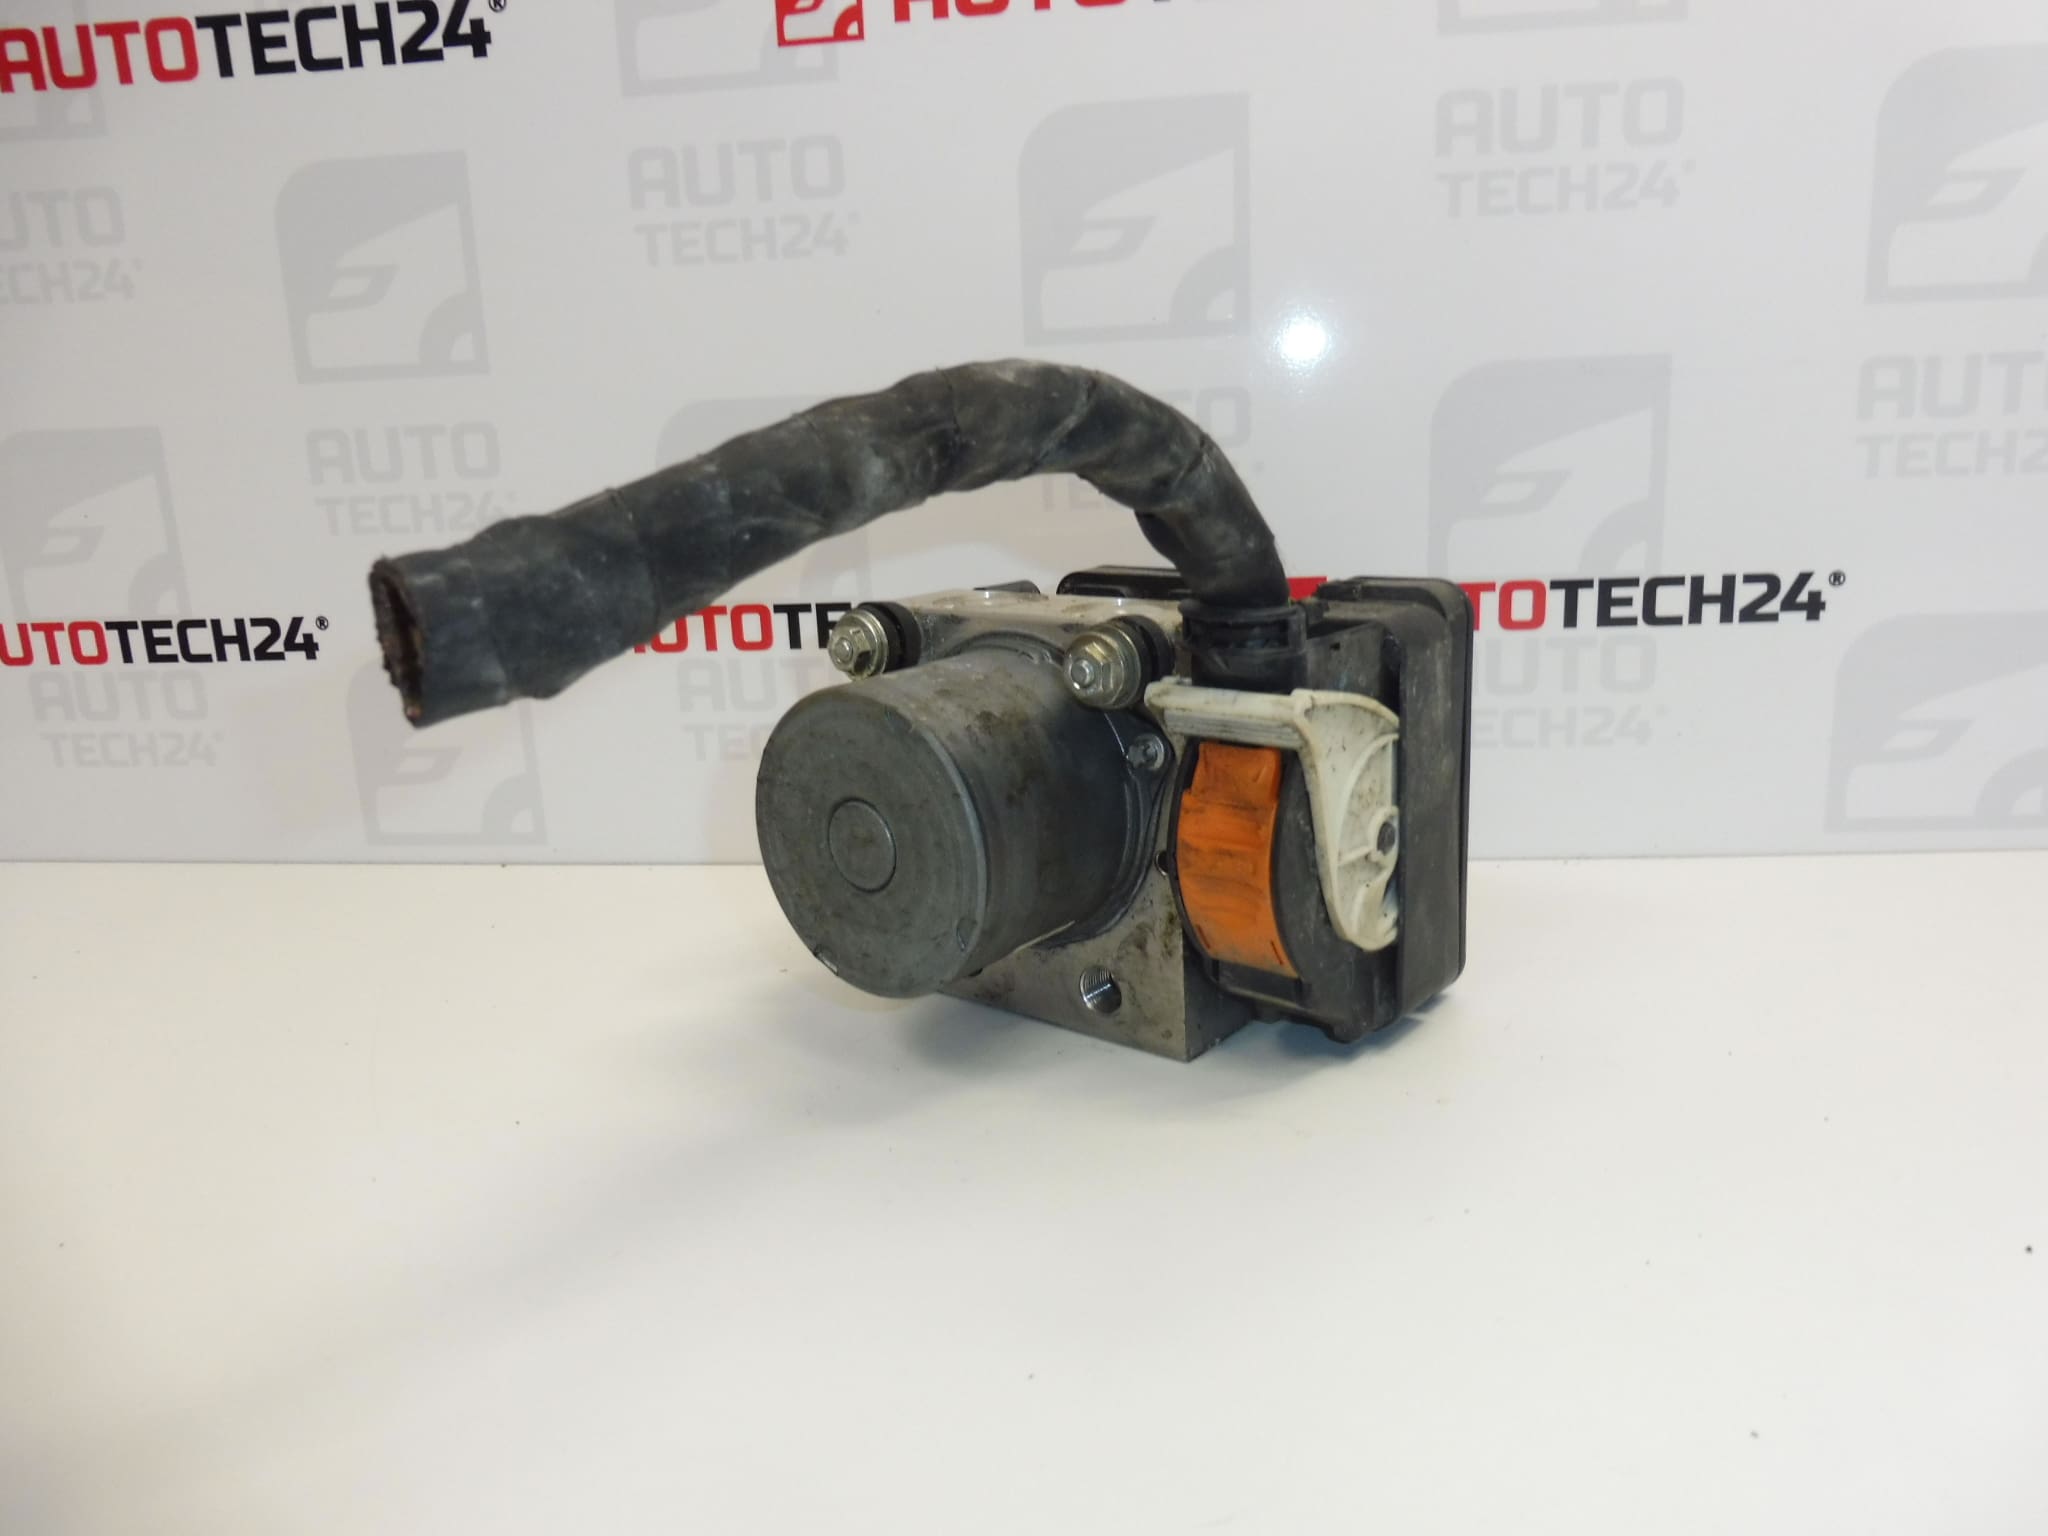
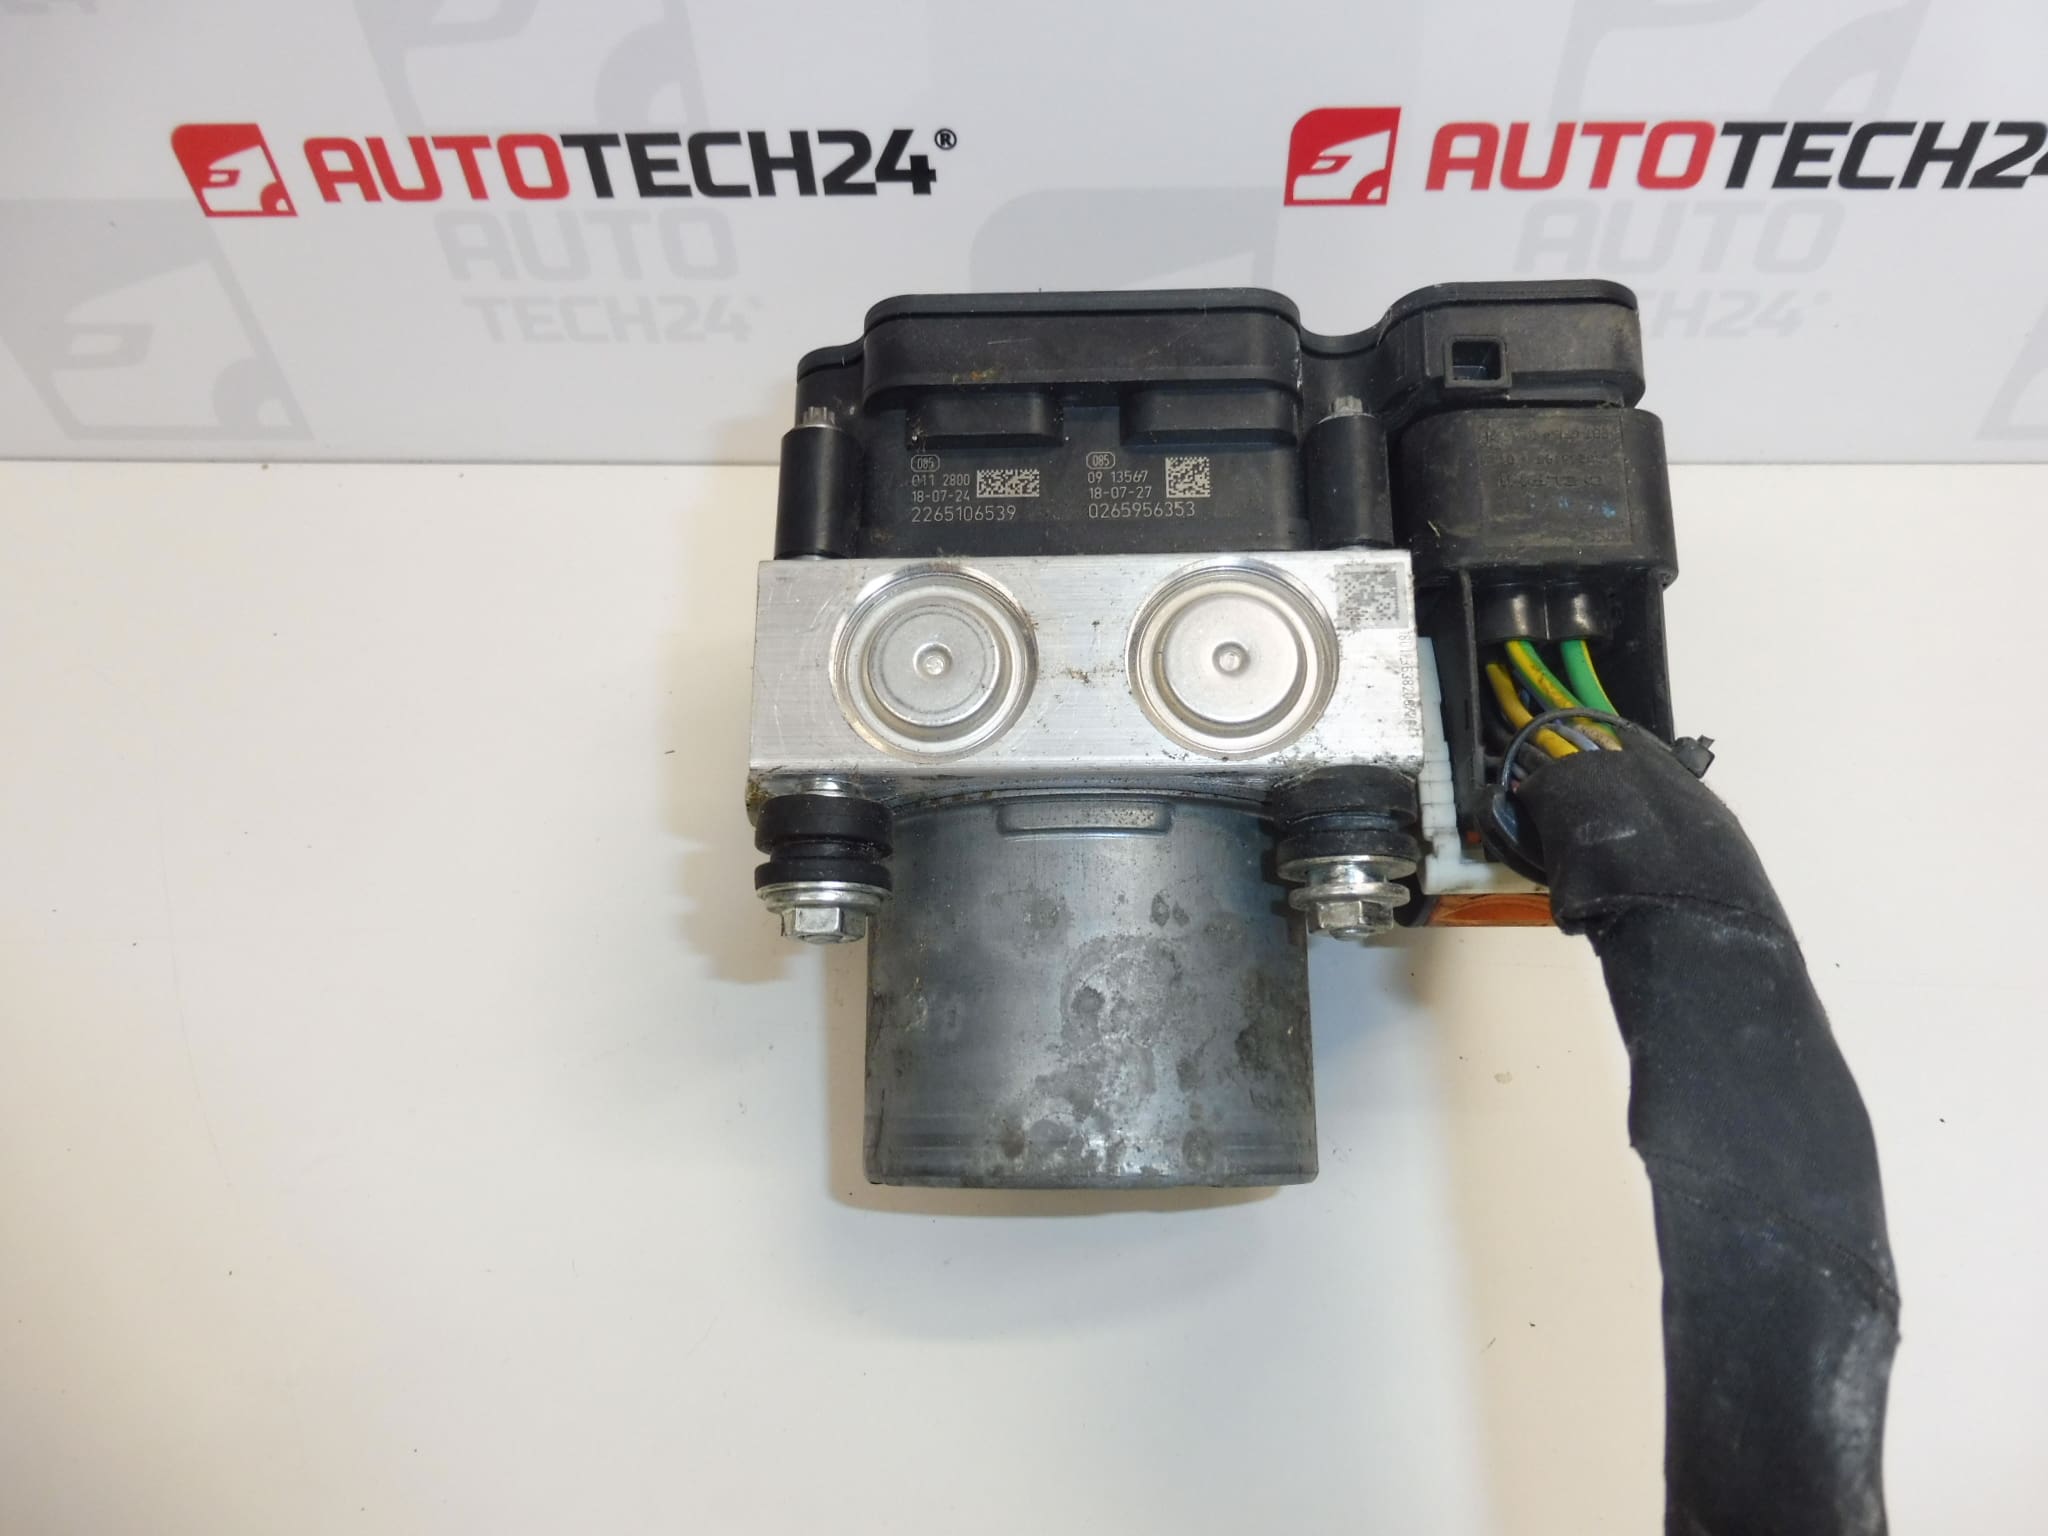
The used BOSCH brake system part is listed as a Citroën Peugeot ABS ESP unit under numbers 0265956353 and 9812786180. The documentation also lists number 1654078580. One advantage is the documented mileage of the donor vehicle: 33,000 km. However, this alone does not replace an inspection of the condition and functionality of the used part.
The original description identifies the component as a brake booster, while the name and category classify it as an ABS ESP module. Before choosing it, therefore, compare the markings and design with the old part. Matching the vehicle model alone is not sufficient grounds for substituting the part. This used part may be an economically sensible repair solution if it matches the required specification and the fault in the original component has been correctly identified.
Technical information
- Manufacturer: BOSCH
- Model: Citroën Berlingo K9; FIAT DOBLO III; OPEL COMBO E K9; PEUGEOT PARTNER III; PEUGEOT RIFTER – designations taken from the listing labels.
- Additional numbers: 1654078580
- Category: brake system, ABS ESP modules; the original description identifies it as a brake booster.
- Condition: used part.
- Donor vehicle mileage: 33,000 km.
- Model years, engine variants and specific brake system configuration: not specified.
Product codes
Product codes: 0265956353, 9812786180, 1654078580.
The numbers are used to identify the listing and compare it with the markings on the original component. The documentation does not confirm that all the numbers listed are interchangeable for every vehicle configuration.
Installation recommendations
The following general procedure applies to replacing a brake system part. Because the documentation uses different descriptions, the exact component type and specific installation procedure cannot be safely determined. The exact steps depend on the vehicle model and the actual configuration of the part. Have work on the brake system carried out by someone with the appropriate knowledge and equipment.
1) Before installation
- Verify the cause of the fault. In electronically controlled brake systems, the problem may also be related to the power supply, wiring or associated components.
- Compare the markings, body shape, mounting points and, where applicable, connectors and connection points with the old unit.
- Check for cracks, deformation, corrosion, damaged contacts and any signs of leaks. Do not allow dirt to enter open connections.
- Find out in advance what the manufacturer requires for diagnostics, any settings and bleeding for the actual type of part being installed.
2) Tools and materials required
As a general rule, prepare suitable hand tools, a torque wrench, protective equipment, clean cloths and materials for protecting open connections. Depending on the configuration, compatible diagnostic equipment and equipment for servicing the brake hydraulics may be required. Select materials and service specifications according to the documentation for the specific vehicle.
3) Step-by-step installation procedure
- Park the vehicle safely, secure it against movement and prepare a work area where there is no risk of contaminating the components.
- If the system condition permits, record the diagnostic findings and any information needed to return the system to service afterwards.
- Switch off the ignition. Disconnect the battery and, if necessary, release any residual pressure according to the manufacturer’s service procedure.
- Access the part according to the vehicle documentation. Before disconnecting anything, record the routing and position of the connected components.
- Clean the area around the connections. If the hydraulic section is opened, protect the connections against dirt and prepare to catch any fluid that may leak out.
- Carefully disconnect the connections appropriate to the actual type of part. Release connectors using their locking tabs, not by pulling on the wires.
- Release the mounting points and remove the original component without straining the surrounding lines. Compare the two parts once again.
- Fit the replacement part without putting it under strain. Tighten the fasteners according to the manufacturer’s specifications and reconnect all relevant connections.
- If the hydraulic circuit was opened, carry out the prescribed filling and bleeding procedure. If the procedure requires diagnostic system activation, use the appropriate equipment.
- Restore the power supply according to the manufacturer’s procedure and carry out any prescribed settings, diagnostics and static function checks.
4) Post-installation checks and test drive/function verification
Check the fasteners, connector locks, routing without strain and the tightness of any connections that were disconnected. Check the brake pedal response, warning lights and diagnostic results as appropriate for the system configuration. Do not drive the vehicle if there is a leak, unusual pedal behavior or an unresolved brake fault. Only carry out a test drive after a successful static check, and proceed carefully in a safe location.
5) Most common installation mistakes and how to avoid them
- Choosing a different configuration by mistake: compare both the numbers and the design, not just the model name.
- Contaminating the connections: work cleanly and protect open connections immediately.
- Damaging connectors or lines: do not use force and retain the original routing without putting the lines under strain.
- Skipping bleeding or settings: follow the manufacturer’s requirements for the specific component type.
- Replacing the part without identifying the cause: check related components before installation to reduce the likelihood of the original problem persisting.
Reasons why the part may be damaged
In general, brake system components may be damaged by the following factors; these are not known defects of the part on offer:
- Moisture and corrosion, which can affect the body, connections or electrical contacts.
- Mechanical stress, impact or incorrect handling during removal and installation.
- Power supply faults in electrical components, damaged wiring or water ingress.
- Dirt and neglected maintenance in hydraulic components, which can contribute to wear and leaks.
- Prolonged operational and thermal loads, the effects of which depend on the design and conditions of use.