Descrizione
Air conditioning actuator for vehicles of the Stellantis group CITROEN PEUGEOT OPEL FIAT TOYOTA
Part description
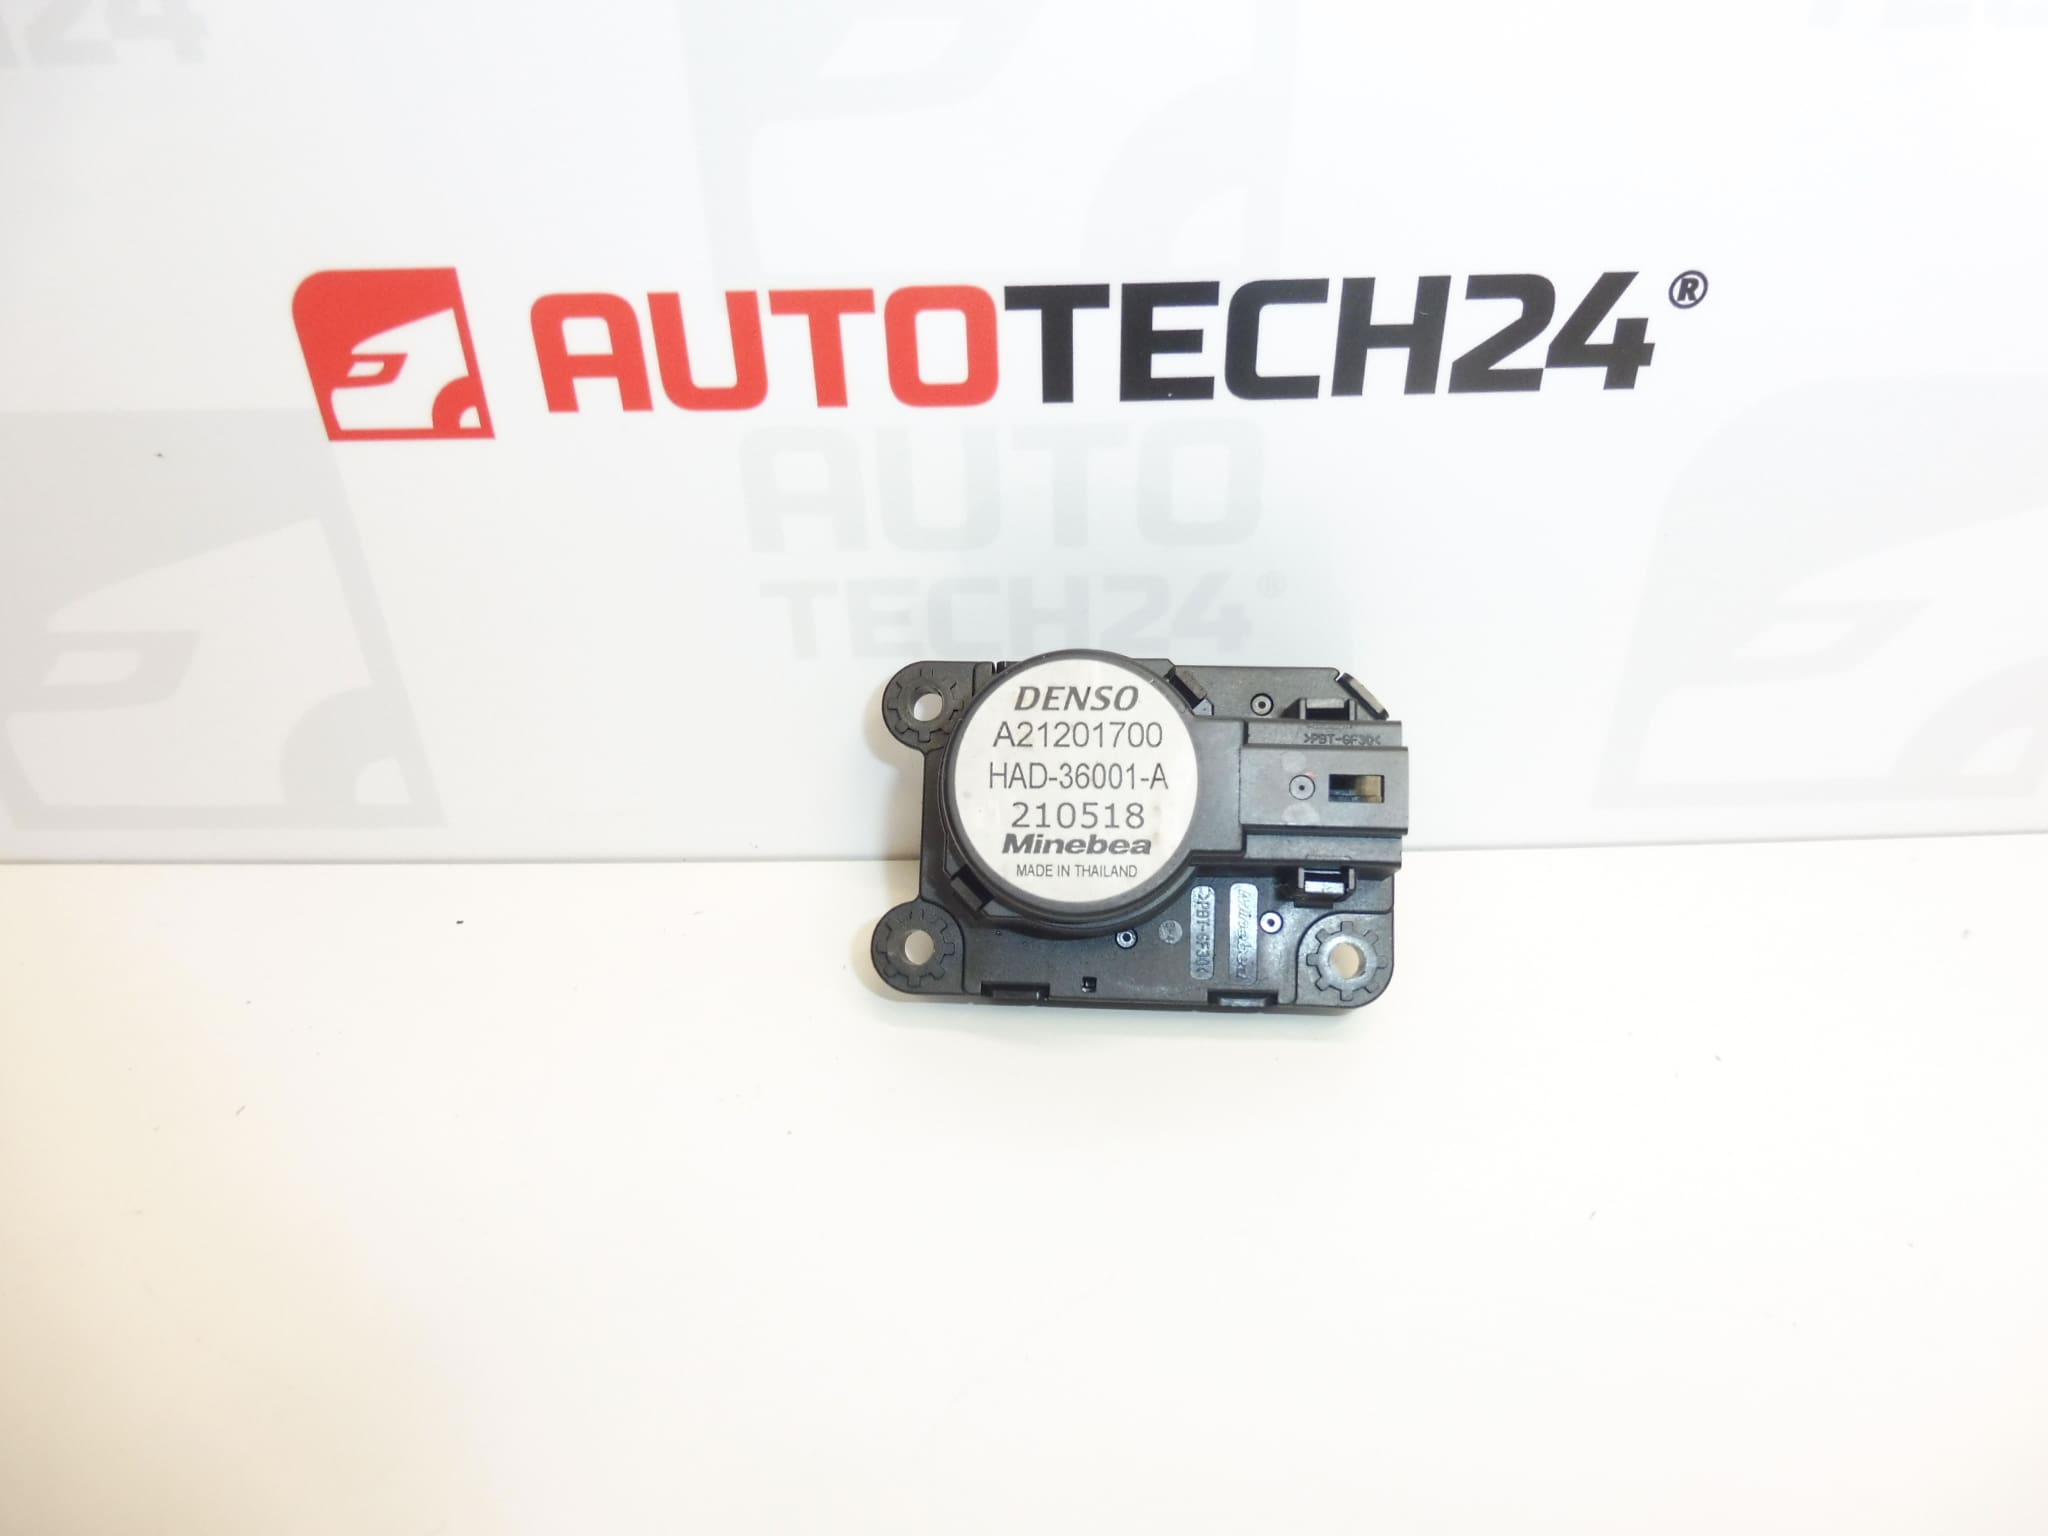
Used DENSO heating and air conditioning actuator marked 9821293280 and A21201700 is designed to operate the flap mechanism in the heating and air conditioning system. This type of gearmotor converts the movement of an electric motor into controlled flap movement. The specific flap it operates is not identified in the available information.
A faulty flap actuator may cause clicking when adjusting the air conditioning, failure to respond to setting changes, or incorrect airflow direction or temperature. If diagnostics confirm a faulty actuator, replacing it can address the cause of the problem without unnecessarily replacing other components. When selecting a replacement, compare the original part number, connector, mounting points and output coupling.
Technical information
- Manufacturer: DENSO
- Model: Citroën Berlingo K9, OPEL COMBO E K9, PEUGEOT PARTNER III, PEUGEOT RIFTER
- Additional number: HAD-36001-A
- Part type: air conditioning gearmotor / heating and air conditioning actuator
- Condition: used part
- Specific flap operated and installation position: not specified
The models listed are based on the product information. Specific model years, engine variants and air conditioning configurations are not specified; the model name alone is therefore insufficient to select the correct actuator.
Product codes
- Product codes: 9821293280, A21201700
- Additional marking: HAD-36001-A
When looking for a replacement DENSO actuator, compare these markings with the information on the original part and also verify that the mechanical and electrical configurations match.
Installation recommendations
The following procedure is general and typical for heating and air conditioning actuators. Exact access to the part, flap position during installation and any initialization procedure depend on the specific model and vehicle configuration. Follow the manufacturer’s service procedure.
1) Before installation
- Verify the cause of the fault. Similar symptoms can be caused by a jammed flap, damaged linkage, wiring or connector.
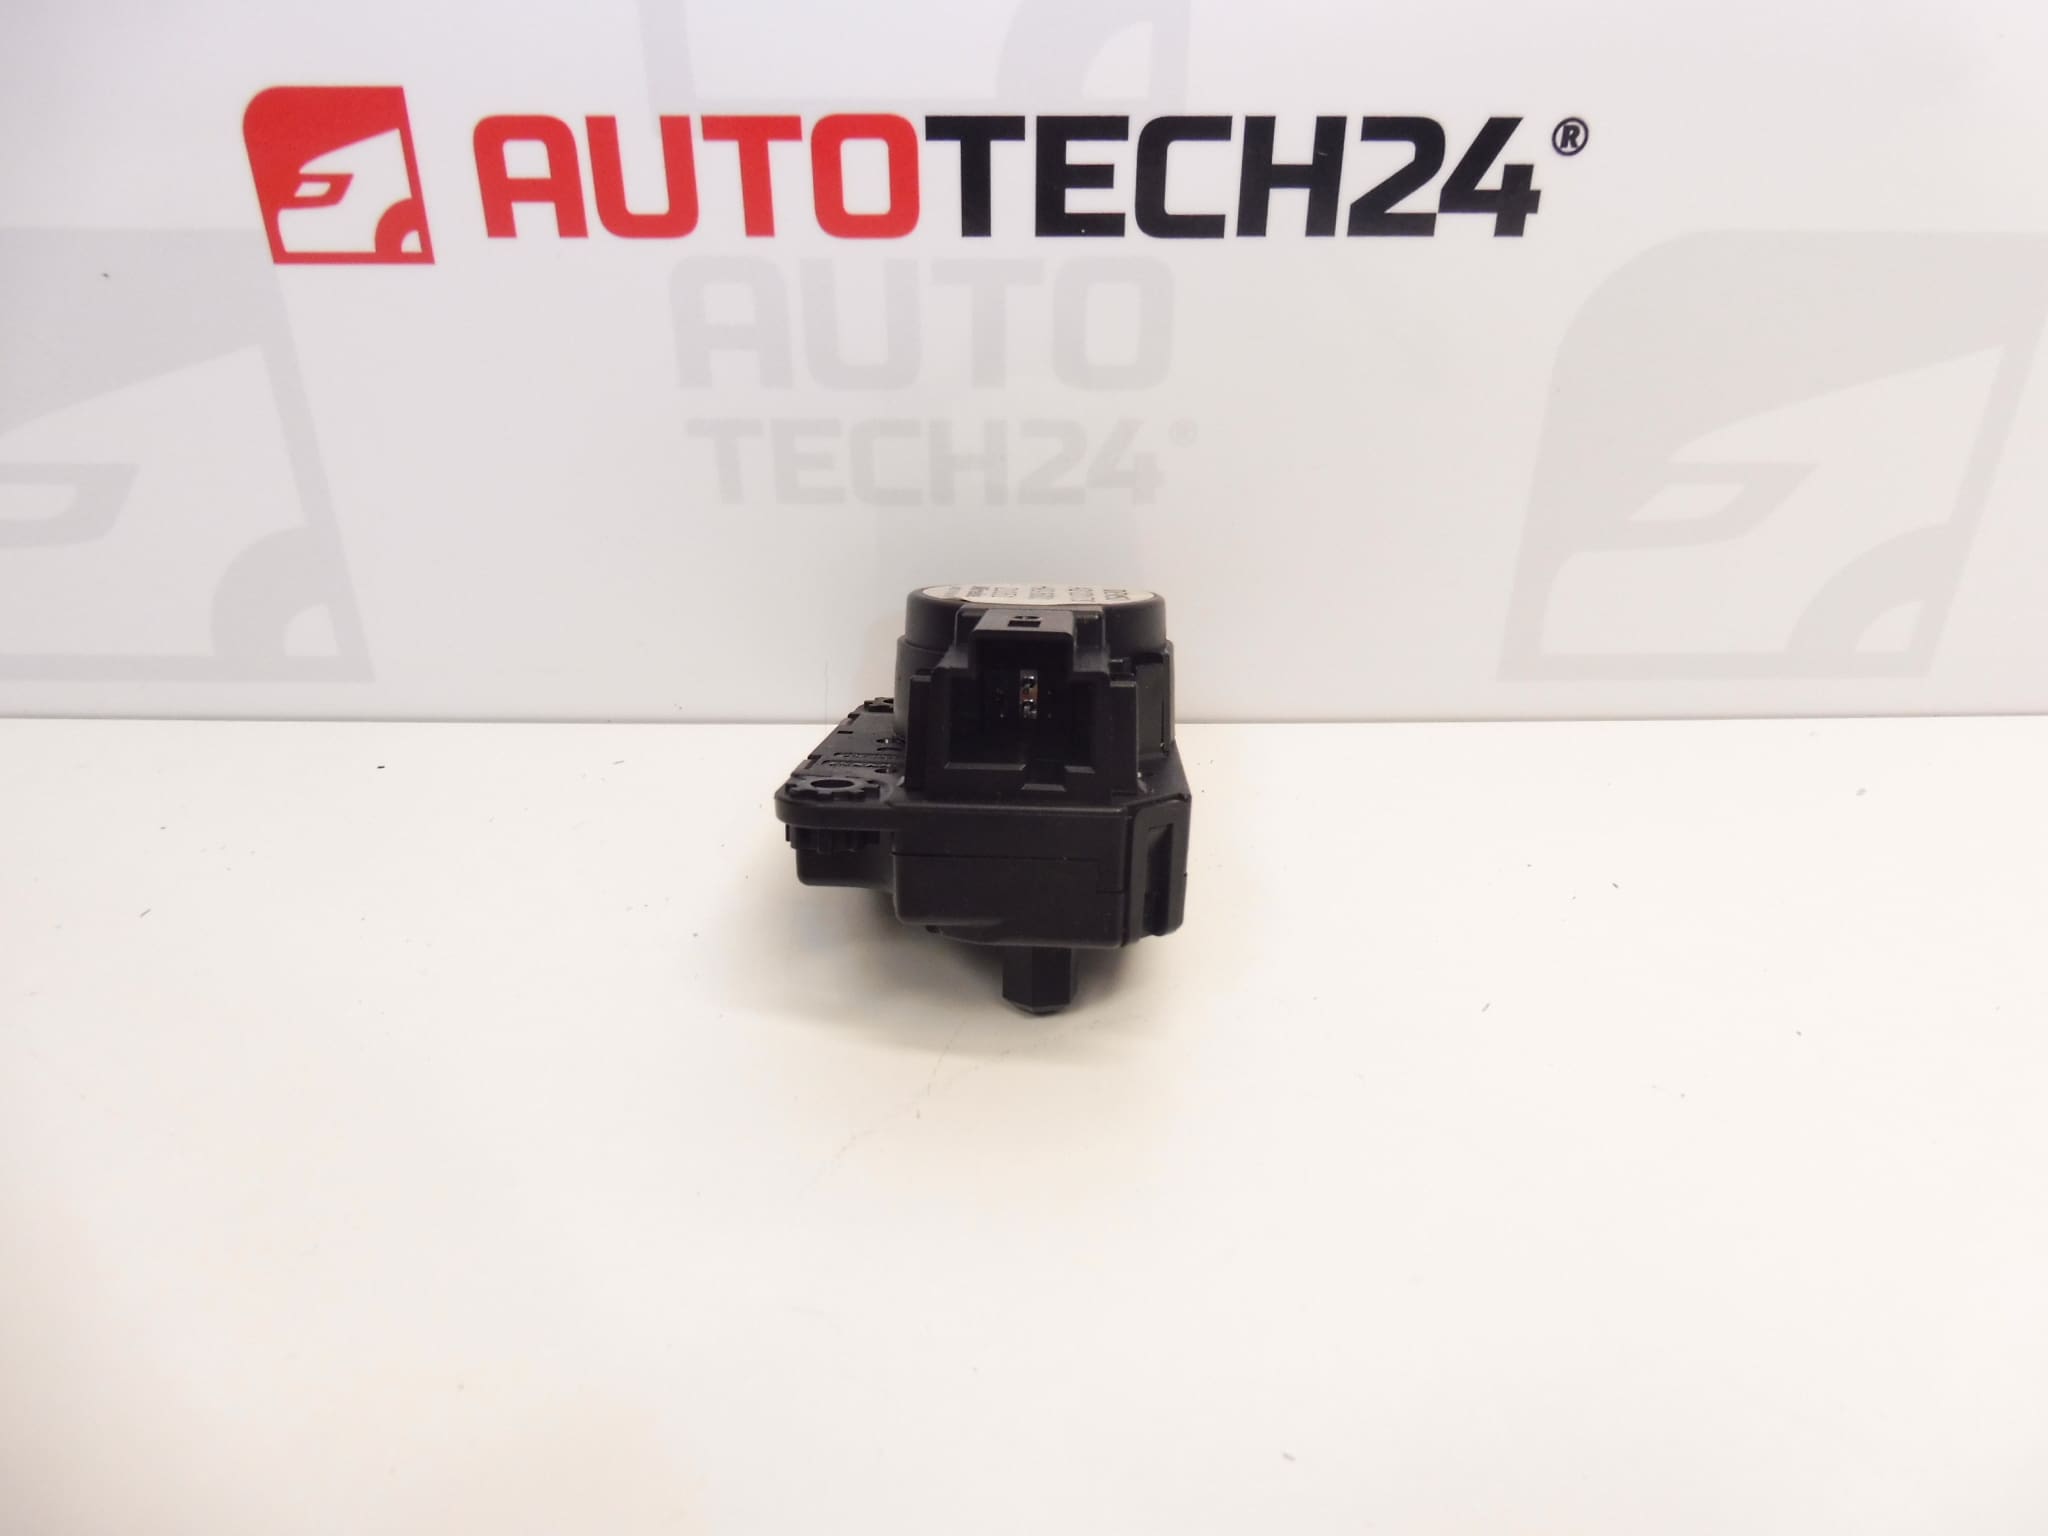
- Compare the part numbers, connector shape and layout, mounting points and output coupling shape with the old part.
- Inspect the used part: check the housing, mounting lugs, contacts and output connection. Look for cracks, deformation and signs of moisture.
- Do not force the gearmotor output to turn or connect it to an unverified power supply for testing.
2) Tools and materials required
- Standard hand tools suitable for the fasteners used.
- Plastic trim tools for gently releasing trim, if it needs to be removed.
- A flashlight, a tool for marking the position and a clean cloth.
- Suitable automotive diagnostic equipment, if required to check or initialize the flap actuators.
3) Step-by-step installation procedure
- Secure the vehicle against movement and prepare the air conditioning system for actuator replacement according to the service procedure.
- Switch off the ignition, wait for the electrical systems to shut down, and disconnect the battery if required by the manufacturer’s procedure.
- Use the service documentation to gain access to the actuator. Release any covers and trim without forcing them, and keep the fasteners organized.
- Before removal, take a photo or mark the actuator position, its connection to the mechanism and the wiring route.
- Release the electrical connector lock and pull the connector out by its housing, not by the wires.
- Support the actuator, release its fasteners and carefully separate it from the flap mechanism.
- Check the connection and flap mechanism to the extent permitted by the service procedure. Resolve any binding or damage before installing the replacement part; do not force the stops.
- Compare the removed and replacement parts side by side. In particular, verify that the coupling, connector and mounting points match.
- Fit the replacement actuator in the specified position relative to the flap. It must seat without force; do not use the screws to pull it into place if it does not seat correctly.
- Secure the actuator according to the manufacturer’s instructions, connect and lock the connector, and route the wiring clear of moving parts.
- Restore power according to the manufacturer’s procedure and perform any required flap initialization or adaptation.
- Check that the system operates correctly, then reinstall any covers and trim that were removed.
4) Post-installation checks and function verification
- Gradually test the air conditioning and heating settings relevant to the function of the replaced actuator. Check that the system responds smoothly.
- Listen for repeated clicking, slipping or unusual humming.
- Check that the actuator is secure, the connector is locked and the wiring is routed freely.
- If the vehicle configuration allows, check the actuator operation using diagnostic equipment. A short road test can then be used to check heating and air conditioning performance under normal driving conditions.
5) Common installation mistakes and how to avoid them
- Replacing the part without identifying the cause: first rule out a wiring fault and a jammed flap, which could also damage the replacement actuator.
- Incorrect coupling position: follow the specified setting and never force the actuator into place.
- Overtightening the fasteners: follow the manufacturer’s instructions to avoid cracking the plastic mounting lugs.
- Connector not fully engaged or wire pinched: before refitting the covers, check the connector lock and wiring route.
- Skipping required initialization: check the service procedure to see whether it is required for the specific configuration.
Reasons why the part can be damaged
The following are general causes of damage that can affect heating and air conditioning actuators. They do not represent an assessment of the condition of this specific part.
- Wear to the gears and electric motor due to repeated flap adjustments.
- Increased resistance or a jammed flap, which overloads the actuator and its gears.
- Damage to the coupling or mounting resulting from forceful handling or incorrect installation.
- Moisture and corrosion on the contacts, which interfere with the electrical connection or actuator operation.
- Improper electrical testing, especially connecting a power supply without knowing the wiring configuration.