Descrizione
Kinetic ESP sensor TRW for Peugeot 407 vehicles
Double ESP sensor
Part description
The used TRW double ESP sensor for Peugeot 407 is part of the vehicle’s electronic stability control system. This type of sensor provides the ESP system with data about the vehicle’s movement, which is used to assess driving stability. Correct sensor operation is therefore important for the functioning of the stability control system.
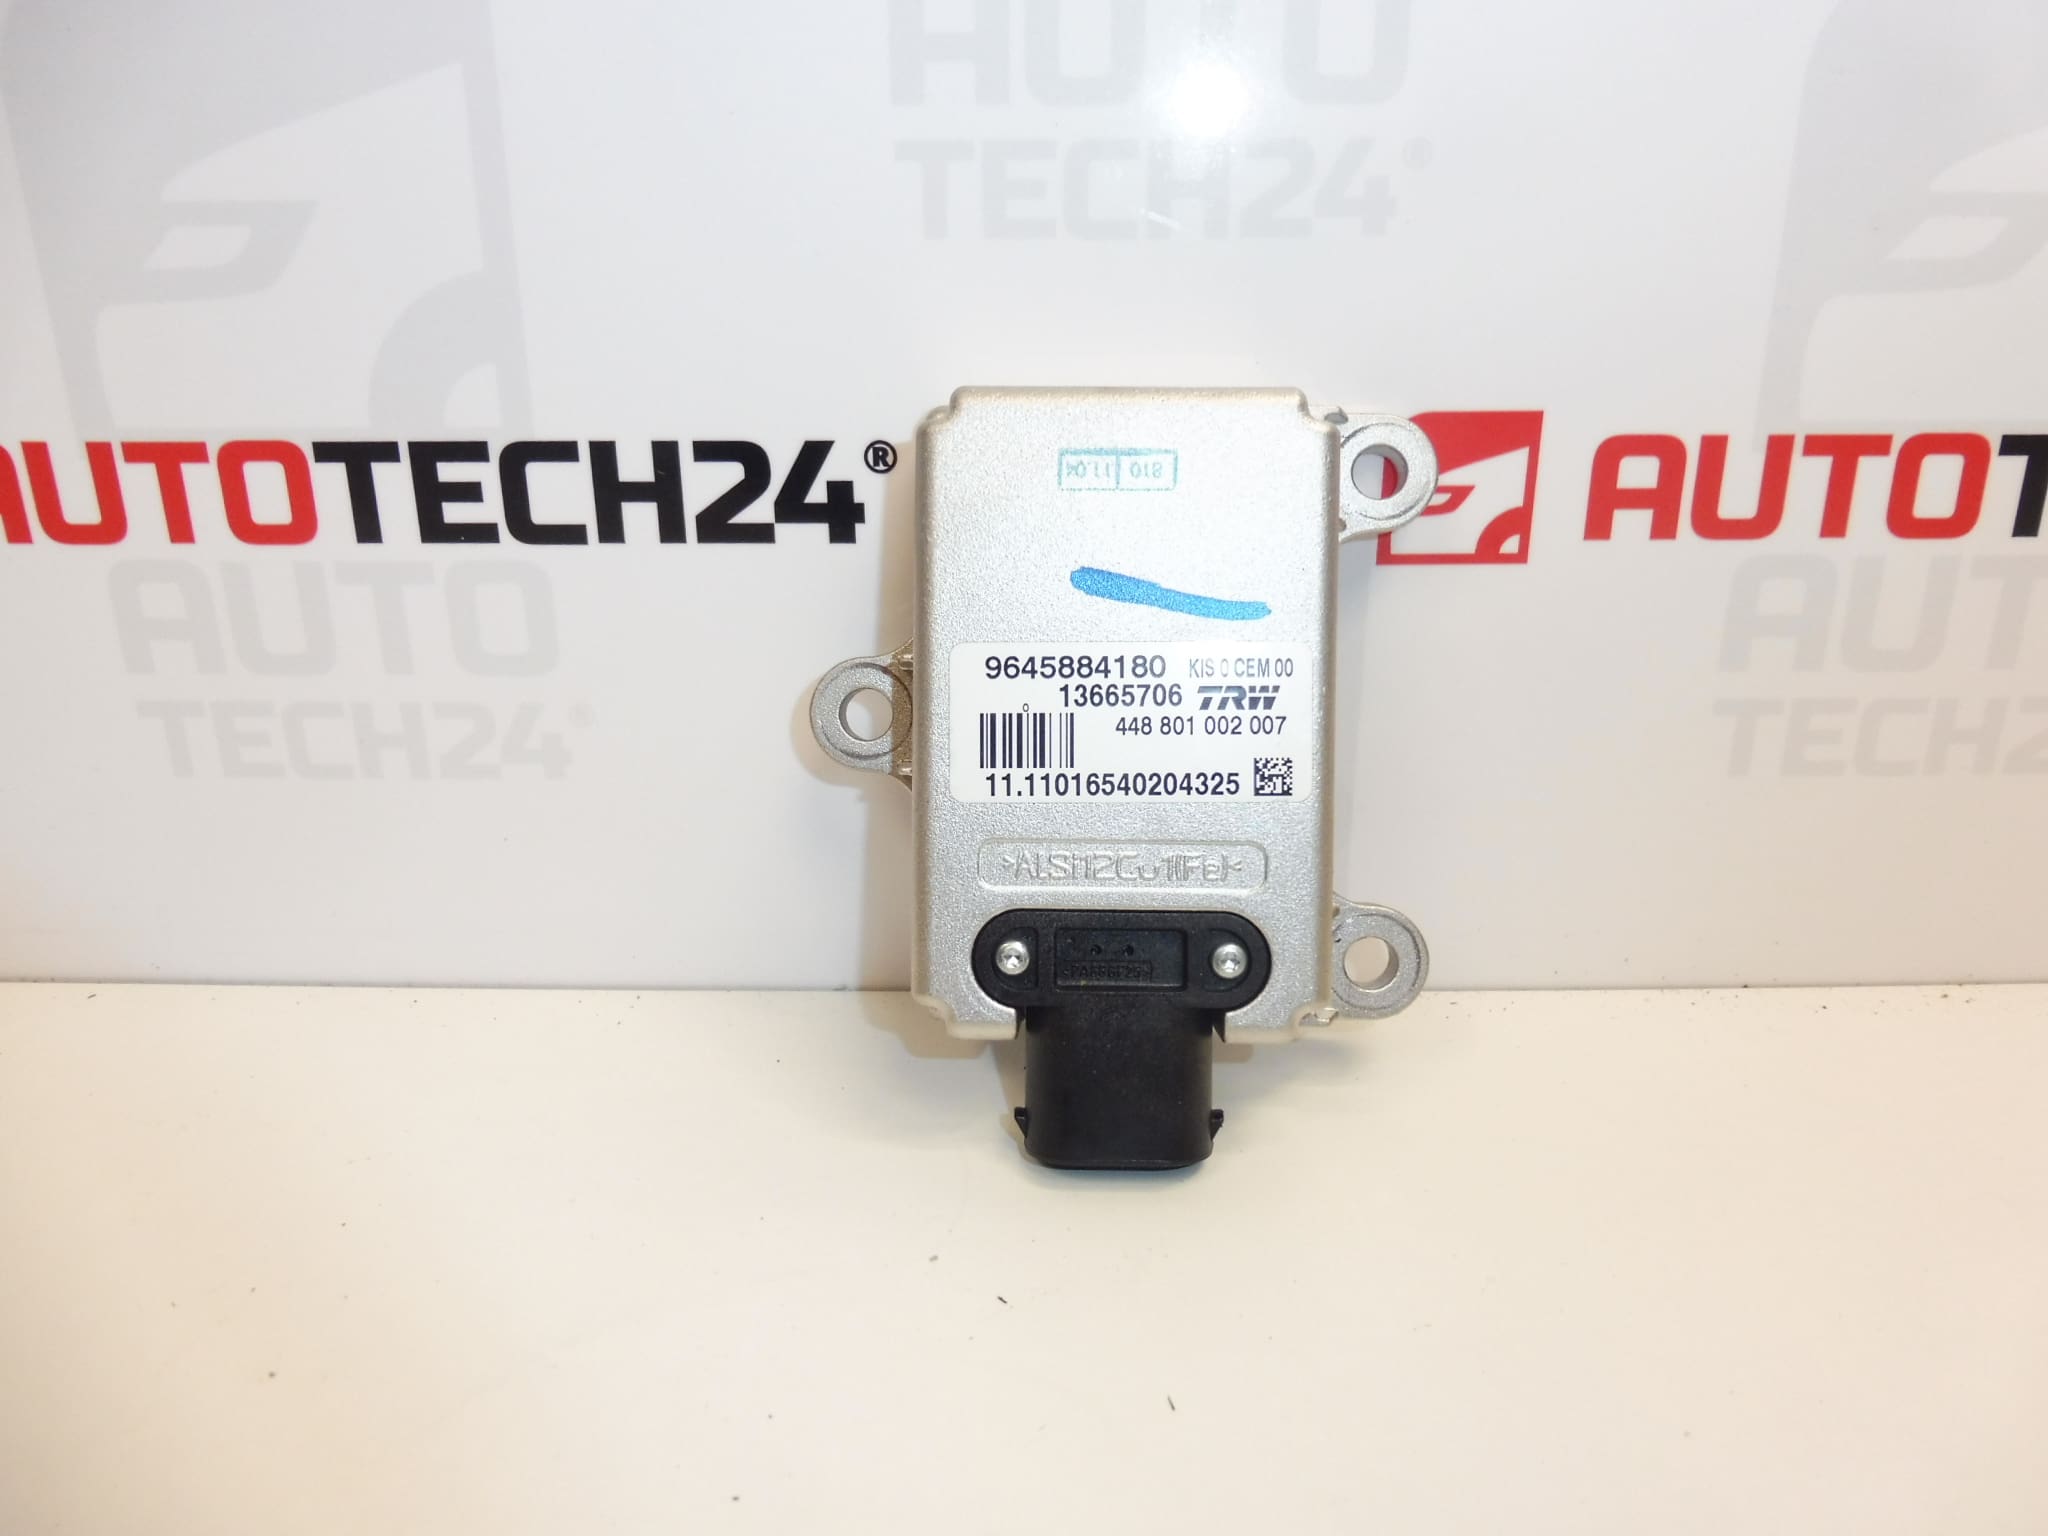
If you are looking for a replacement for a faulty sensor, base your choice primarily on the markings on the original part and its design. The item offered is listed in the documentation under numbers 9645884180, 13665706 and 454930. A used part offers a repair option without purchasing a new sensor, provided it meets the requirements of the specific vehicle.
Technical information
- Manufacturer: TRW
- Model: Peugeot 407
- Part type: double ESP sensor
- System: ESP – electronic stability control system
- Condition: used part
- Other numbers: 13665706
- Other designation in the documentation: NFP
Product codes
- Product codes: 9645884180, 13665706, 454930
- Model: Peugeot 407
Compare the numbers with the markings on the removed sensor. Matching the vehicle model alone may not be enough to select the correct version.
Installation recommendations
The following procedure is general guidance for replacing an ESP sensor. Exact access to the part, the method of fastening and any adjustment after replacement depend on the specific vehicle version and the manufacturer’s service instructions. This is a component of a safety system; if in doubt, have it replaced by a qualified service center.
1) Before installation
- Use diagnostic equipment to check the cause of the fault. An ESP fault message may not be caused by the sensor itself; the cause may also be a connector, wiring or power supply.
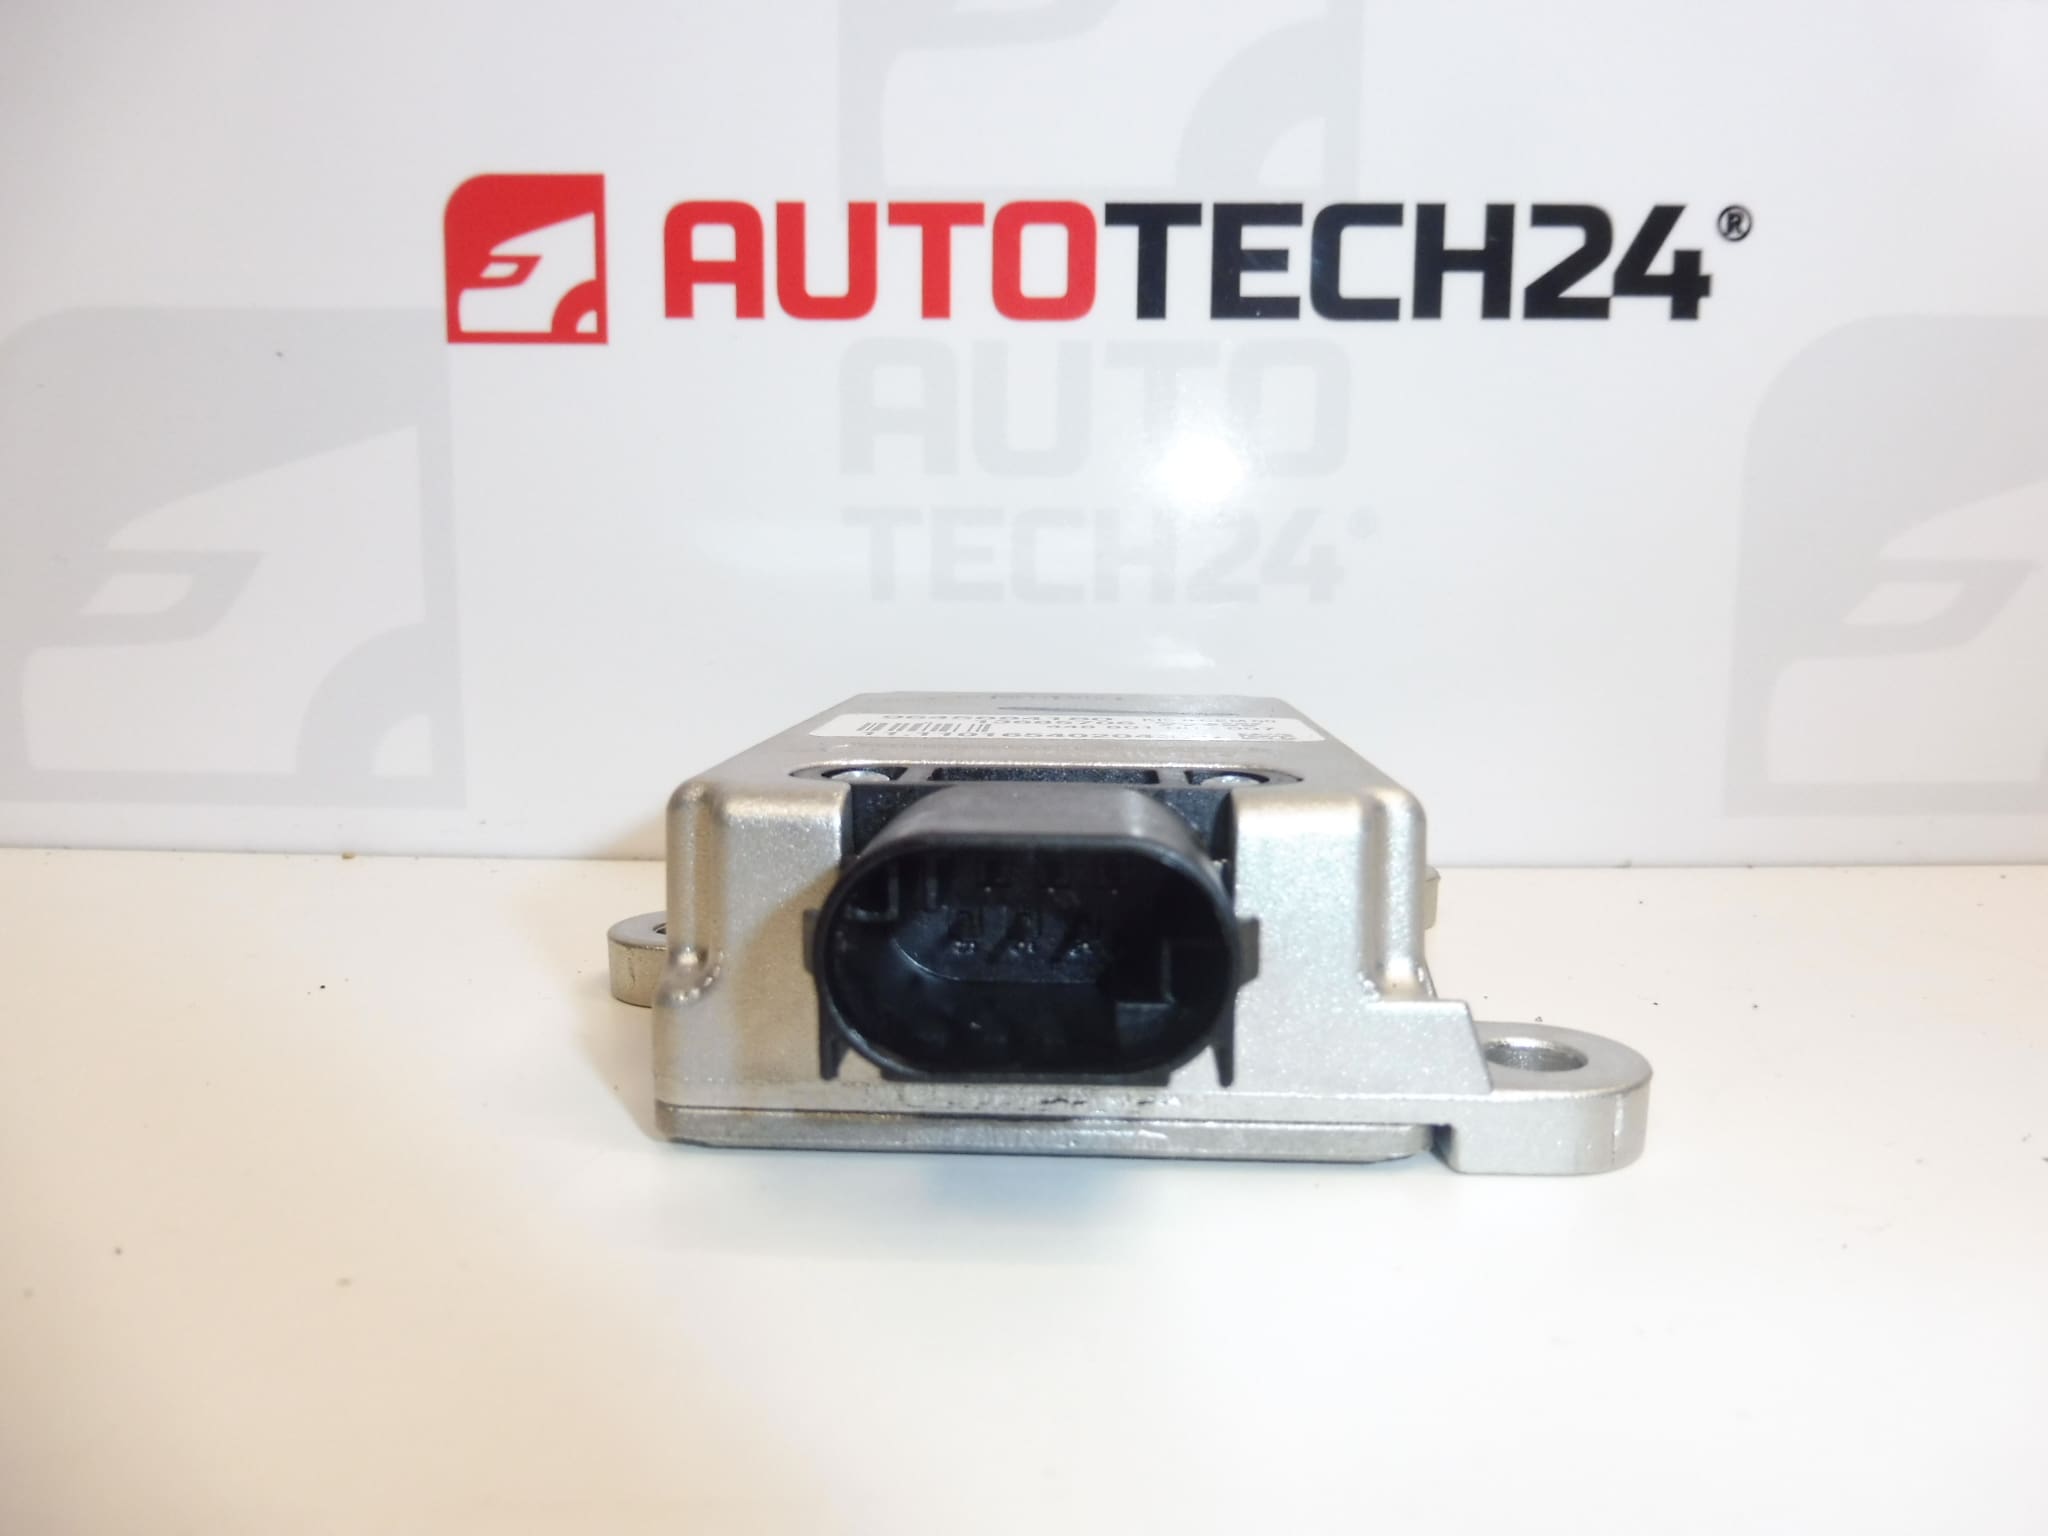
- Compare the part numbers, housing shape, connector, mounting points and any alignment marks with the original part.
- Inspect the used sensor. Check for cracks, damaged mounts, contacts and signs of moisture or corrosion. Do not install a visibly damaged part.
- Find out in advance whether the service procedure for the specific version requires calibration or basic settings after replacement.
2) Tools and materials required
- Standard hand tools suitable for the fasteners used.
- Tools for carefully releasing covers and connector locks, as needed.
- A clean, lint-free cloth and, if necessary, a product suitable for electrical contacts.
- Diagnostic equipment capable of communicating with the vehicle’s ABS/ESP system.
- The manufacturer’s service instructions for the specific vehicle version.
3) Step-by-step installation procedure
- Park the vehicle safely and secure it against movement.
- Before disconnecting the electrical system, read and record any ABS/ESP system faults.
- Switch off the ignition and, following the manufacturer’s procedure, allow the electronics to enter standby mode. Disconnect the battery in accordance with the service instructions.
- Access the sensor using the procedure specified for the specific vehicle version. Remove covers and nearby components without using force.
- Record the position and orientation of the original sensor, for example by taking a photograph. Correct orientation is essential for this type of part.
- Release the connector lock and disconnect the connector by pulling on its housing, not on the wires.
- Undo the fasteners and carefully remove the original sensor. Protect the sensor from drops and impacts.
- Check the mounting surface, fasteners and wiring. Have any moisture, corrosion or damage properly addressed first.
- Install the replacement sensor in the correct orientation and fasten it according to the manufacturer’s instructions. The part must sit flush without strain and must not be loose.
- Connect the connector and check that its lock is engaged. Route the wiring so that it is not stretched, pinched or exposed to abrasion.
- Reinstall the removed components and restore the electrical power supply according to the manufacturer’s procedure.
- Perform a diagnostic check and any basic settings or calibration required for the specific version. Once the cause has been resolved, clear the stored faults and check whether they return.
4) Post-installation checks and function verification
- Check that the sensor is securely fastened, the connector is correctly connected and the wiring is undamaged.
- Check the ABS/ESP warning lights and use diagnostic equipment to verify the system status; the warning light going out by itself is not a complete repair check.
- If the system reports no active faults and the vehicle is safe to drive, take a short, careful test drive in accordance with the service instructions. Do not deliberately induce a skid or trigger ESP intervention during normal driving.
- Read the fault memory again after the drive. If the fault returns, continue diagnostics before using the vehicle normally.
5) Common installation errors and how to avoid them
- Replacing the part without confirming the cause of the fault: first also check the connector, wiring and power supply.
- Incorrect sensor version: compare both the markings and the physical design with the original part.
- Incorrect orientation or loose mounting: follow the specified installation position and fastening procedure.
- Damage to the connector: always release the lock first and do not pull on the wires.
- Skipping the required settings: check the service procedure requirements in advance and use suitable diagnostic equipment.
Reasons why the part may be damaged
The following factors can generally cause damage or incorrect operation in ESP sensors. This is not a description of the condition of the item offered.
- Moisture and corrosion, which can damage electrical contacts or electronics.
- Mechanical impact, dropping or deformation of the mount, for example during careless handling or an accident.
- Electrical overload or incorrect work on the electrical system, which can damage sensitive components.
- Aging electronics and prolonged exposure to thermal stress.
- Loose fastening or an incorrect installation position, which can cause incorrect readings even without internal damage to the part.
A broken wire or poor contact in the connector can cause similar symptoms. Correct diagnostics before replacement help prevent unnecessary work and recurring faults.