Descrizione
Air-conditioning fan motor control module for vehicles from the Stellantis group CITROEN PEUGEOT OPEL FIAT TOYOTA
Part description
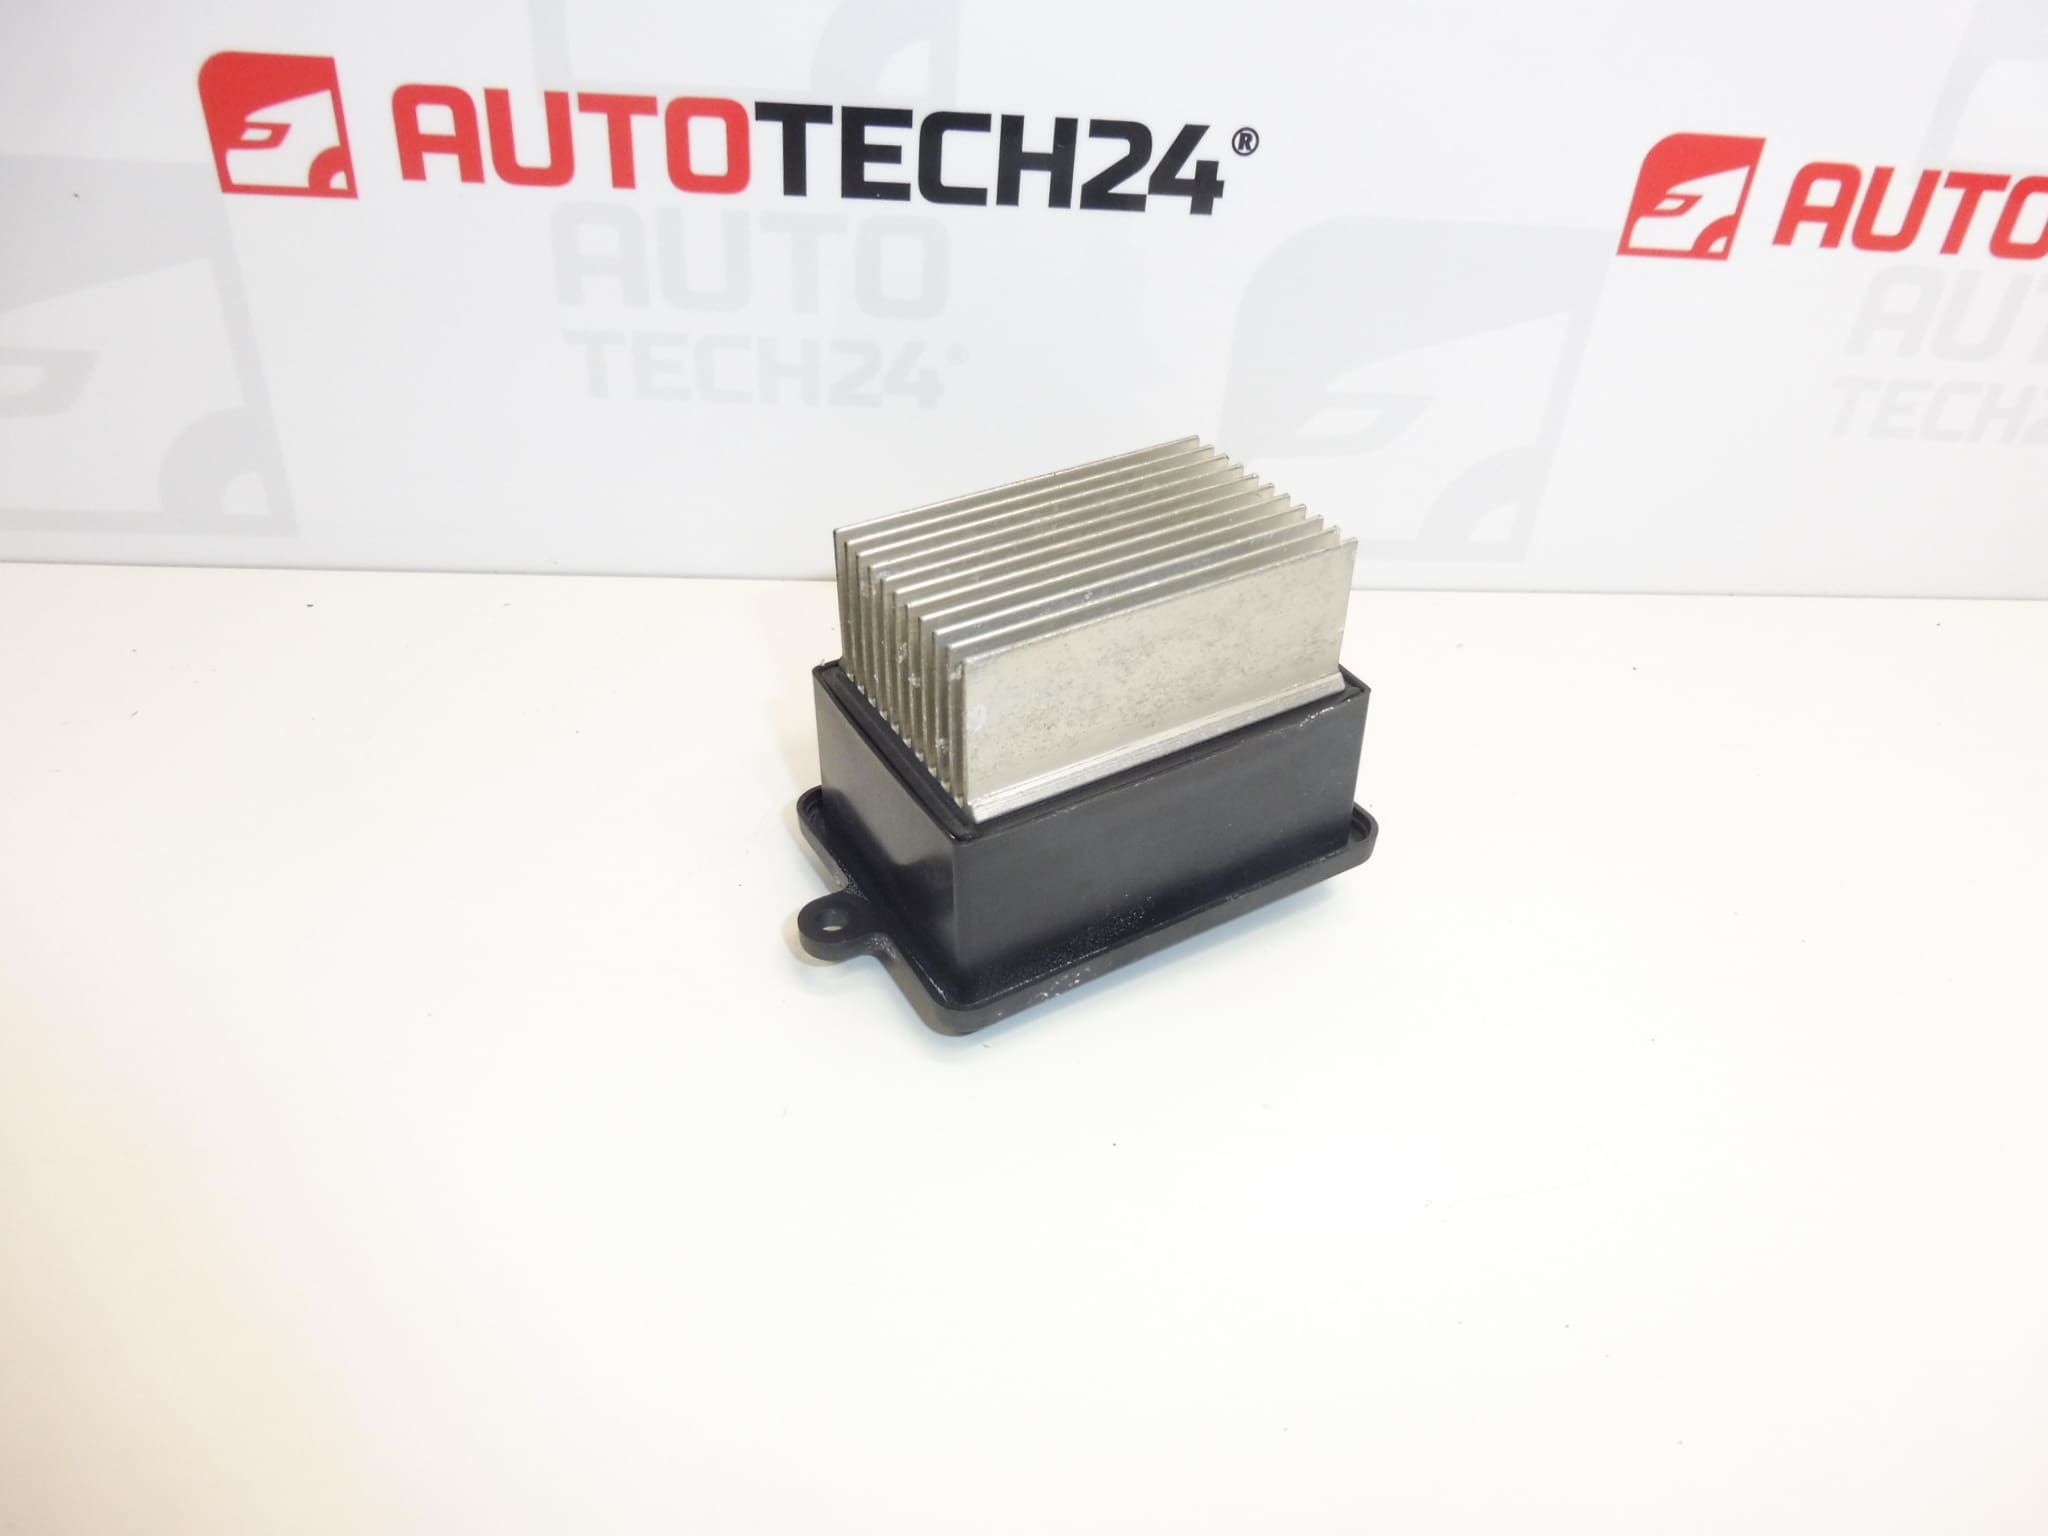
Fan regulator 9821291880 is a used control module for the heating and air-conditioning fan motor. This type of part regulates the fan speed and, in turn, the intensity of airflow into the cabin. A fault may cause irregular operation, loss of speed control or complete fan failure.
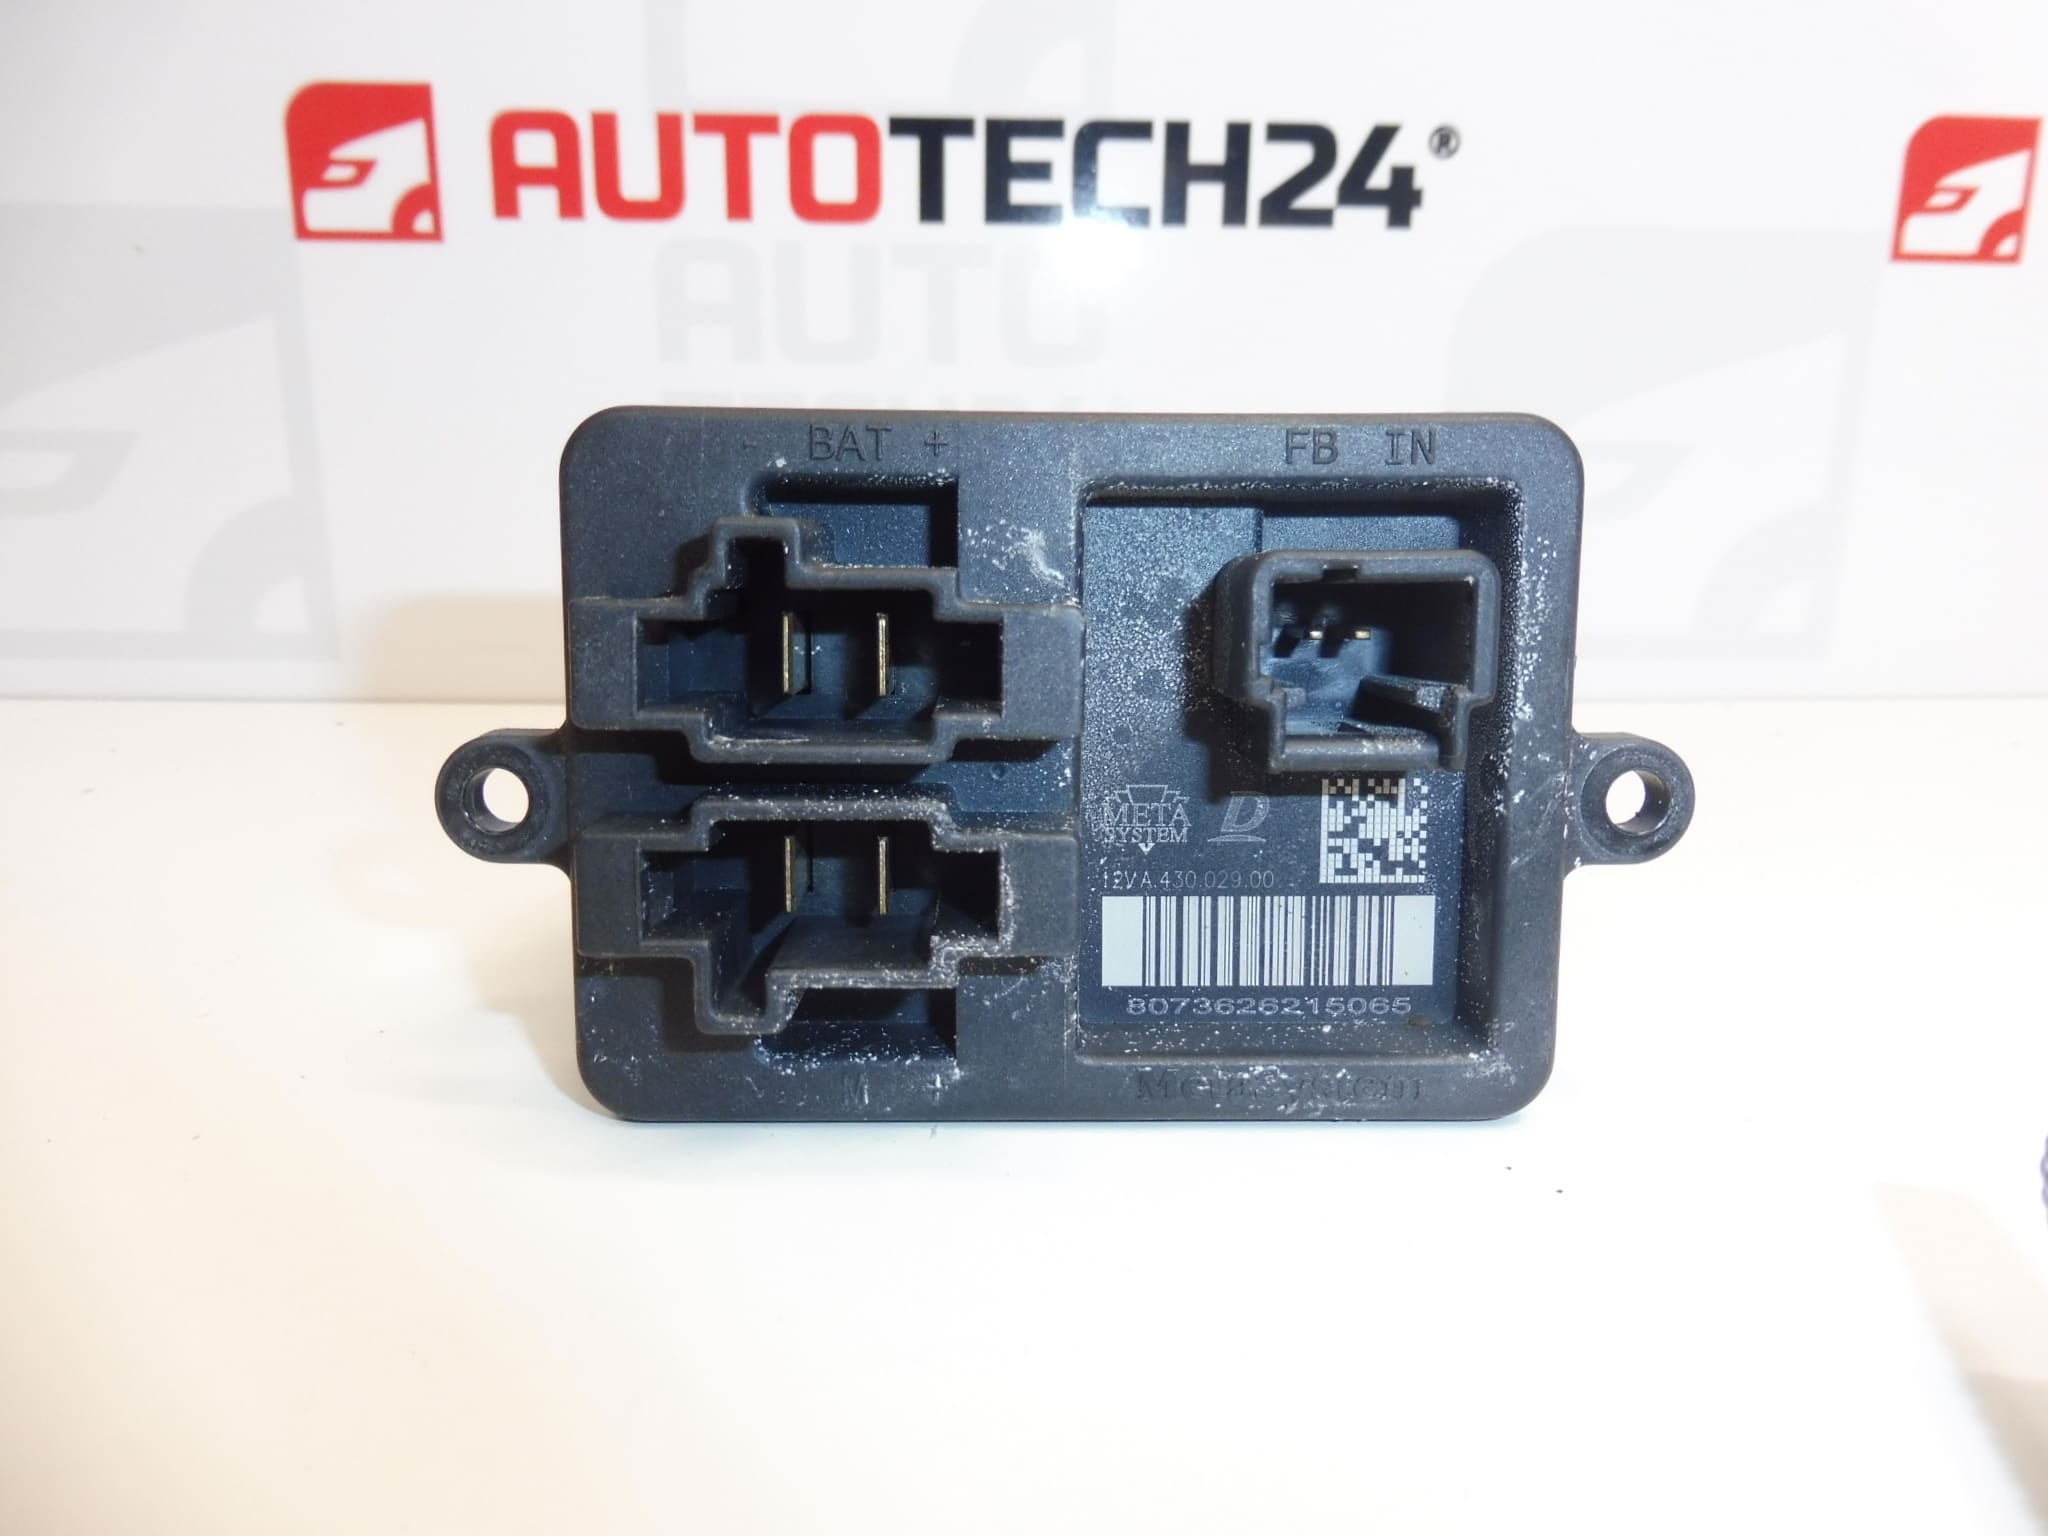
The documentation lists the models Citroën Berlingo K9, OPEL COMBO E K9, PEUGEOT PARTNER III and PEUGEOT RIFTER. When selecting a part, compare the product number 9821291880, the connector and the design of the original module in particular. A match in the model name alone does not necessarily mean the part has the same design.
If diagnostics confirm a regulator fault, replacing it separately allows you to address fan control without unnecessarily replacing other functional components.
Technical information
- Manufacturer: not specified; the documentation lists the designation Stellantis CITROEN PEUGEOT.
- Model: Citroën Berlingo K9; OPEL COMBO E K9; PEUGEOT PARTNER III; PEUGEOT RIFTER.
- Part type: fan regulator, air-conditioning fan motor control module.
- Category: cooling, heating, air conditioning – electrical components – fan regulators.
- Condition: used part.
- Other numbers: not specified.
Product codes
- Product codes: 9821291880.
Installation recommendations
The following procedure is general for this type of electric fan regulator. The exact access to the part, fastening method and procedure for disconnecting the electrical system depend on the specific model and vehicle configuration. Follow the manufacturer’s service instructions.
1) Before installation
- Compare the markings on the replacement regulator with the original part, including the housing shape, mounting points, connector and contact arrangement.
- Check for cracks, deformation, corrosion, traces of moisture and overheating. Do not install a damaged part or connector.
- First check the cause of the fault. Similar symptoms can also be caused by the fan motor, power supply, wiring or air-conditioning controls.
- Check that the fan is not mechanically obstructed and that the air ducts and cabin filter are not clogged.
2) Required tools and materials
- Standard hand tools appropriate for the fasteners used.
- Tools for carefully releasing covers and connector locks.
- A flashlight, protective gloves and tools for dry cleaning around the part.
- A suitable measuring instrument and, if necessary, diagnostic equipment for troubleshooting electrical faults; carry out measurements only if you are familiar with the wiring diagram.
3) Step-by-step installation procedure
- Before removal, note the symptoms of the fault and check how the fan responds to changes in the requested speed.
- Switch off the ignition and electrical consumers. Disconnect the battery according to the manufacturer’s procedure, including the specified waiting period before disconnection.
- Access the regulator according to the service procedure. Release covers and trim without force to avoid damaging the clips.
- Take photos of the wiring route, connector position and original part mounting to ensure correct reassembly.
- Release the connector lock and disconnect it by pulling on the connector housing, not the wires. Check the condition of the contacts and insulation.
- Release the regulator mounting and carefully remove it. Keep the fasteners and note their original positions.
- Compare the two parts side by side. If the connector or mounting differs, or the markings are unclear, do not proceed with installation until the correct configuration has been confirmed.
- Clean around the mounting point and remove any accessible dirt. Resolve any wiring damage, moisture or motor fault before installation.
- Place the replacement regulator in its original position and secure it according to the manufacturer’s instructions. Do not overtighten the fasteners or deform the part housing.
- Connect the connector until it is properly locked. Route the wiring along its original path, away from moving parts and areas where it could be pinched.
- Refit the removed covers, reconnect the battery according to the manufacturer’s instructions and carry out a function check.
4) Post-installation checks and function verification
- Test different requested fan speeds and check that the control responds smoothly and without interruptions.
- Check that the fan switches off and that the available control modes work as appropriate for the vehicle’s equipment.
- Watch for unusual noise, a smell of overheating or intermittent operation. If these symptoms occur, switch off the system and investigate the cause.
- Function can first be checked with the vehicle stationary. If you take a short test drive, check for stable operation and airflow without allowing it to distract you from driving.
5) Common installation mistakes and how to avoid them
- Replacing the part without checking the cause: also check the motor, power supply and wiring before installation.
- Leaving an overheated connector in place: damaged contacts can cause resistance and further heating. Repair the connection fault before installation.
- Forcing the connector into place: first check that it matches and is correctly oriented, then lock it properly.
- Incorrectly seating the regulator: retain the original position and mounting method, which may also be important for its cooling.
- Pinched wiring: check the routing and securing of the wires before closing the covers.
Reasons why the part may be damaged
In general, the following causes may contribute to damage to fan regulators; this is not a description of the history of this specific part:
- Overloading by the fan motor when it is worn, sticking or mechanically obstructed.
- Overheating of the electronics, for example due to insufficient cooling or restricted airflow in designs that rely on it.
- Moisture and corrosion, which damage the electronics and electrical contacts.
- Loose or damaged contacts that cause resistance and localized connector heating.
- Electrical system faults, such as a short circuit, damaged insulation or incorrect wiring work.
- Aging of electronic components due to use and repeated temperature changes.