Descrizione
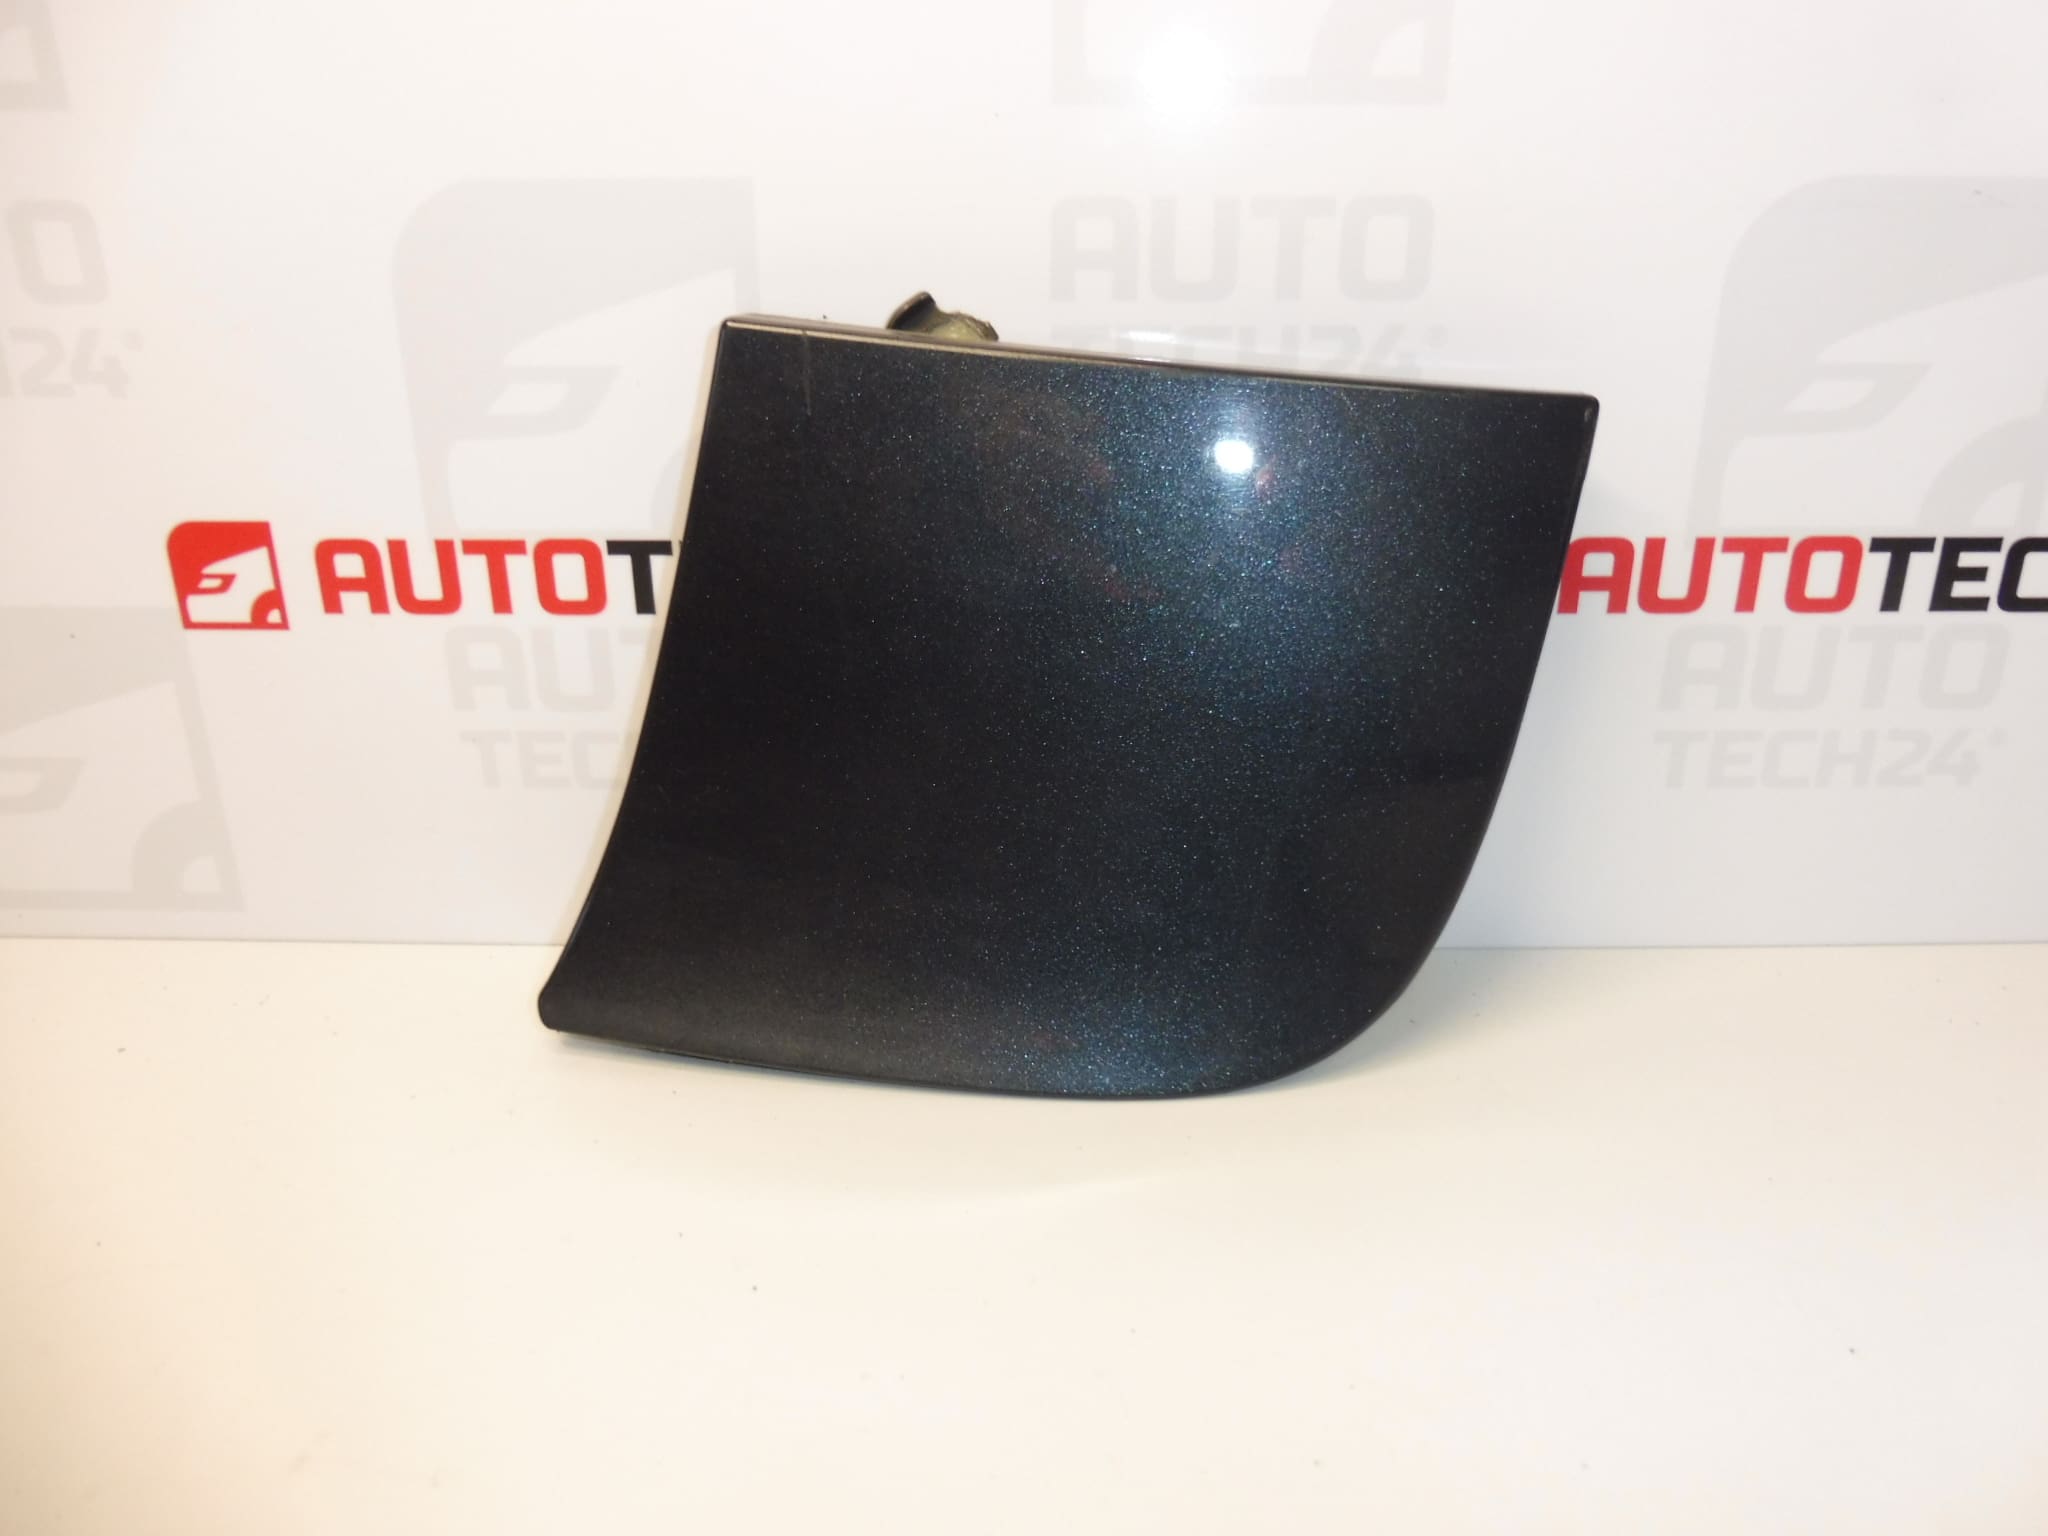
Fuel filler flap cover for PEUGEOT 107 and CITROEN C1 vehicles up to 2013
Colour KTA – CARLINITE GREY PAINT
Other colours available in stock
Part description
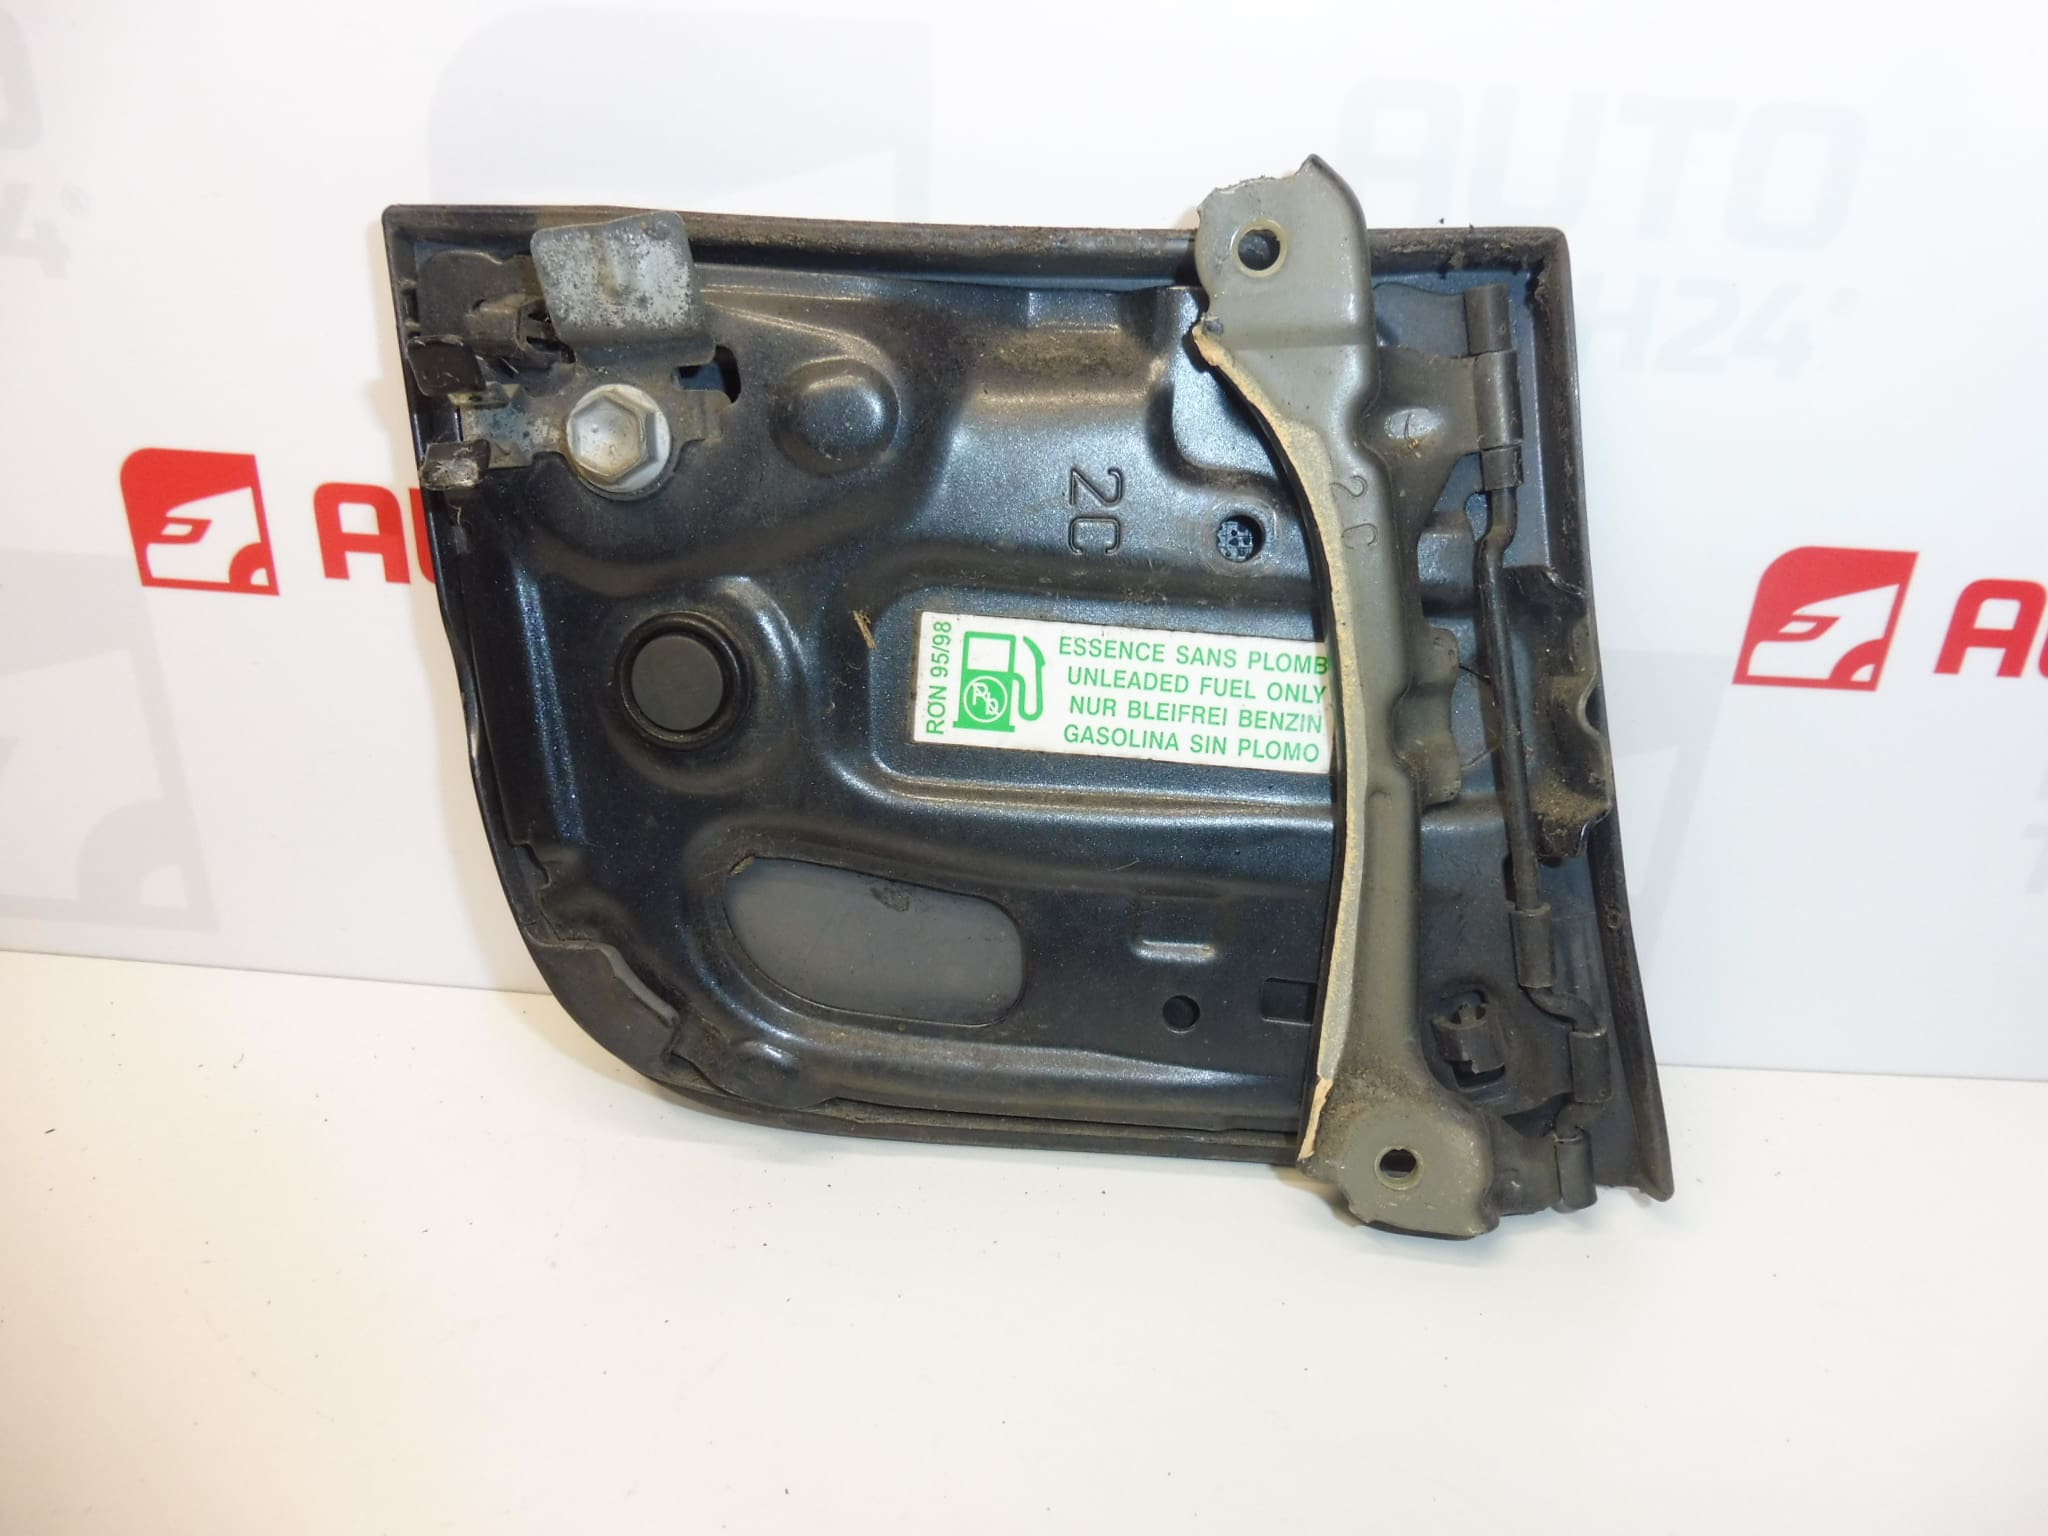
This used fuel filler flap cover for Peugeot 107 and Citroën C1 is a suitable replacement for a damaged or missing body panel. It is an exterior trim part around the filler opening, not the tank sealing cap itself. Replacing it can restore the vehicle’s appearance after mechanical damage to the cover.
The specified colour is KTA – Carlinite grey. When choosing, compare not only the colour but also the codes 1517C5 and 1517C9, as well as the mounting design of the original part. The shade and surface condition of a used painted part may vary due to age, sunlight or previous repainting of the vehicle.
Technical information
- Manufacturer: not specified; the source materials state Stellantis CITROEN PEUGEOT.
- Model: Citroën C1, Peugeot 107.
- Fitment according to source materials: vehicles manufactured up to 2013.
- Part type: external fuel filler flap cover, body panel.
- Condition: used part.
- Colour: KTA – CARLINITE GREY PAINT.
- Additional numbers: the title also includes the code KTB; its meaning is not specified in the other source materials.
Product codes
- Product codes: 1517C5, 1517C9.
- Colour code according to the long description: KTA.
- Additional designation in the title: KTB – this cannot be considered confirmation of the colour of this particular item.
- Models: Citroën C1, Peugeot 107.
Installation recommendations
The following general procedure applies to this type of part. The exact method of releasing and securing the cover depends on the specific model and vehicle version. The source materials do not specify the design of the clips or the extent of the supplied accessories.
1) Before installation
- Compare the shape, dimensions, mounting and markings of the replacement cover with the old part.
- Inspect the edges, paint and mounting points. Check that they are not cracked, deformed or excessively worn.
- Check the condition of the corresponding mount on the vehicle. Replacing the cover alone may not resolve damage to the supporting mechanism.
- Compare the shade with the bodywork, preferably in daylight.
2) Tools and materials required
Prepare suitable hand tools for the actual type of mounting, and, if necessary, a plastic trim removal tool, a soft cloth and protection for the surrounding paintwork. Do not use a metal tool as a lever directly against the painted bodywork.
3) Step-by-step installation procedure
- Park the vehicle in a safe place, switch off the engine, and do not use open flames or sources of sparks near the fuel tank.
- Clean the area around the cover so that dirt does not scratch the paint during handling.
- Open the cover in the usual way. Leave the tank cap itself closed.
- Inspect the mounting and note the cover’s original position. Determine the removal method based on the actual design and the vehicle’s service procedure.
- Support the cover by hand and carefully release its fasteners. If you encounter resistance, do not force it; find out the cause.
- Remove the original part and check the mating surfaces and the mount on the vehicle. Remove any dirt without damaging the surface.
- Position the replacement cover and check that its shape and mounting method match. Do not try to forcibly modify incompatible mounts.
- Fit the cover in the correct position and secure it using the method appropriate to that version.
- Close the cover slowly and check that it aligns with the bodywork. Make adjustments only if the design allows them.
4) Post-installation checks and function verification
Test opening and closing several times. The cover must be held securely, must not rub against the surrounding paintwork and must not require excessive force. Also check the operation of any locking mechanism, depending on the vehicle’s equipment. For a basic check of the cover, inspection while the vehicle is stationary is usually sufficient; check that it is still seated correctly after the first drive.
5) Most common installation mistakes and how to avoid them
- Forcing the fasteners loose: first determine how they are secured to avoid breaking them.
- Scratching the surrounding bodywork: protect the paint and use clean tools.
- Installing onto damaged mounts: before replacing the cover, also inspect the part of the mechanism that remains on the vehicle.
- Failing to notice incorrect seating: always check for free movement and even gaps before normal use.
Reasons why the part gets damaged
Damage to this type of body panel is most often associated with mechanical stress and external factors. The following causes are general and do not describe the history of the item offered:
- Impacts and catching the open cover while refuelling or working around the vehicle.
- Forcing it open when frozen or when the mechanism is sticking.
- Wear or damage to the mounts, followed by stress on the cover when it is out of position.
- Careless removal, levering or closing with excessive force.
- Scuffs and gradual deterioration of the paintwork due to weather, dirt and spilled fuel.