Descrizione
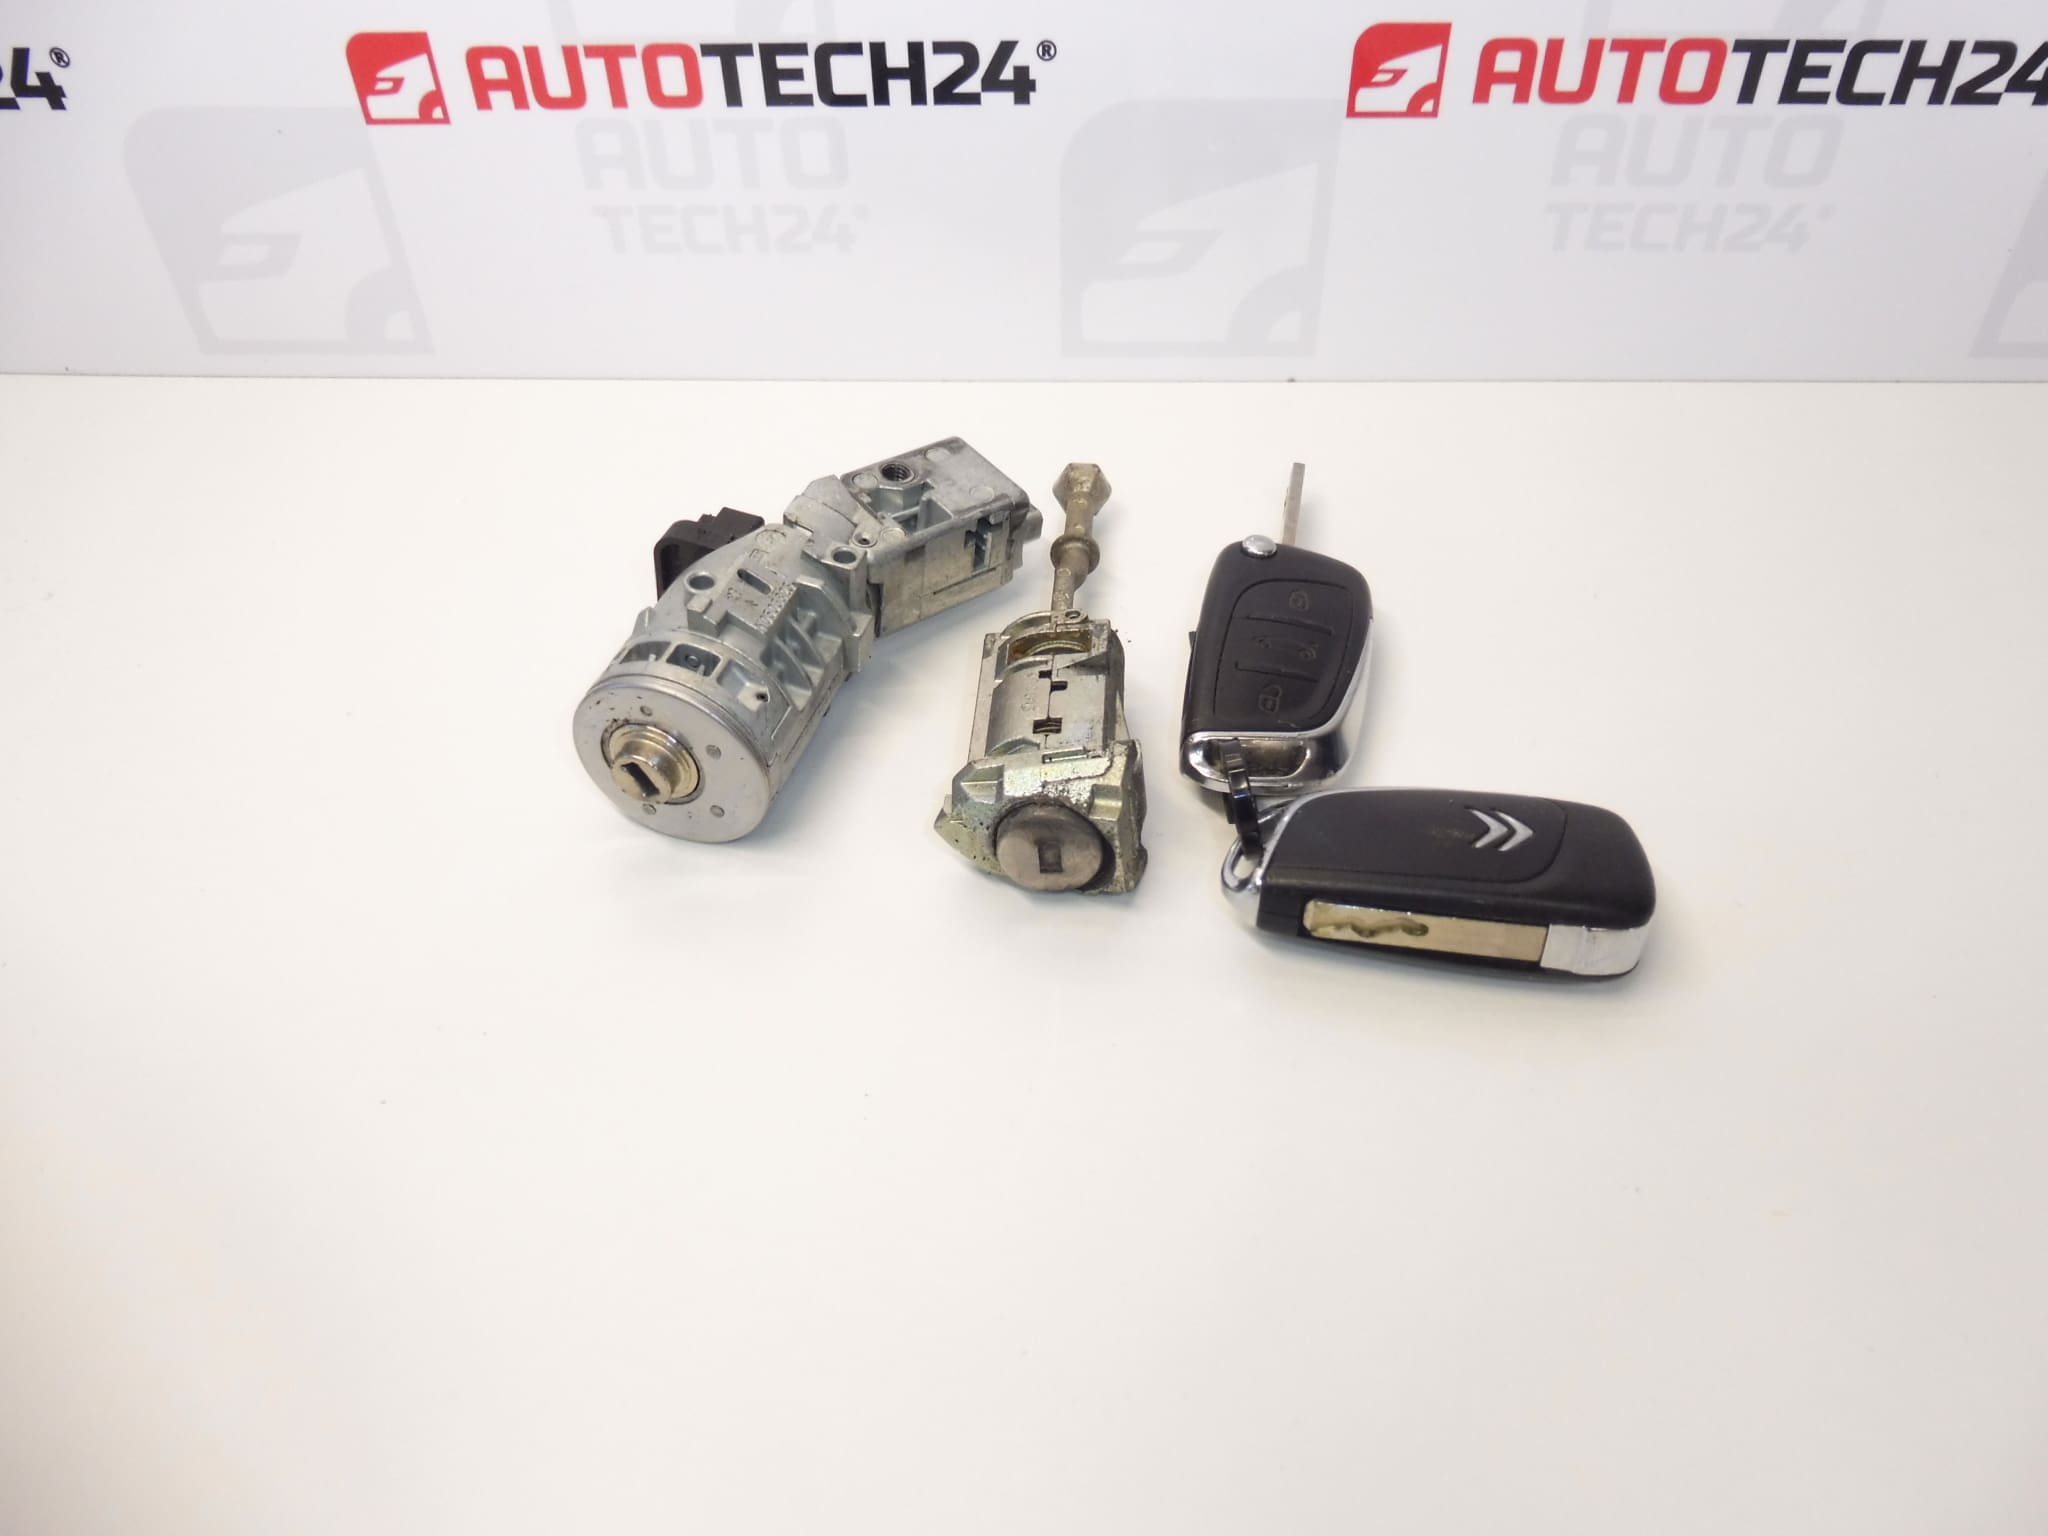
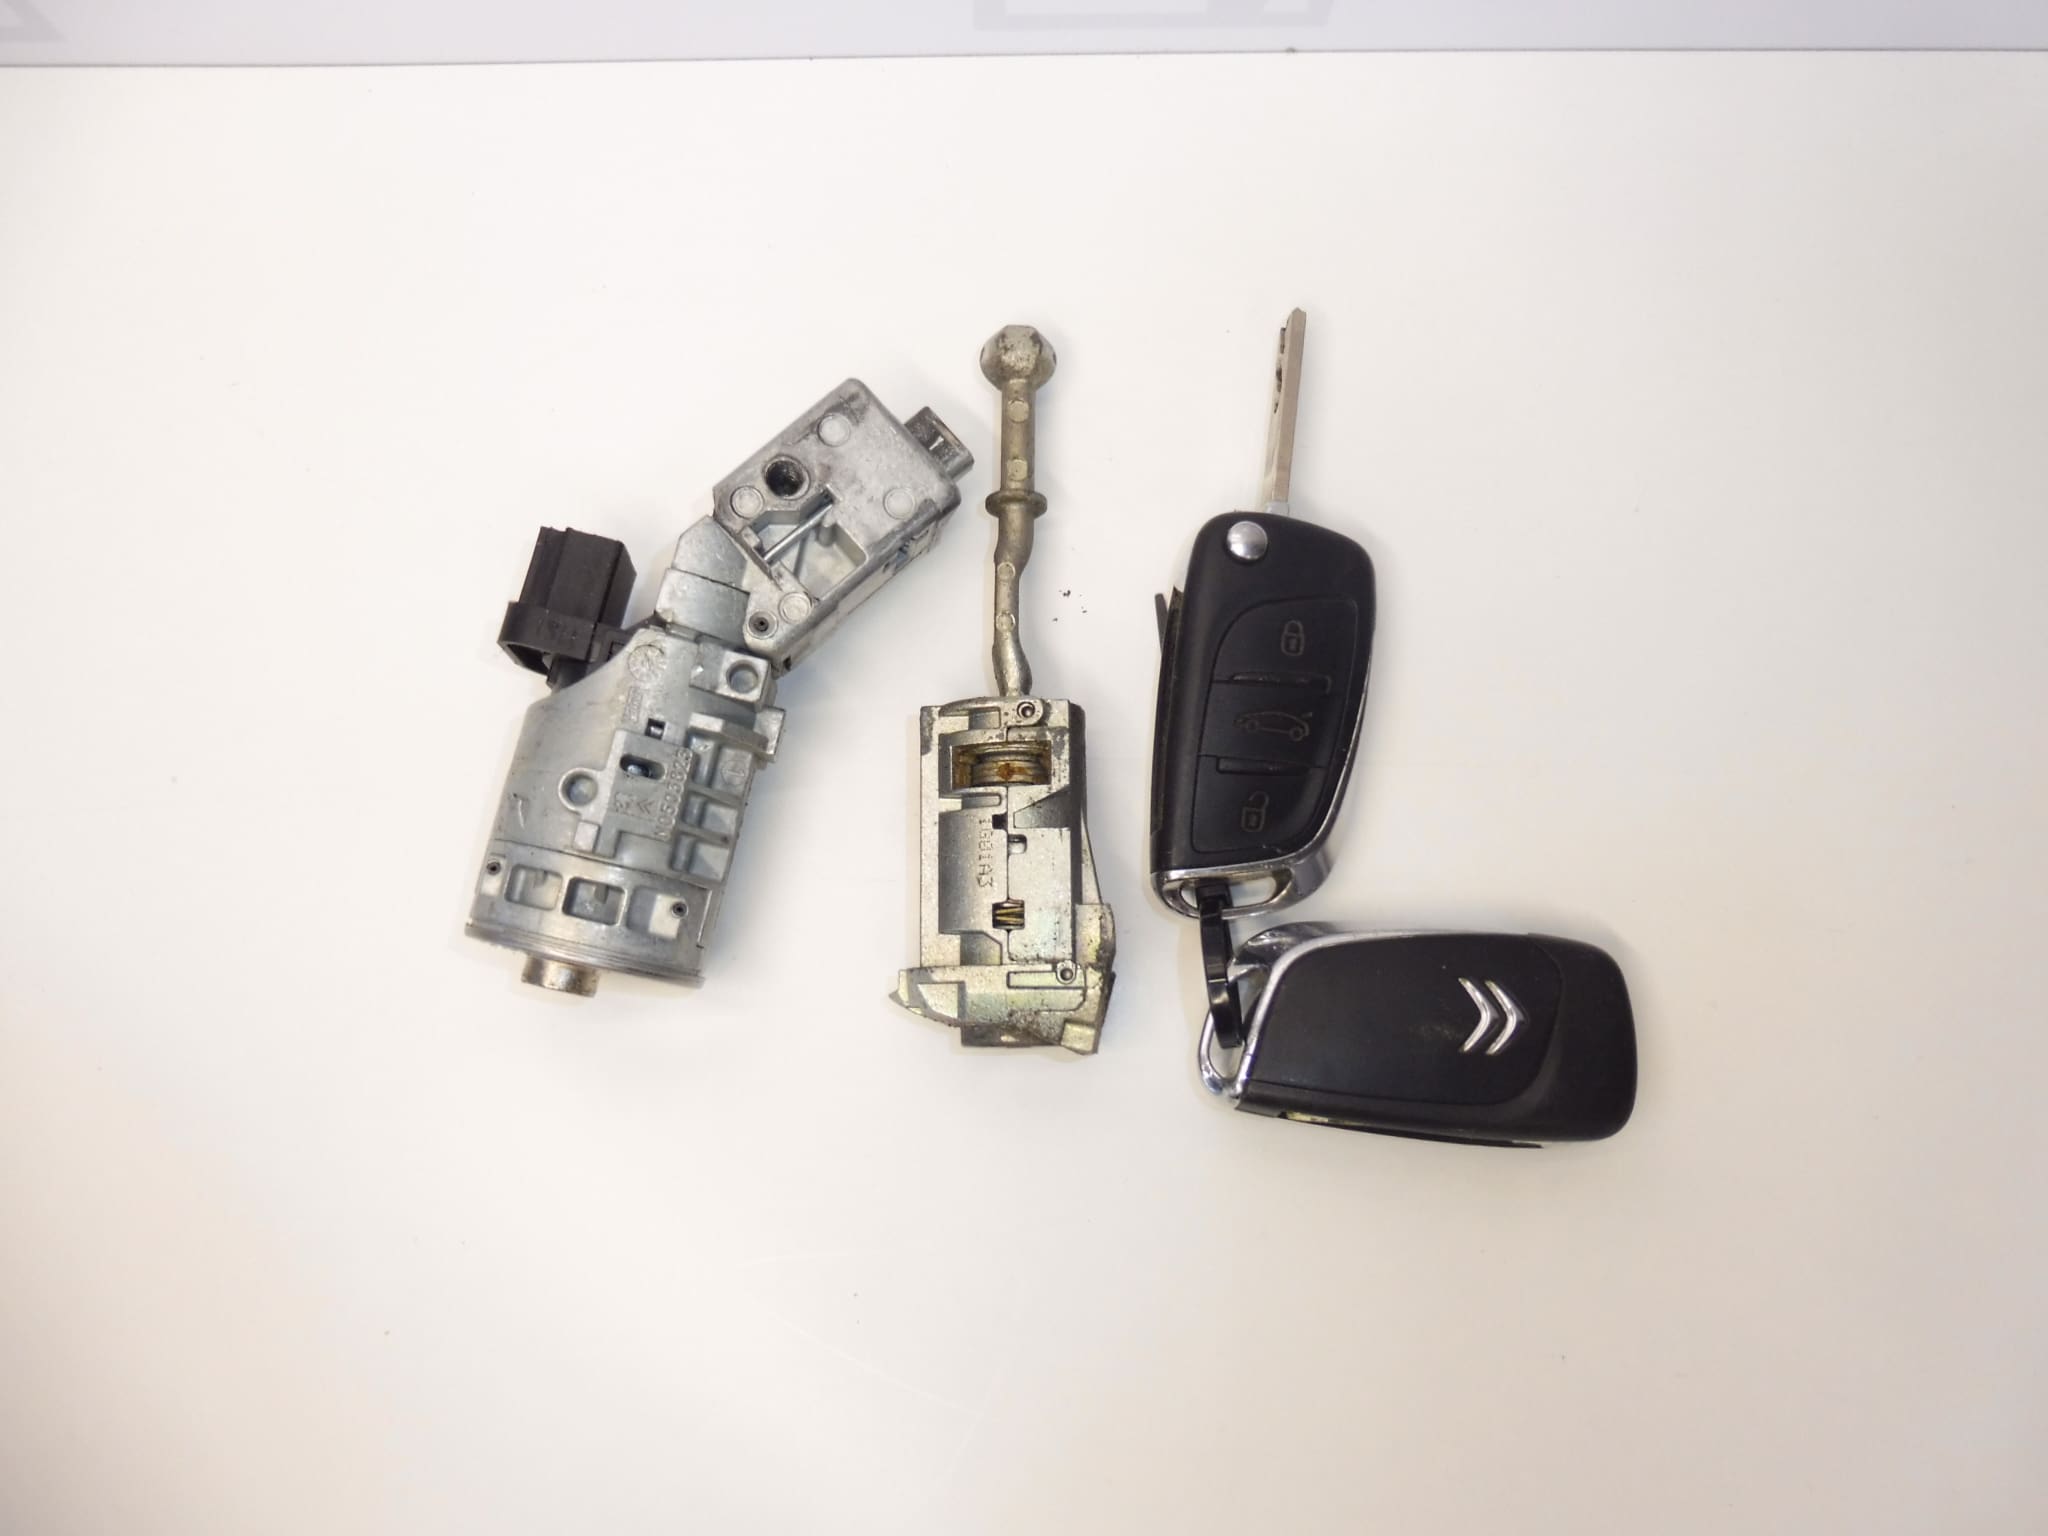
Lock set for CITROEN C4 II B7 vehicles
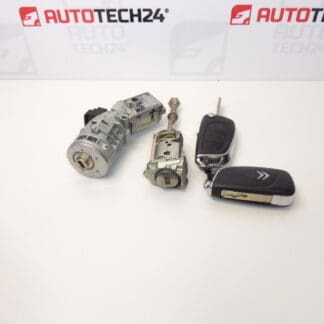
Driver’s door lock plus ignition switch
2 x keys
Part description
Used Citroën C4 II B7 lock set with two keys includes the driver’s door lock and ignition switch. It is a suitable solution when replacing damaged or worn locks. Both parts are supplied together with the keys in one set, rather than having to source them separately.
When selecting a set, pay particular attention to the markings 4162WH and 4162WK and compare its design with the original parts. The fact that keys are supplied with the locks does not in itself mean that the electronic engine start authorisation or any remote control will work without additional configuration. The design of the key electronics and whether they are ready for use with another vehicle are not specified in the information provided.
Technical information
- Manufacturer: not specified; the information provided lists the marking Stellantis CITROEN PEUGEOT.
- Model: Citroen C4 II; specified in the description as CITROEN C4 II B7.
- Part type: lock and key set.
- Set contents: driver’s door lock, ignition switch, 2 keys.
- Condition: used part.
- Additional numbers: not specified.
Product codes
- Product codes: 4162WH, 4162WK.
- Model according to label: Citroen C4 II.
Compare the product numbers with the markings on the original set or with catalogue information for the specific vehicle version. A matching model name alone does not replace checking the mechanical and any electrical design.
Installation recommendations
The following procedure is a general guide to replacing a door lock and ignition switch. The exact removal procedure, method of securing each part and work on the key electronics depend on the specific vehicle version. Follow the manufacturer’s service procedure; entrust work on the immobiliser and safety components to a professional.
1) Before installation
- Compare the product numbers, body shape, mounting points, controls and any connectors with the original parts.
- Inspect the used set: check for cracks, corrosion, damaged mountings and the condition of both keys.
- Without using force, check that the keys can be inserted and that the mechanisms operate as far as their removed condition allows.
- Decide in advance how to retain or adapt the electronic start authorisation. A key that mechanically matches the lock is not necessarily recognised by the immobiliser.
- Keep the original keys and removed components until the operation has been fully checked.
2) Tools and materials required
- Standard hand tools suitable for the fasteners used.
- Plastic tools for careful removal of trim and covers.
- A light, a container for small parts and a means of marking removed connections.
- Clean cloths and, if applicable, a product intended for lock maintenance, provided it is approved by the manufacturer.
- Service documentation and, if electronic adaptation is required, suitable diagnostic equipment.
3) Step-by-step installation procedure
- Park the vehicle safely, switch off the ignition and ensure access so that it cannot be accidentally locked during the work.
- Before working on electrical components, disconnect the battery according to the manufacturer’s procedure and observe the specified waiting times.
- Following the service documentation, carefully remove the trim and covers required to access the components being replaced.
- Record the original wiring routes, the position of fasteners and the door lock control connections, for example by taking photographs.
- Release the driver’s door lock using the prescribed procedure. Disconnect any rods, clips and connectors without levering or deforming them.
- Remove the ignition switch using the procedure specified for the particular version. Do not force the retaining mechanism; if it cannot be released normally, stop work and use a professional service procedure.
- Compare the removed parts with the replacement set and clean the contact surfaces. Check the surrounding mountings and control mechanisms.
- Install the replacement door lock, reconnect its controls correctly and check that it operates freely without strain.
- Position and secure the ignition switch. Connect any connectors to their original positions and route the wiring clear of moving parts.
- Before refitting the covers, check the fastenings, mechanical operation and correct seating of all clips. Then refit the trim and covers.
- Reconnect the battery according to the manufacturer’s instructions. If the key electronics need to be adapted, have this done with suitable equipment and then check the operation of the complete set.
4) Post-installation checks and function verification
- Test both keys and check that the driver’s door locks and unlocks smoothly. Carry out the initial check while ensuring safe access to the vehicle.
- Check the normal operating positions of the ignition switch, starting and switching off the engine. The key must not stick or require excessive force.
- If the vehicle is equipped with these functions, also check the central locking and remote control.
- Before driving, check that any steering lock operates correctly in accordance with the service procedure. If you are unsure whether it has disengaged, do not drive the vehicle.
- Only carry out a short test drive after the stationary checks have been completed successfully; then check starting and locking again.
5) Common installation errors and how to avoid them
- Confusing the key’s mechanical and electronic functions: before replacement, address start authorisation, not just the shape of the key.
- Forcing secured parts loose: use the correct service procedure to avoid damaging surrounding mechanisms.
- Incorrectly connecting the door lock controls: maintain the original position of the connections and test their operation before refitting the covers.
- Pinched wiring or connectors that are not fully engaged: check the routing and secure connections before completing the work.
- Unsuitable lubrication: do not use general-purpose lubricants without checking that they are suitable for lock mechanisms.
Reasons why the part may become damaged
The following factors are common causes of faults in this type of part. These are general causes, not a description of faults in the set being offered.
- Mechanical wear of the internal lock and key components due to long-term use.
- Dirt, moisture and corrosion, which impair the movement of the mechanism.
- Using a damaged or worn key and forcing it to turn when it sticks.
- Excessive load on the ignition switch, for example from a heavy bunch of keys hanging from the key.
- Attempting to force the lock open or tamper with the ignition, which may deform the lock or its mounting.
- Improper installation or unsuitable maintenance, which can cause strain, damage to clips or contamination of the mechanism.