Descrizione
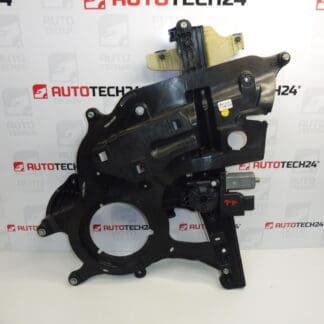
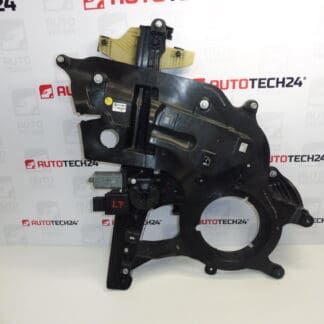
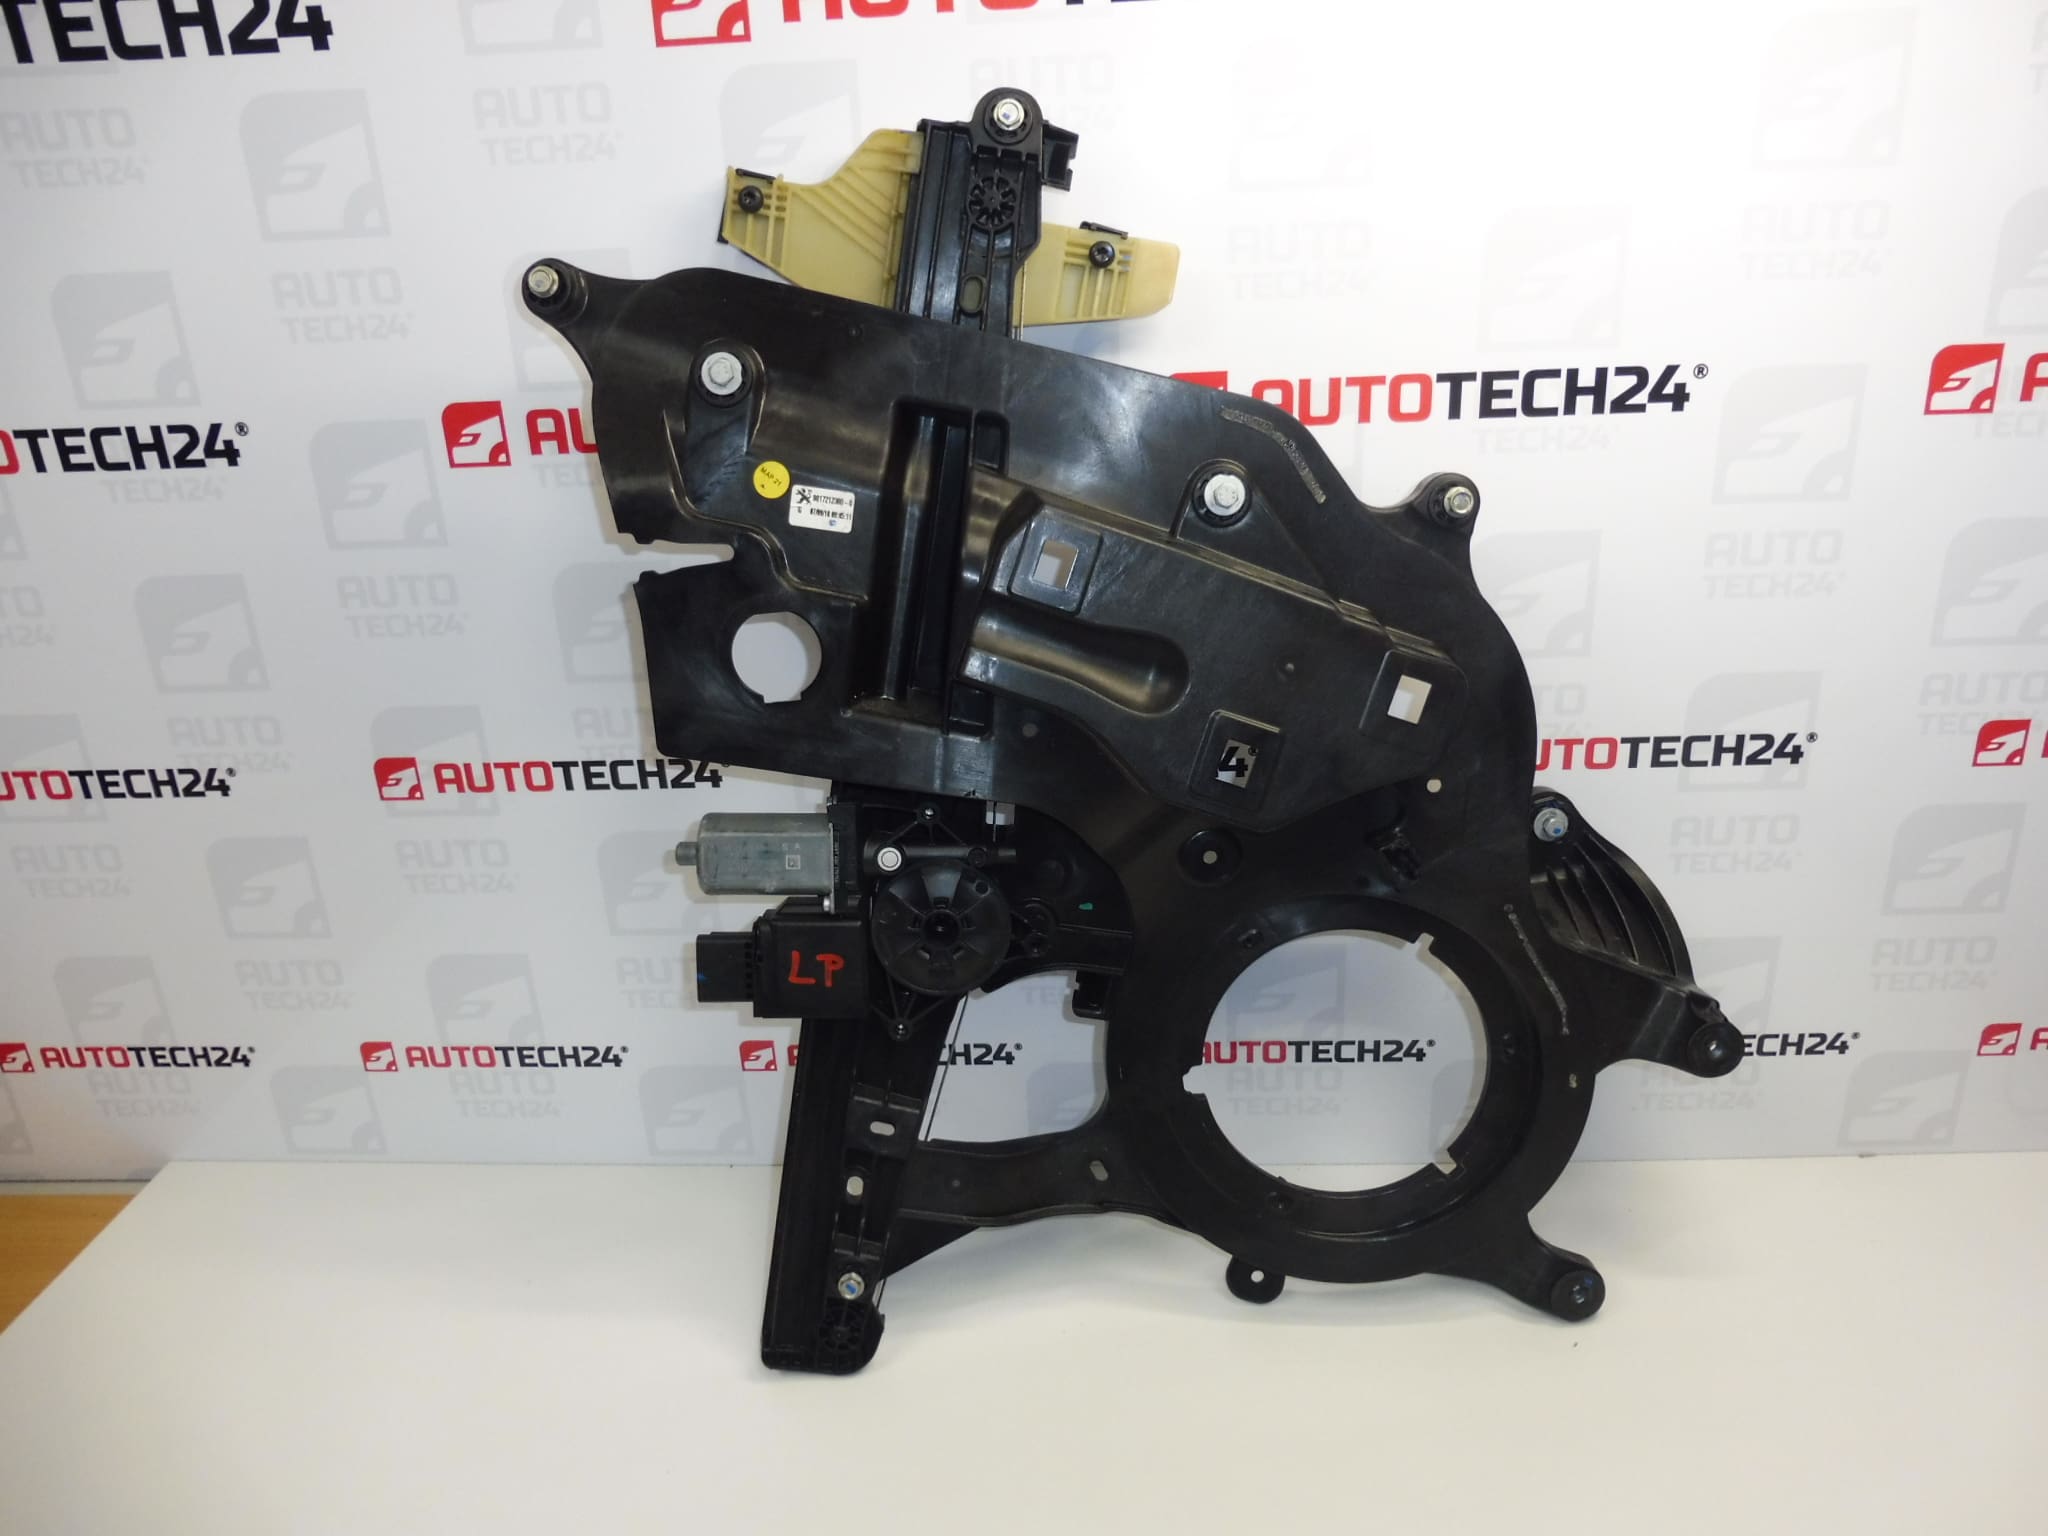
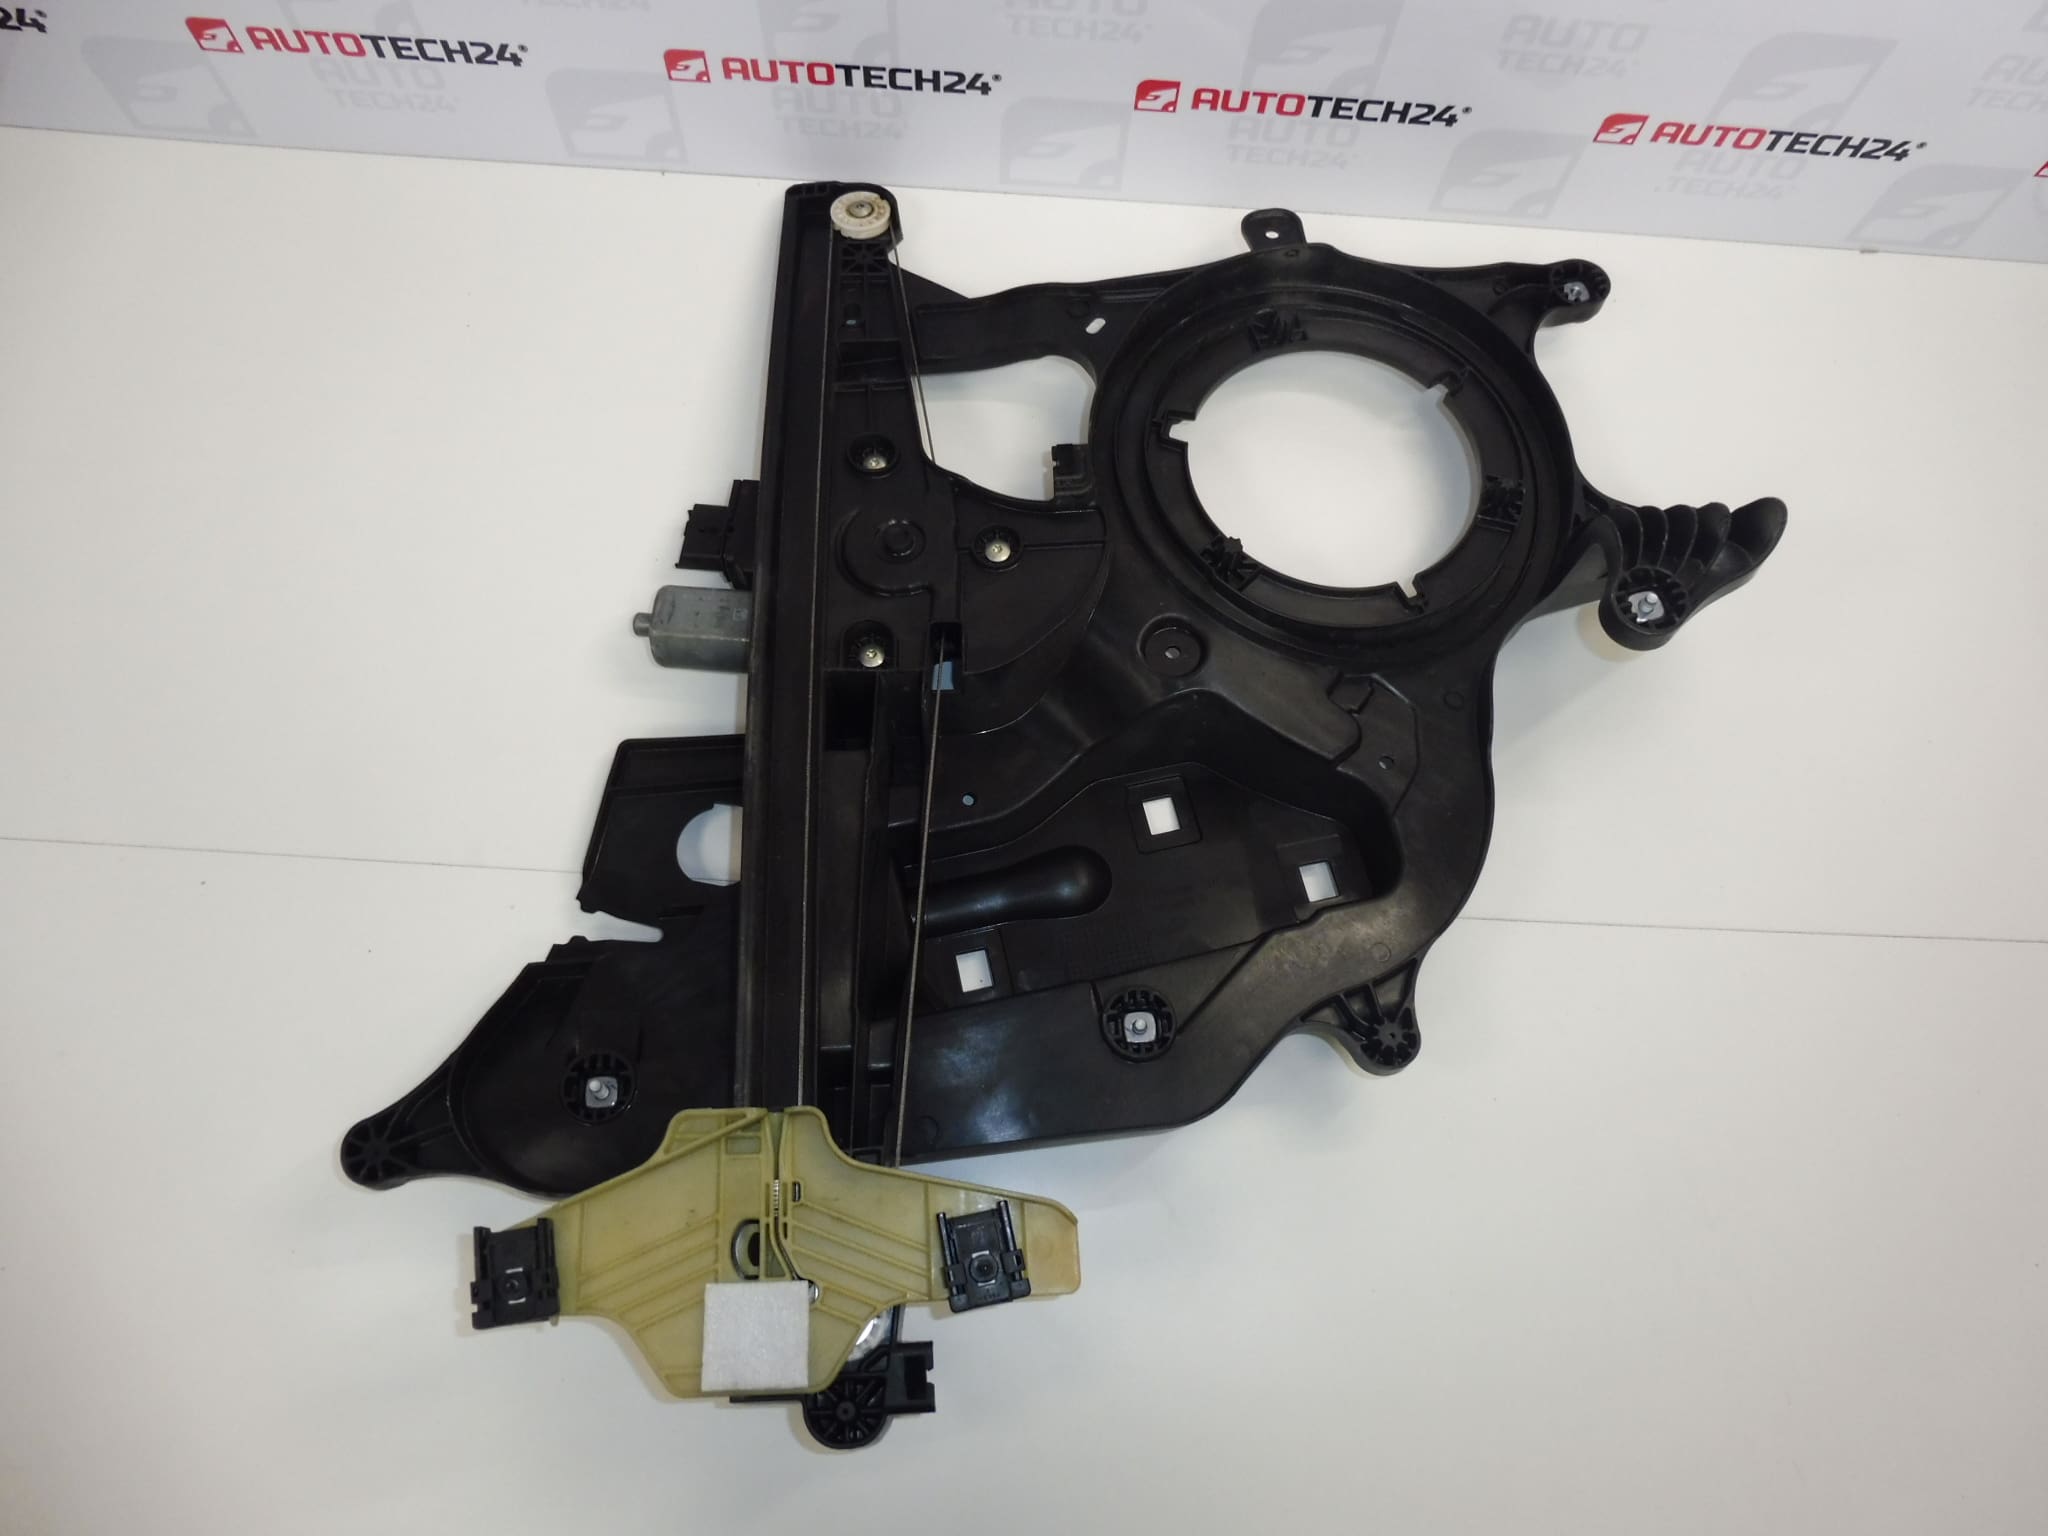
Left front window regulator mechanism for Stellantis vehicles
Driver’s door
Part description
The used left front window regulator mechanism is intended to replace the window regulator in the driver’s door. It guides and moves the window glass as the window opens and closes. If the window moves jerkily, slips out of alignment, or makes unusual noises when operated, the cause may be a damaged mechanism.
The part is listed under numbers 9817212380 and 9840175880. The documentation lists it for the Citroën Berlingo K9, PEUGEOT RIFTER, FIAT DOBLO III, Opel Combo E K9 and Toyota ProAce City models. When selecting a part, compare the markings and design with the original part; the model name alone is not enough to determine a matching variant. Replacing a faulty mechanism may restore smooth window operation and proper closing.
Technical information
- Manufacturer: not specified; the documentation lists the designation Stellantis CITROEN PEUGEOT.
- Model: Citroën Berlingo K9; FIAT DOBLO III; PEUGEOT RIFTER; Toyota ProAce City; Opel Combo E K9.
- Part type: window regulator mechanism.
- Location: left front door – driver’s door.
- Condition: used automotive part.
- Additional numbers: 9840175880.
- Included – electric motor and accessories: not specified.
Product codes
- Product codes: 9817212380, 9840175880.
The numbers can be used to identify the part and compare it with the markings on the original window regulator. The documentation does not clarify the relationship between the two numbers or the specific equipment variants.
Installation recommendations
The following applies generally to this type of part: replacement requires access to the inside of the door and securely supporting the glass. The procedure below is general; the exact steps, fastening method and any operating adjustments depend on the specific model and vehicle configuration.
1) Before installation
- Compare the product numbers, left-front side, mechanism shape, mounting points and glass attachment with the old part.
- Check the used part for cracks, deformation, corrosion and damaged mounts. For cable-operated versions, also inspect the cables, guides and pulleys, if accessible.
- Check what is included. The documentation does not confirm whether an electric motor or installation accessories are included.
- First verify the cause of the fault: a non-functioning window may also be related to the controls, power supply, wiring or motor. Sticking may be caused by dirty or damaged glass guides.
2) Tools and materials required
- A standard set of hand tools suitable for the fasteners used.
- Plastic trim removal tools for removing the door trim.
- Suitable tools for safely supporting and securing the glass.
- Protective gloves, paint protection and clean cloths.
- Depending on the configuration, materials for restoring the seal of the protective film or door cover.
3) Step-by-step installation procedure
- Secure the vehicle against movement, switch off the ignition and protect the area around the door from scratches.
- If the glass needs to be moved electrically into the service position, do so according to the manufacturer’s procedure, and only if the glass moves safely. Then disconnect the battery according to the vehicle manufacturer’s instructions.
- Carefully remove the door trim. Release the clips using a suitable tool, and do not pull on wires or rods.
- Access the mechanism by removing the relevant cover or protective film. Do not damage the sealing surfaces, and note the wiring routing.
- Safely support and secure the glass to prevent it from falling. Do not rely solely on the damaged mechanism.
- Depending on the design, release the glass from the window regulator mounts and secure it in a position that allows the mechanism to be removed. Do not apply point pressure to the glass.
- Disconnect any electrical connection and release the original mechanism’s fasteners using a method appropriate for the type of fasteners.
- Remove the old part and compare it with the replacement. Clean the accessible glass guides and check that nothing is obstructing its free movement.
- Insert the replacement mechanism without forcing it, seat it in the mounting points and secure it according to the manufacturer’s service instructions.
- Position and attach the glass to the mounts. Check that it is guided correctly and route any wiring away from moving parts.
- Once all components are secured, restore the electrical connection according to the manufacturer’s procedure and carefully check operation. Keep hands and tools clear of the mechanism’s path. If the glass crosses or makes unusual noise, stop the test immediately.
- Restore the seal of the protective film or cover, reinstall the trim and check operation again. If required by the specific configuration, set the end positions according to the vehicle documentation.
4) Post-installation checks and function verification
- Test the window throughout its full range of movement. The glass should move smoothly, without tilting, sticking or unusual noise.
- Check that the glass closes fully and seats against the seal.
- If the vehicle has automatic operation or an anti-pinch system, check their operation only according to the manufacturer’s procedure; never use any part of your body as a test obstacle.
- During a short test drive, listen for any knocking inside the door or increased aerodynamic noise when the window is closed.
5) Most common installation mistakes and how to avoid them
- Insufficiently securing the glass: always support the glass securely before releasing the mounts.
- Choosing the wrong design variant: compare the markings, mounts and design of both mechanisms before installation.
- Misaligned glass: check the guidance and smooth movement before completing the installation.
- Leaving the original cause of excessive load unaddressed: remove dirt and correct any faults in the guides; otherwise, the replacement part may be damaged.
- Pinched wiring or damaged door sealing: route the wires away from moving parts and carefully restore the water barrier.
Reasons why the part gets damaged
The following are common causes of damage to window regulator mechanisms; they are not confirmed faults of this specific item:
- Wear of moving parts through repeated use, particularly mounts and sliders and, depending on the design, cables or pulleys.
- Increased resistance of the glass caused by dirt, damaged seals or incorrect guidance.
- Operating a frozen or blocked window, which places excessive strain on the mechanism.
- Moisture and corrosion, which can impair movement and weaken individual components.
- Impacts to the door or improper installation, which can deform the mechanism or cause the glass to be incorrectly seated.