Descrizione
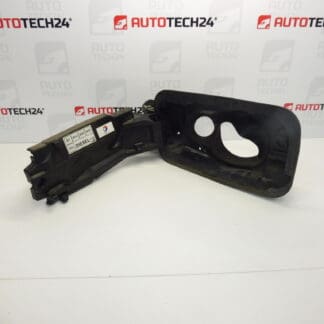
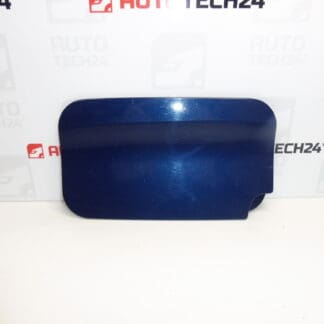
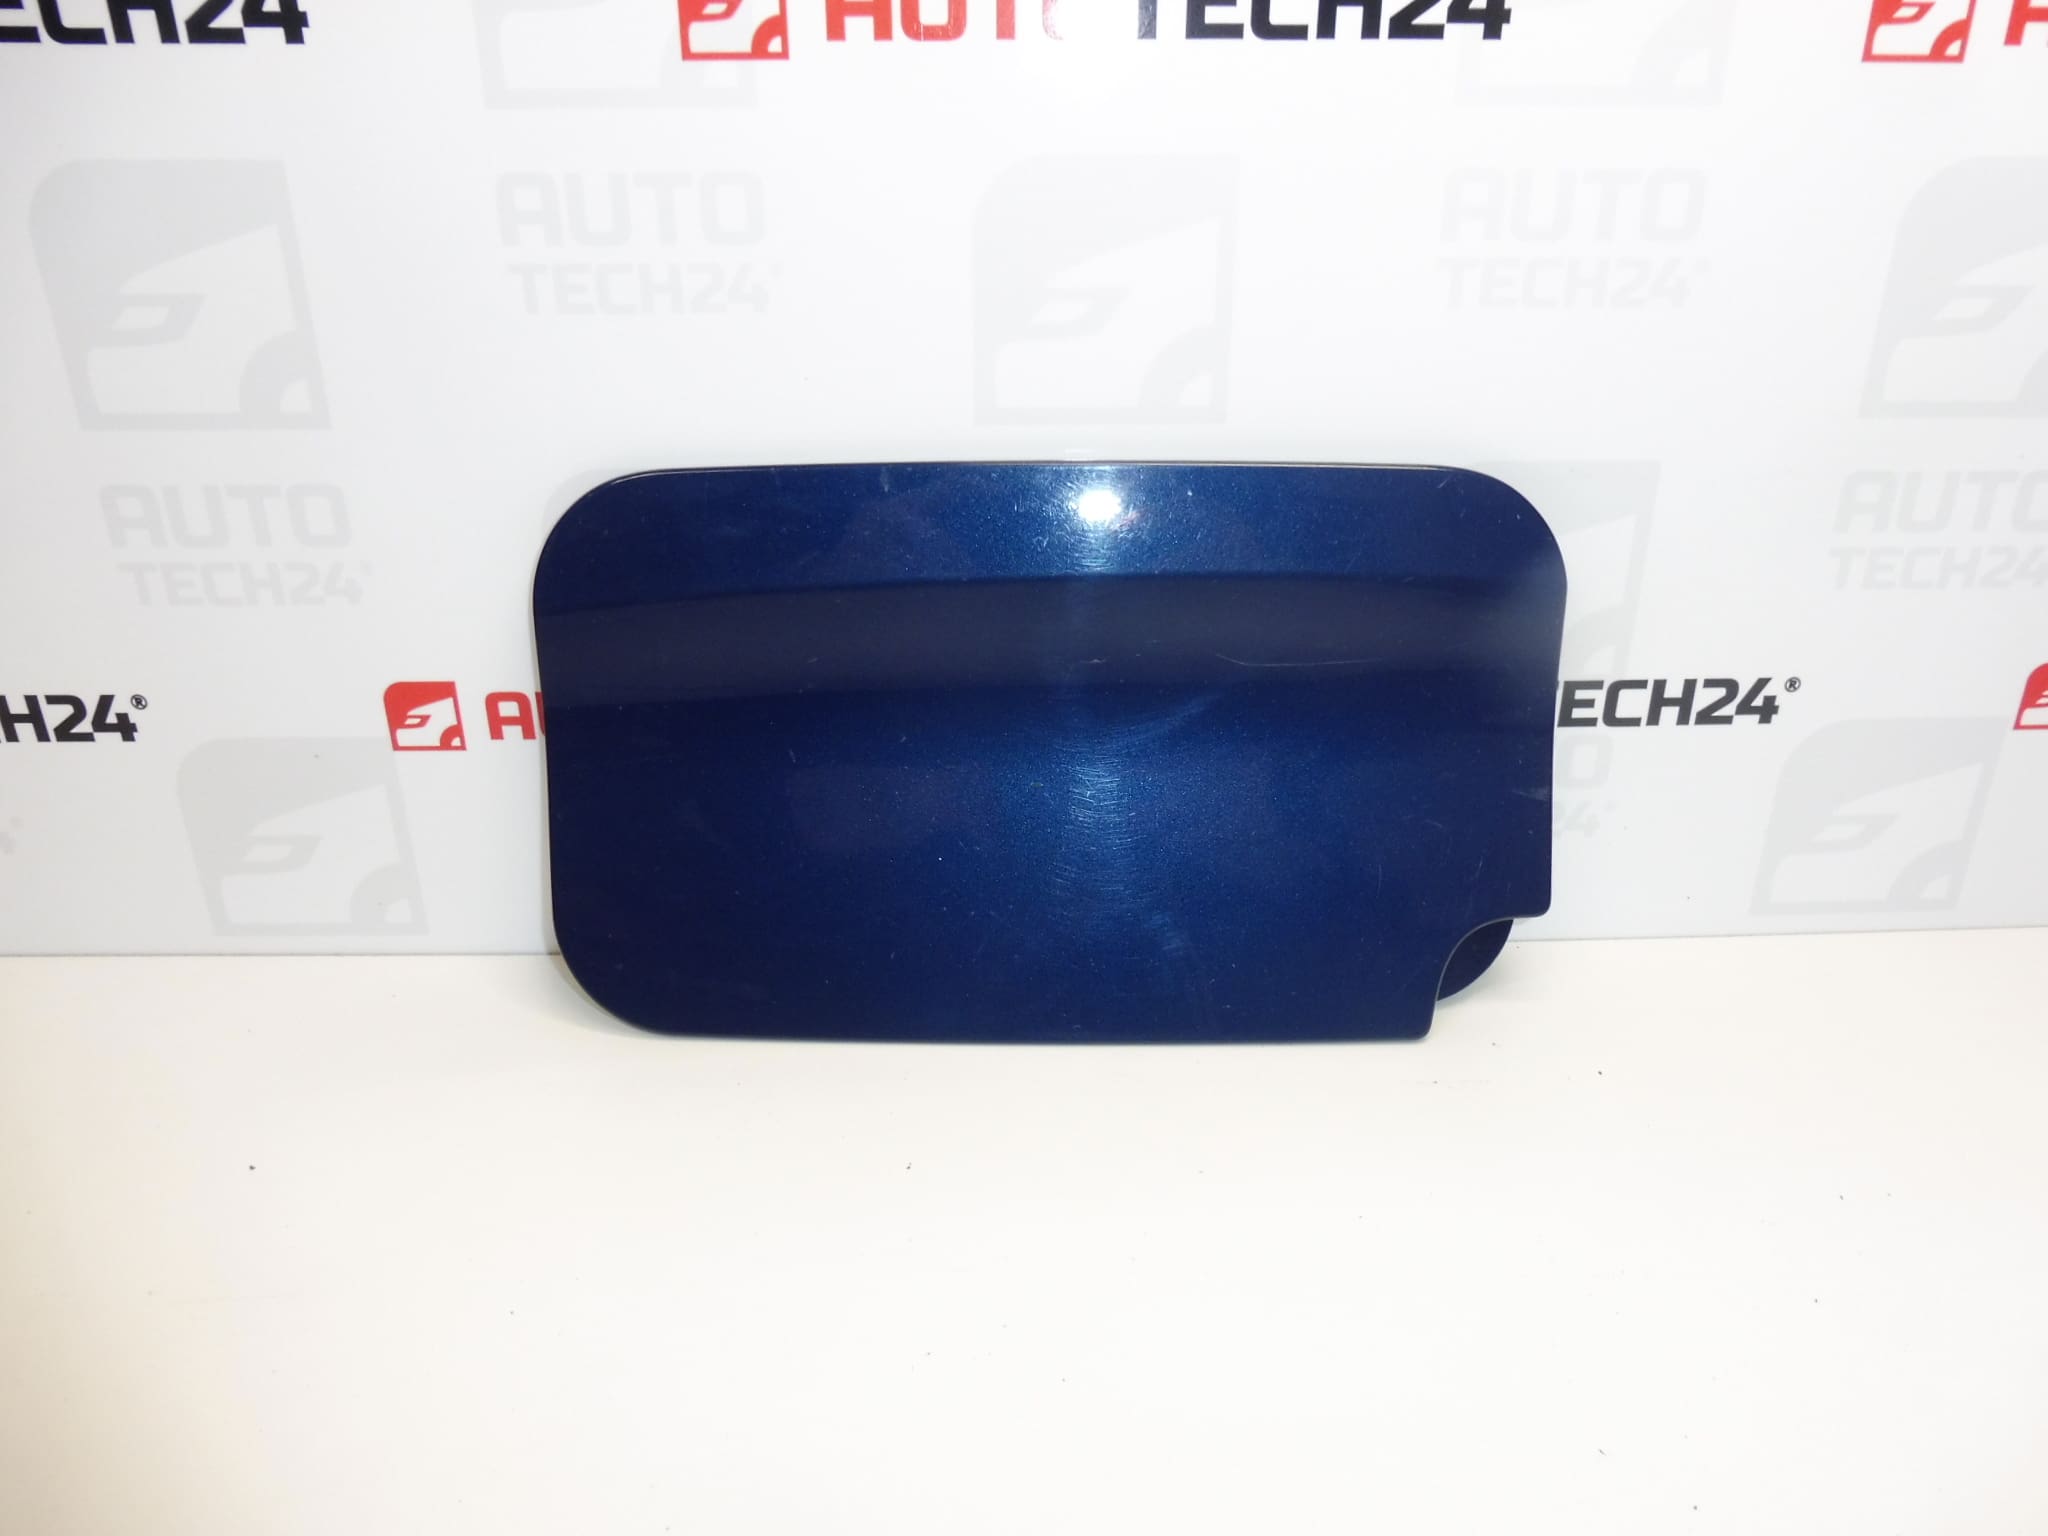
Fuel filler flap for CITROËN, PEUGEOT and other Stellantis models
Color EJG – BLEU NUIT PAINT
Part description
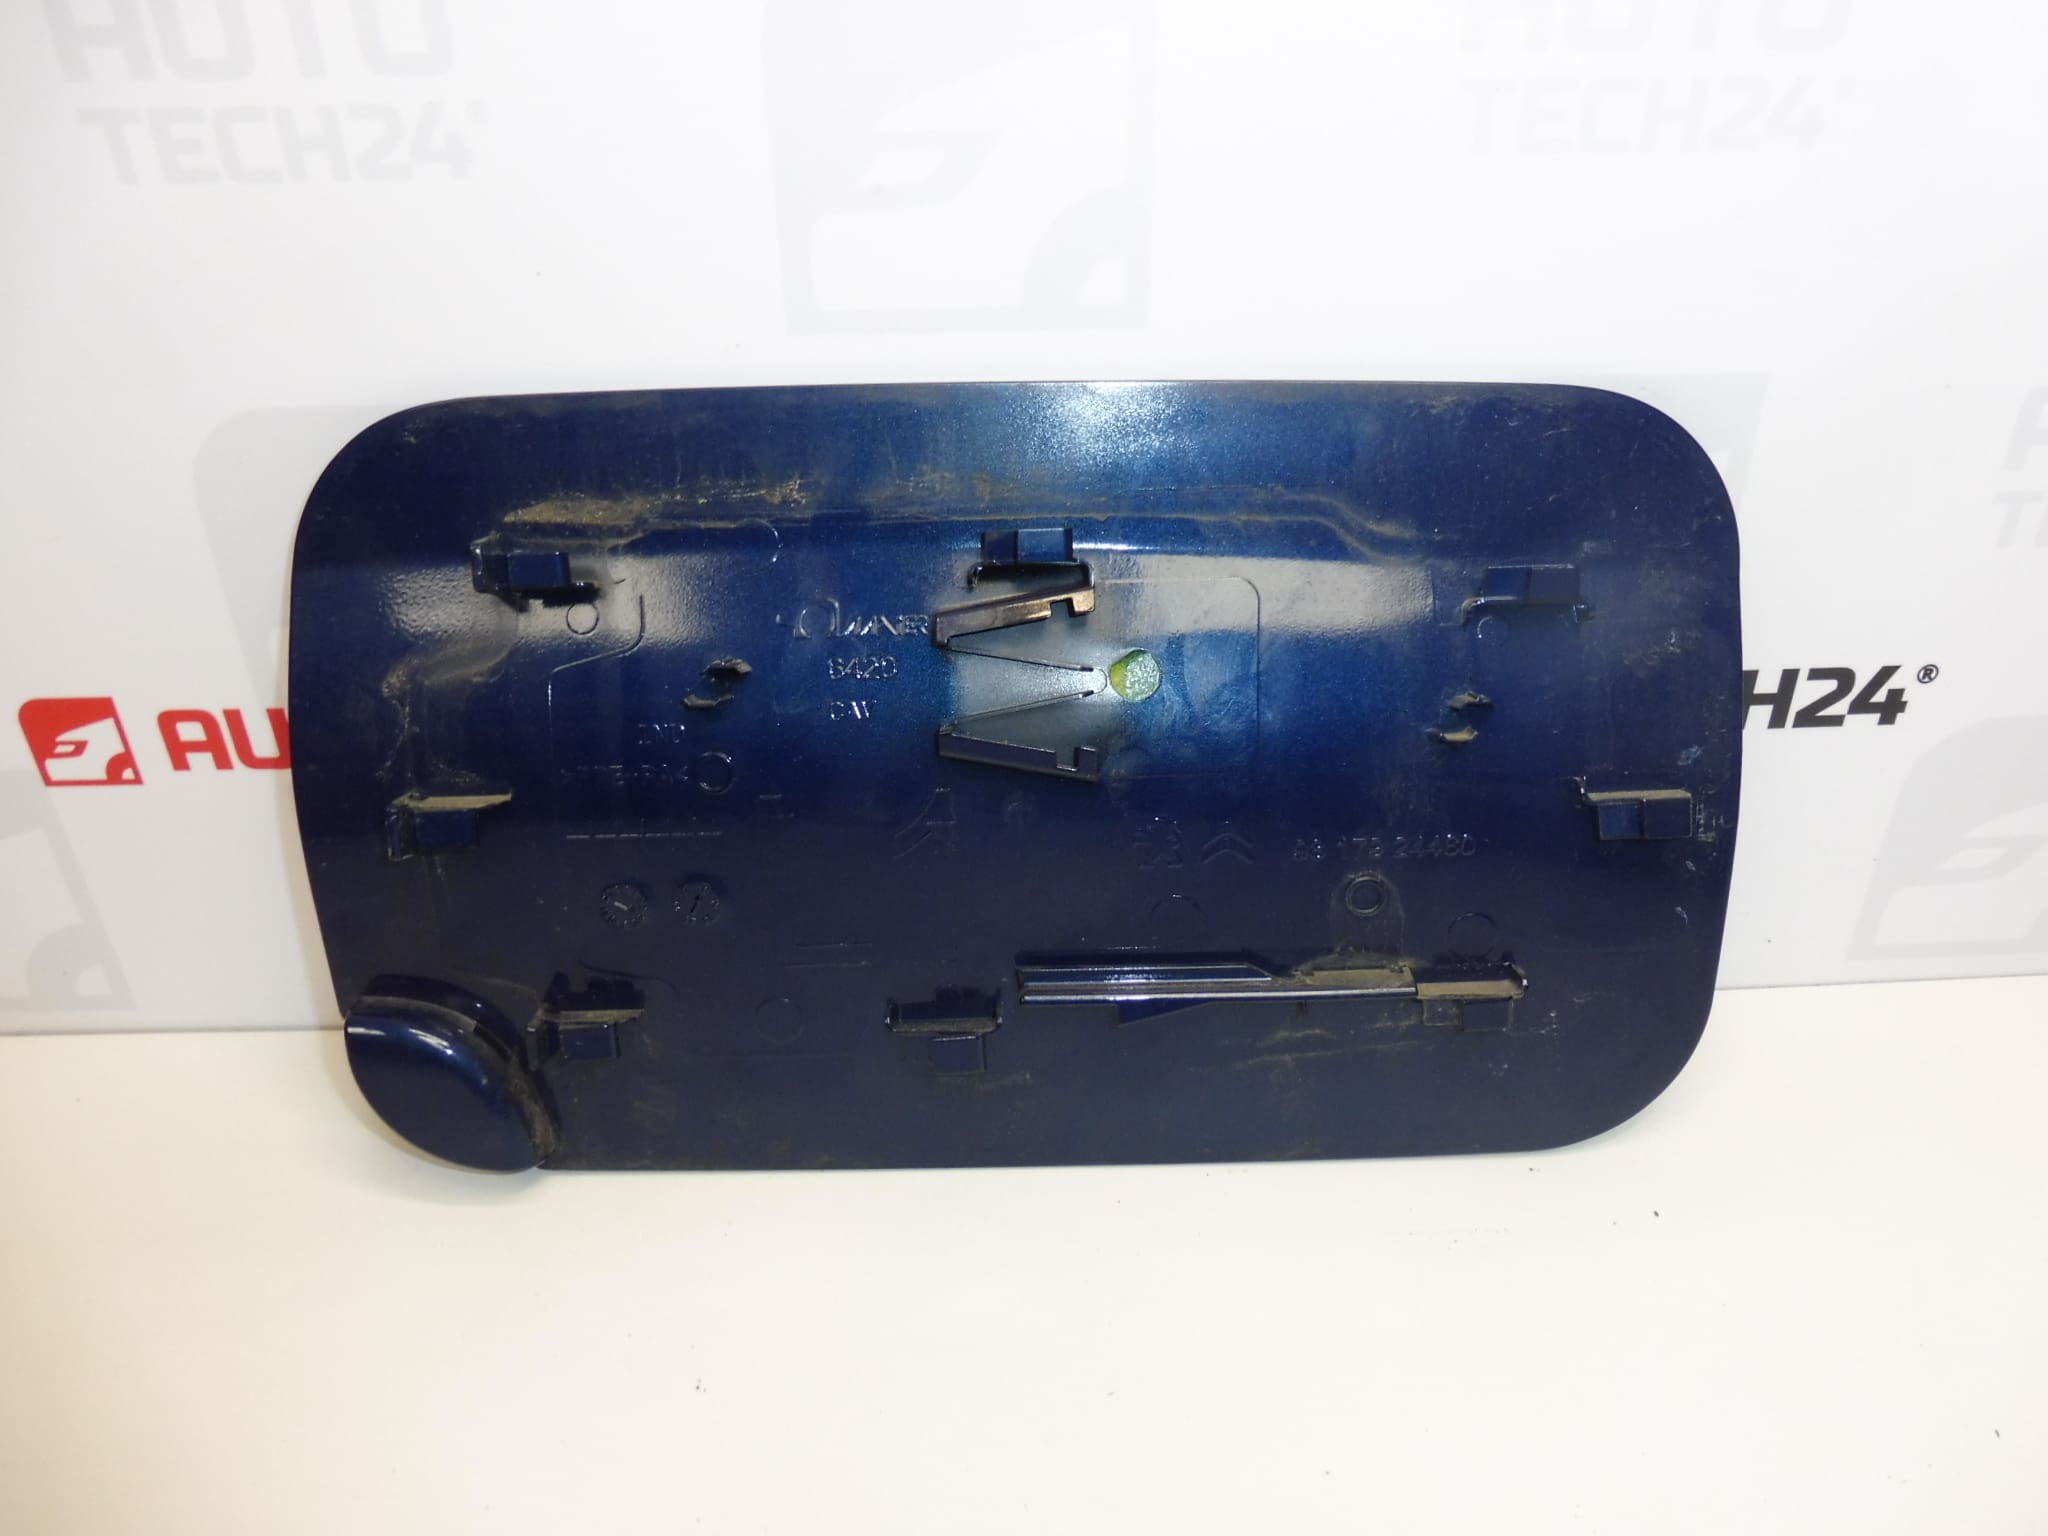
The used fuel filler flap with product number 9817924480 is a suitable choice when replacing a damaged or missing outer fuel filler flap. This is a painted body part in the shade EJG – BLEU NUIT PAINT, not a specification for the inner fuel cap.
According to the provided information, the part is listed for the Citroën Berlingo K9, PEUGEOT RIFTER, FIAT DOBLO III, OPEL COMBO E K9 and Toyota ProAce City models. When selecting a part, compare the product number, shape and mounting method with the original part in particular. A matching paint code can make it easier to achieve a color match with the bodywork; however, the final shade of a used part may vary due to age and sun exposure.
Technical information
- Manufacturer: Stellantis – according to the provided information.
- Model: Citroën Berlingo K9 | FIAT DOBLO III | OPEL COMBO E K9 | PEUGEOT RIFTER | Toyota ProAce City.
- Part type: outer fuel filler flap.
- Product number: 9817924480.
- Color: EJG – BLEU NUIT PAINT.
- Condition: used part.
- Additional numbers: not specified.
Product codes
- Product codes: 9817924480.
- Paint code: EJG.
The number 9817924480 identifies the part; the designation EJG specifies the color finish. Do not confuse these details when comparing the part with the old flap.
Installation recommendations
The following procedure generally applies to this type of part. The exact mounting design and method for releasing the flap depend on the specific vehicle model and version. The provided information does not specify whether the hinge, spring or other mechanism components are included.
1) Before installation
- Compare the product number, outline, dimensions and mounting points with the original flap.
- Inspect the used part on both sides, particularly for cracks, deformation, and the condition of the edges, paint and mounting points.
- Inspect the original opening and closing mechanism. If it is faulty, replacing the flap alone may not resolve the problem.
- Check the shape and color match by holding the part in place without forcing it to clip into position.
2) Tools and materials required
Plastic trim removal tools, hand tools suitable for the actual mounting method, a soft cloth and paint-safe protective tape are typically sufficient. Choose the specific tools only after inspecting the mounting points; prying directly against the paint with metal tools is not recommended.
3) Step-by-step installation
- Park the vehicle securely, switch off the ignition and work away from sources of fire or sparks.
- Open the flap as usual. Leave the inner fuel cap closed, if the vehicle is equipped with one.
- Clean the area around the flap and protect adjacent painted surfaces from scratches.
- Inspect the mounting points and record the position of the original part, for example by taking a photo.
- Support the flap and release its mounting points using the method specified for the particular version. Do not pull out the clips or twist the hinge.
- After removal, inspect the seating and mounting points. Repair any damaged support or closing mechanism before fitting the replacement flap.
- Fit the replacement part in the same orientation as the original and properly secure all relevant fasteners.
- Slowly close the flap and check its position relative to the bodywork. If it meets resistance or contacts the surrounding panel, open it again and check that it is seated correctly.
- Test opening and closing fully several times without applying excessive force.
4) Post-installation checks and function verification
Check that the gaps are even, the flap is securely attached and it moves smoothly. The flap must not rub against the bodywork or open by itself. If the vehicle has a locking fuel flap, check that it works as well. For replacement of the outer flap alone, checking it while the vehicle is stationary is usually sufficient; before driving, ensure the part is securely fastened.
5) Common installation mistakes and how to avoid them
- Forcing the mounting points loose: first determine how they are secured to avoid breaking the clips.
- Scratching the paint: protect the surrounding surfaces and use suitable plastic tools.
- Overlooking a faulty mechanism: check the hinge and closing mechanism before replacement, not just the flap itself.
- Forcing a misaligned flap closed: if there is resistance, adjust its position and check again that it moves freely.
Reasons why the part may be damaged
Damage to outer fuel filler flaps is typically caused by mechanical stress or external influences. The following are general causes and do not describe the history of this particular part:
- An impact or catching the open flap while refueling.
- Forcing it open when frozen or when the closing mechanism is faulty.
- Wear to the mounting points and material fatigue from repeated use.
- Improper removal that damages the clips or edges.
- Scratches and gradual deterioration of the paint surface due to weather, dirt or unsuitable cleaning.