Descrizione
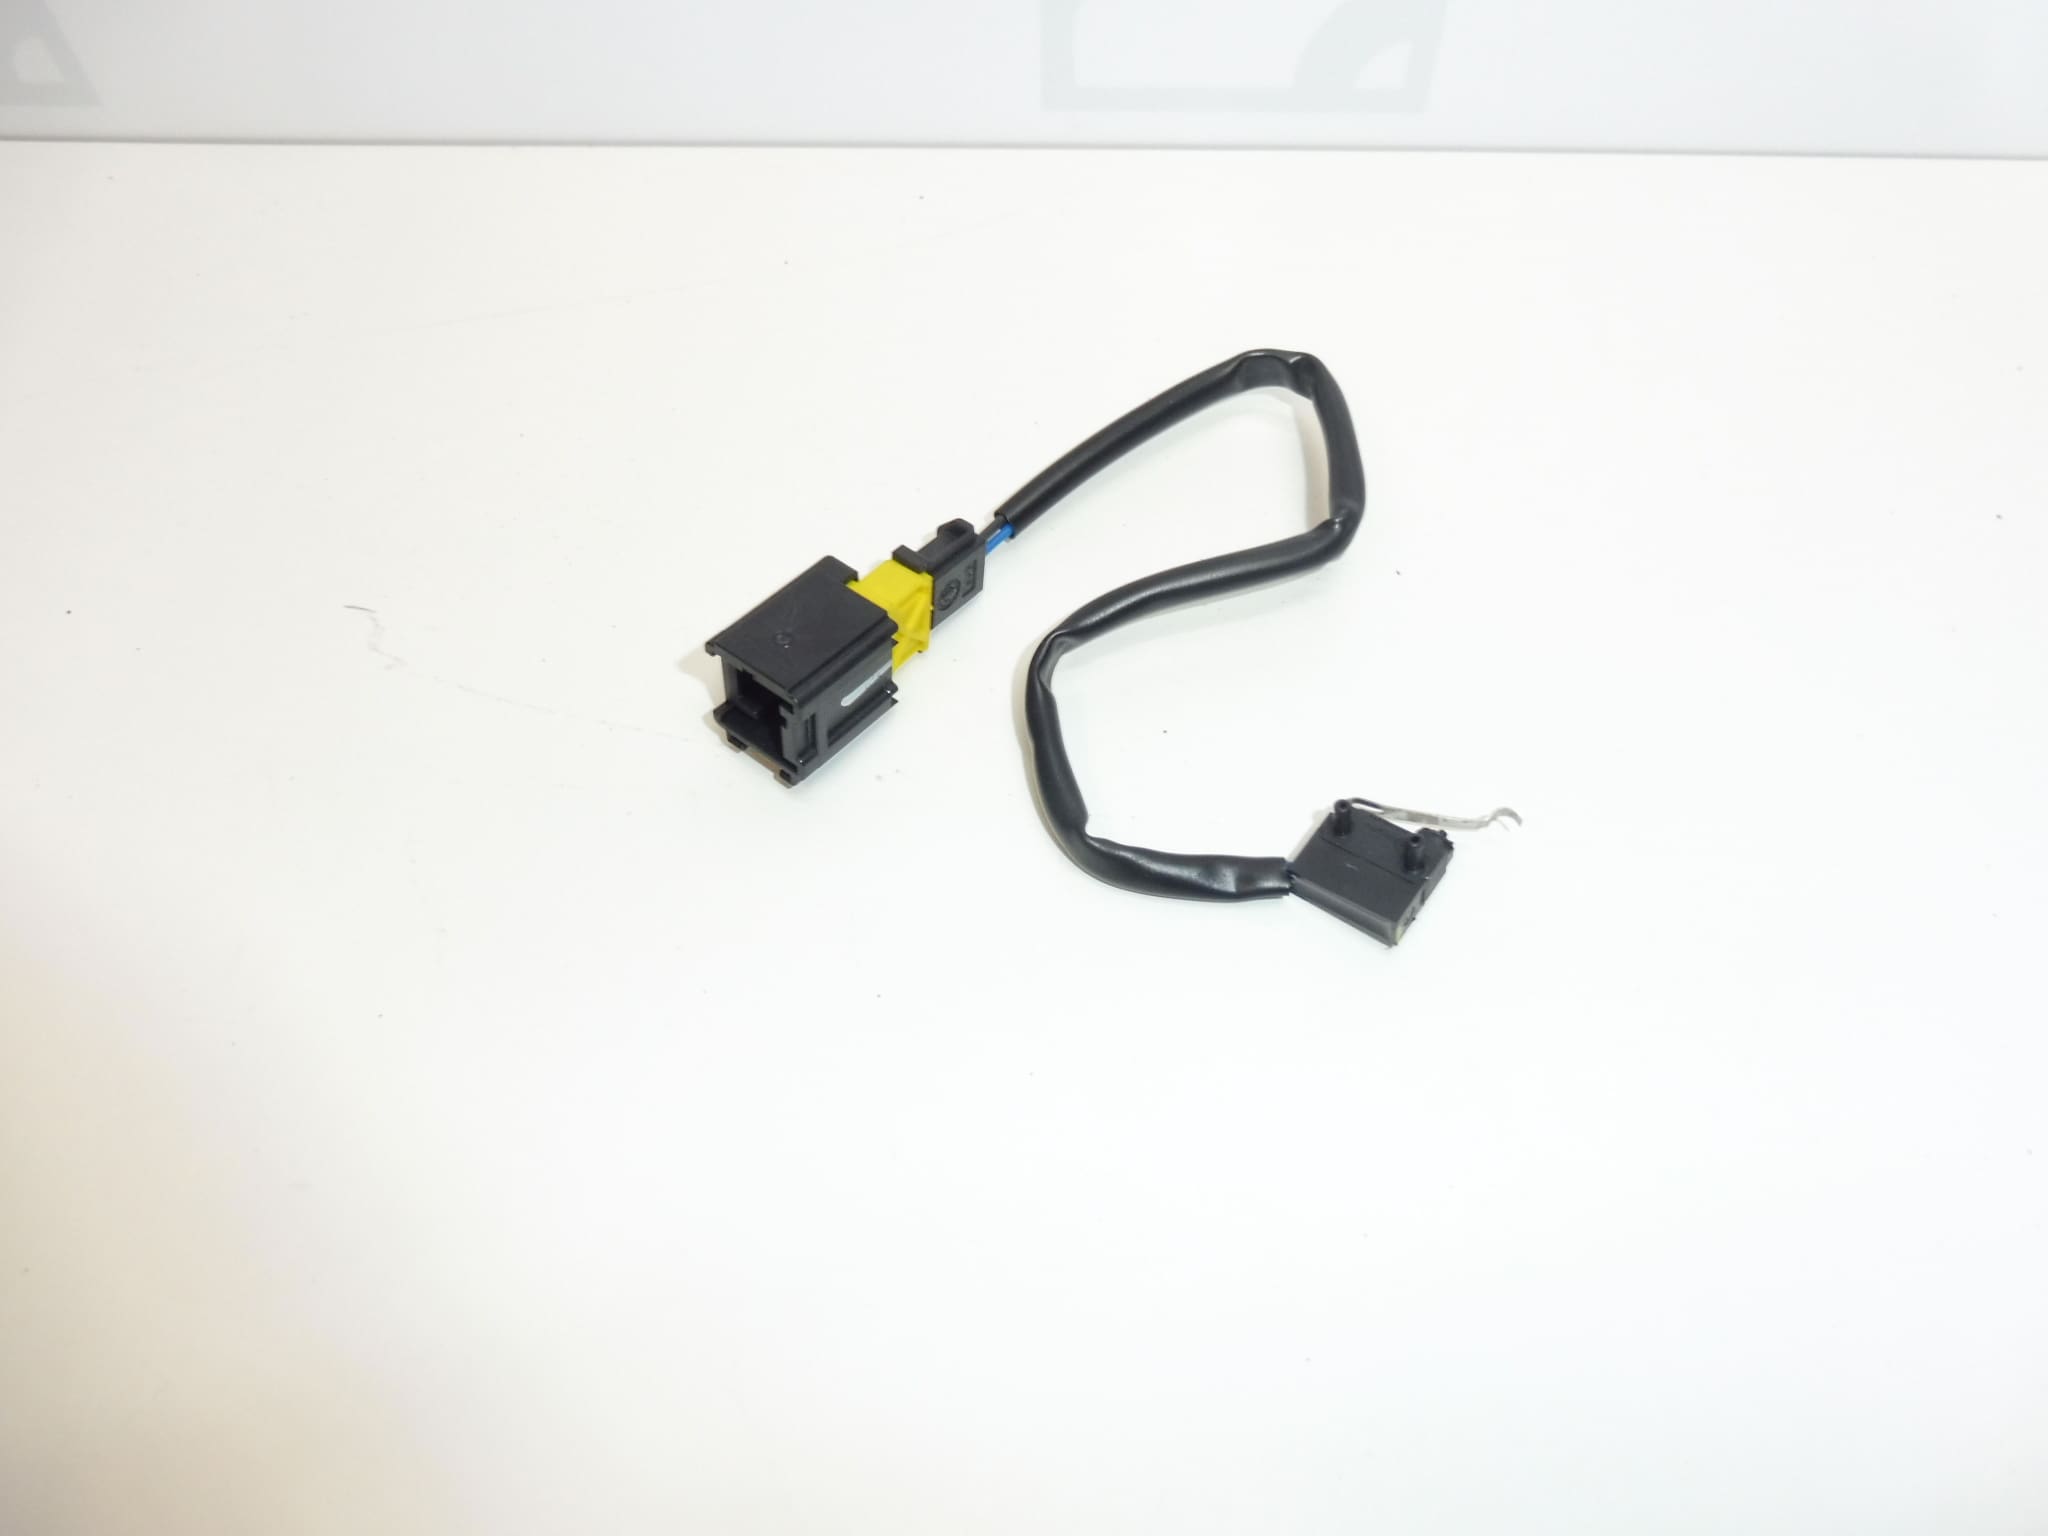
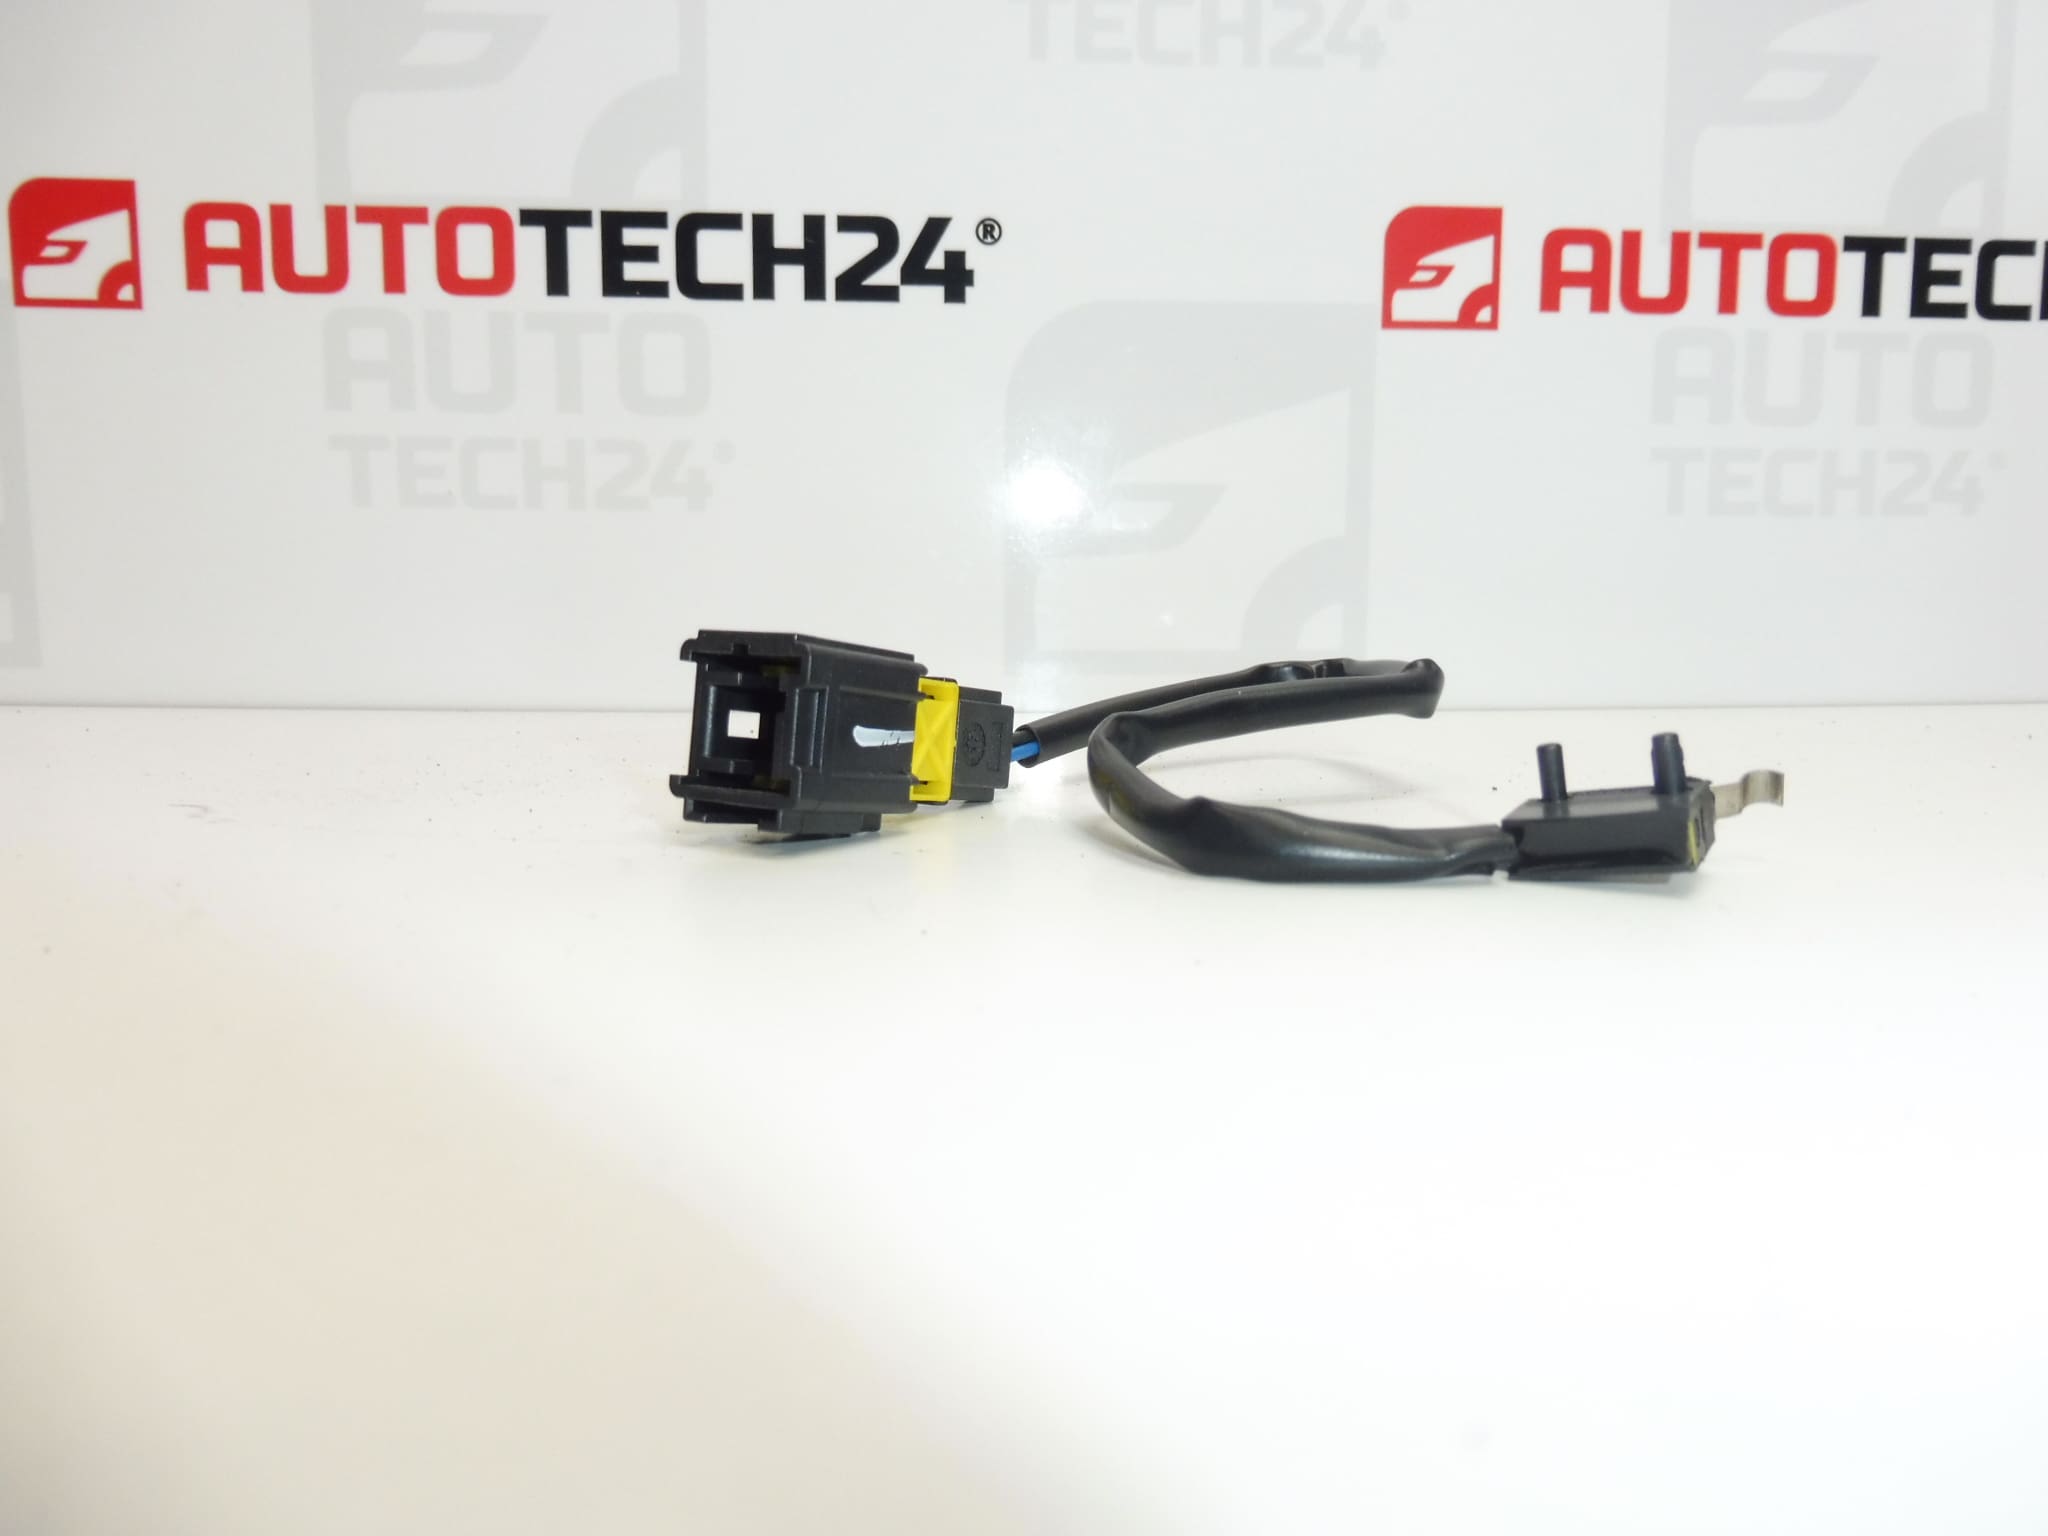
Left retractable roof switch for PEUGEOT 307 CC vehicles
Tested – functional
Part description
Used left retractable roof switch for Peugeot 307 CC with product number 8484L5, intended to replace the corresponding switch in the roof control mechanism. According to the supplied description, the part has been tested and is functional. It therefore offers a practical repair option if the original switch is faulty, without having to purchase a new one.
When selecting a part, compare the 8484L5 marking, the left-hand version, and the design with the removed part. The matching vehicle model alone is not enough to confirm that a specific version is suitable.
Technical information
- Manufacturer: not specified; the source material lists Stellantis CITROEN PEUGEOT.
- Model: Peugeot 307; according to the description, PEUGEOT 307 CC version.
- Part type: retractable roof switch.
- Version: left-hand.
- Condition: used; according to the source material, tested – functional.
- Other numbers: not specified; additional marking in the source material: NFP.
Product codes
- Product codes: 8484L5.
- Additional marking: NFP.
Number 8484L5 is the primary reference for finding this part and comparing it with the marking on the original switch.
Installation recommendations
The following procedure generally applies to this type of electrical part. The exact access to the switch, its mounting, and the safe position of the mechanism during replacement depend on the specific vehicle version. Follow the manufacturer’s service procedure; the steps below are not a model-specific guide.
1) Before installation
- Compare the product number, left-hand version, body shape, mounting, and electrical connection with the old part.
- Check for cracks, the condition of the mounting points and contacts, and any connected wiring. In particular, look for corrosion, loose contacts, and damaged insulation.
- Before replacement, also check the wiring supply and connector in the vehicle. A roof control fault may not be caused by the switch itself.
- Secure the mechanism against unintended movement. Do not work beneath unsecured moving roof components.
2) Required tools and materials
- Standard hand tools suitable for the fasteners used.
- Plastic trim removal tools if it is necessary to release the trim.
- Flashlight, protective gloves, and a clean cloth.
- If needed, a product suitable for electrical contacts and a measuring instrument for checking the wiring in accordance with the service documentation.
3) Step-by-step installation procedure
- Park the vehicle in a safe place and, following the service procedure, position the roof appropriately for the work.
- Switch off the ignition and disconnect the power supply as instructed by the manufacturer. Prevent the mechanism from being activated unintentionally.
- Verify that the moving parts are safely secured, and only then begin to access the part.
- Carefully remove any covers or trim that obstruct access. Do not pry at areas where the mounting method is unknown.
- Take a photo of the original switch position, its mounting, and the wiring route.
- Release the electrical connector lock and disconnect the connector by holding its body, not by pulling on the wires.
- Release the original switch mounting and remove it without force and without changing the adjustment of the surrounding mechanism components.
- Compare both parts side by side. Also check that the mating and mounting surfaces are clean and undamaged.
- Install the replacement switch in the corresponding position. Tighten the mounting according to the service instructions to avoid damaging the body.
- Connect the connector and route the wiring along its original path, away from areas where it could be pinched, pulled, or come into contact with moving parts.
- Refit the removed covers and trim, check the work area, and restore the power supply according to the manufacturer’s procedure.
- Carry out a controlled function check of the roof under the conditions specified by the manufacturer. If movement is irregular or another fault occurs, stop the test immediately.
4) Post-installation checks and function verification
Check that the switch is securely mounted, the connector is locked in place, and the wiring is routed freely without strain. Check operation with the vehicle stationary in a safe area, with no people or objects in the path of the roof. Observe the system’s response and any vehicle warnings. A test drive does not replace checking the mechanism’s operation; before driving, the roof must be securely locked according to the manufacturer’s instructions.
5) Most common installation errors and how to avoid them
- Wrong version: compare the part number, left-hand version, mounting, and connection before installation.
- Connector damage: release its lock first and never pull on the wires.
- Incorrect switch position: retain the original seating position and follow the service procedure; do not adjust it by guesswork.
- Pinched wiring: restore the original wiring route and check the clearance from moving parts.
- Replacement without diagnosing the cause: also check the connectors, wiring, and mechanical condition of the system to minimize the likelihood of the same problem persisting.
Reasons why the part may become damaged
The following factors can generally cause retractable roof mechanism switches to fail. This is not a description of faults with the part on offer, which is listed in the source material as tested and functional.
- Wear from repeated use and aging of electrical or mechanical components.
- Moisture and dirt, which can cause contact corrosion and unreliable connections.
- Mechanical stress due to incorrect positioning or a fault in the surrounding mechanism.
- Damage during removal, especially broken mountings or connector locks.
- Stressed or damaged wiring, a fault in which can cause symptoms similar to a faulty switch.