Descrizione
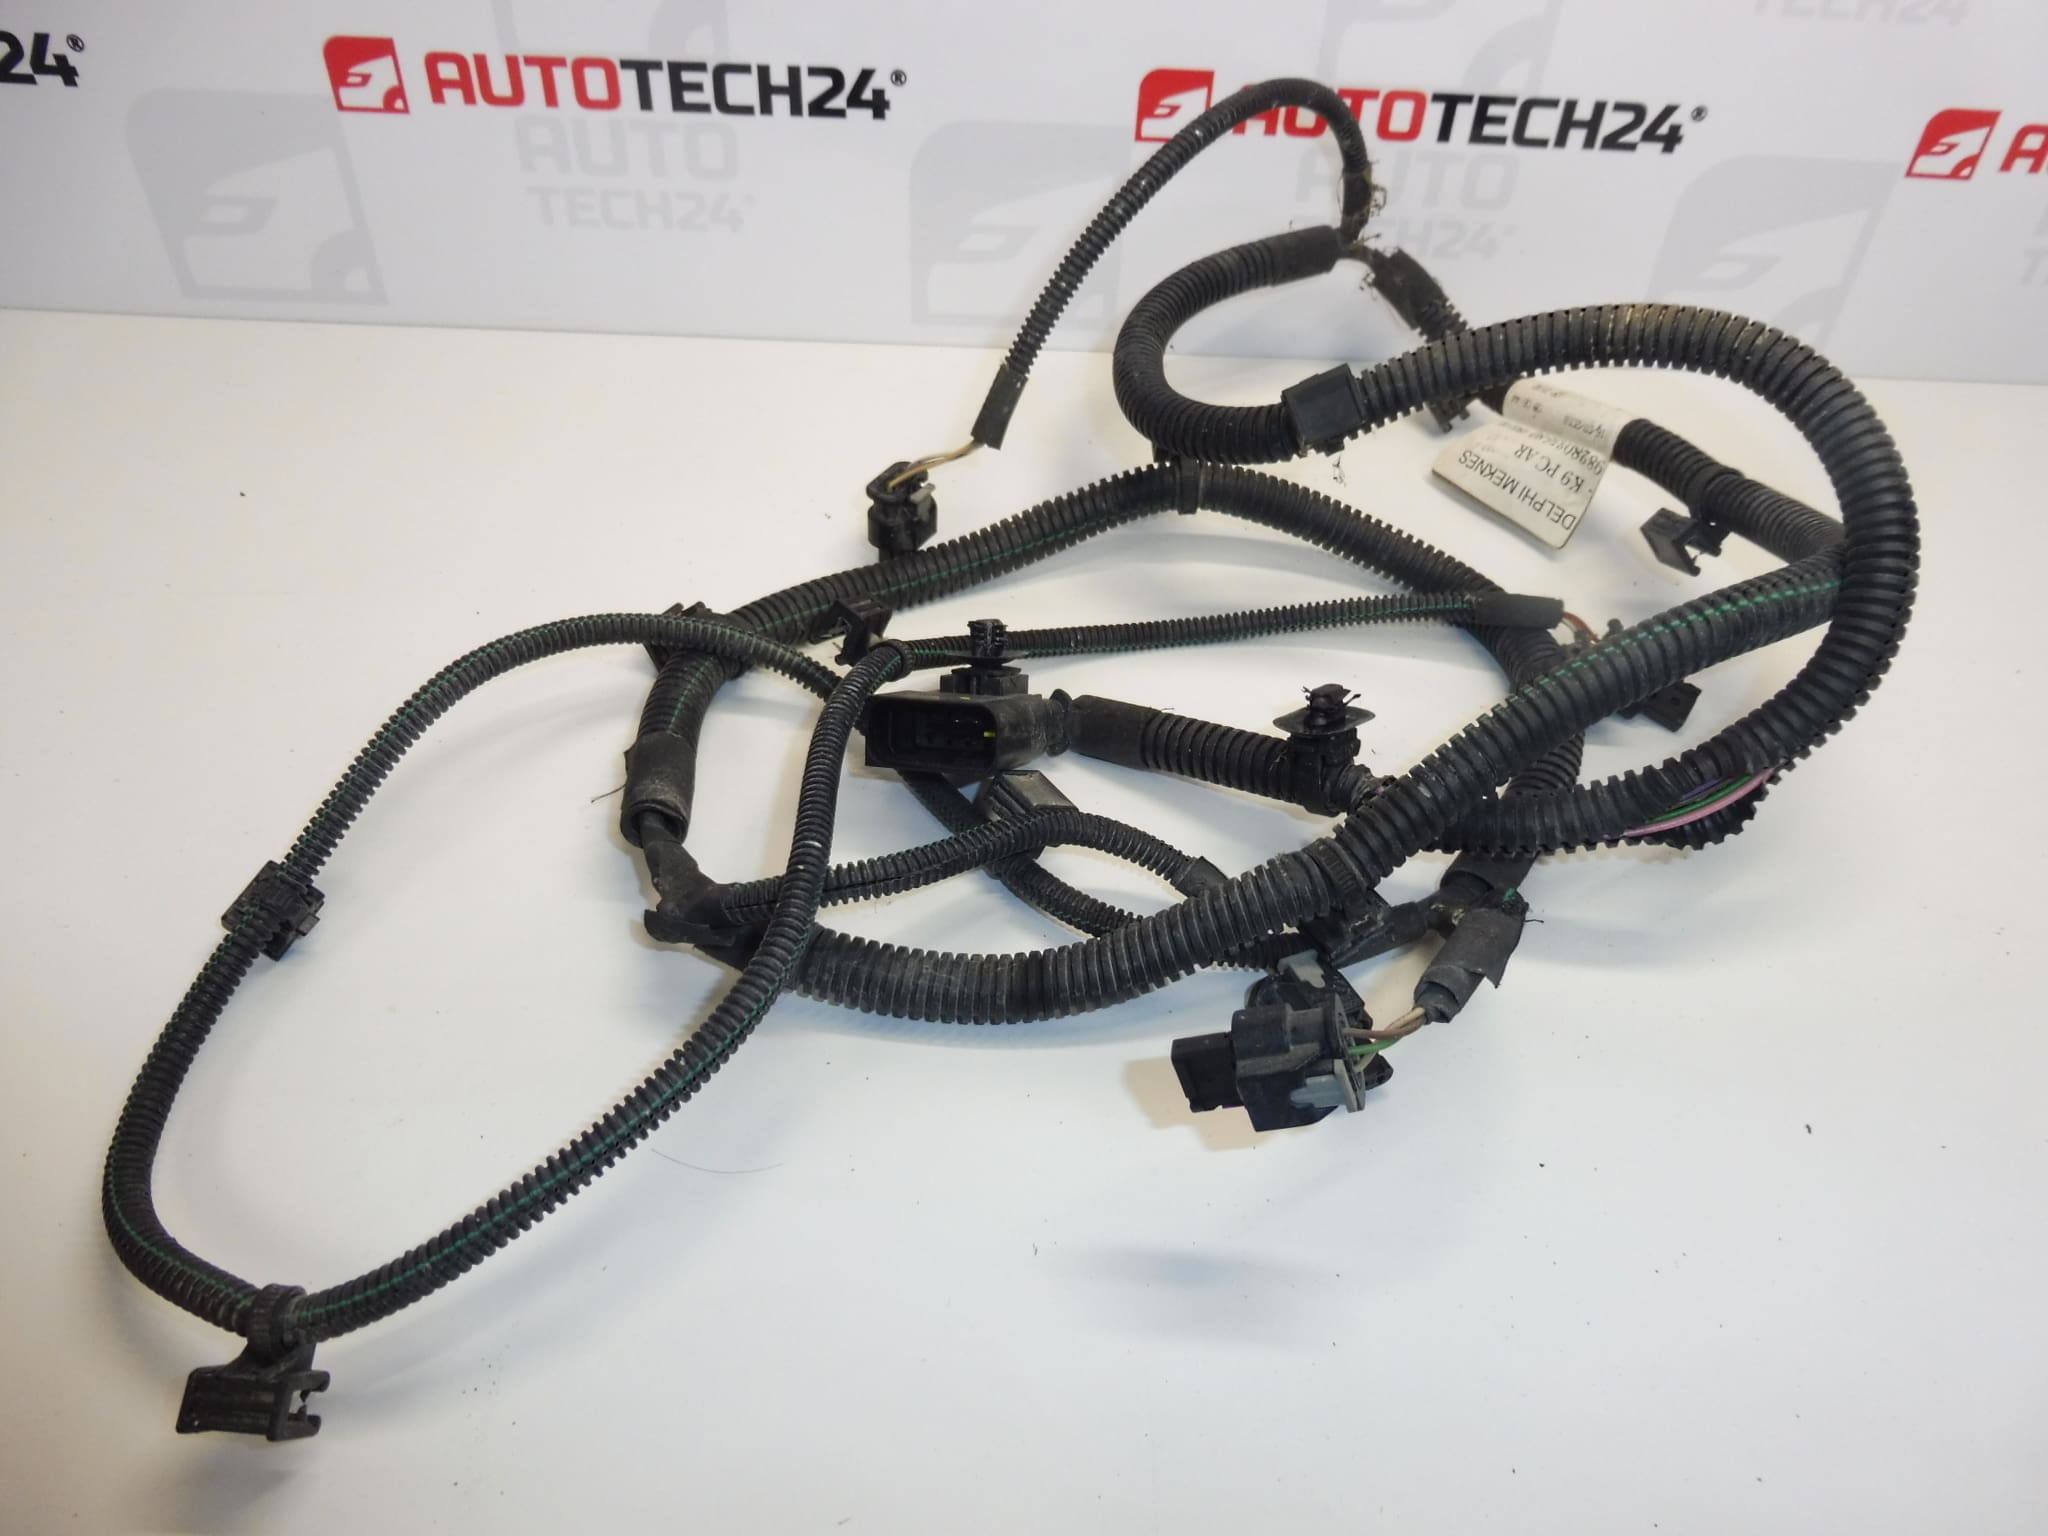
Rear parking sensor wiring harness for Citroën, Peugeot and other Stellantis models
Part description
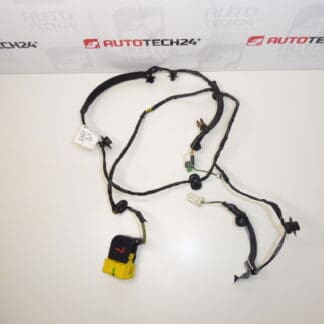
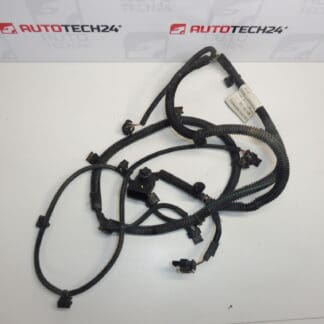
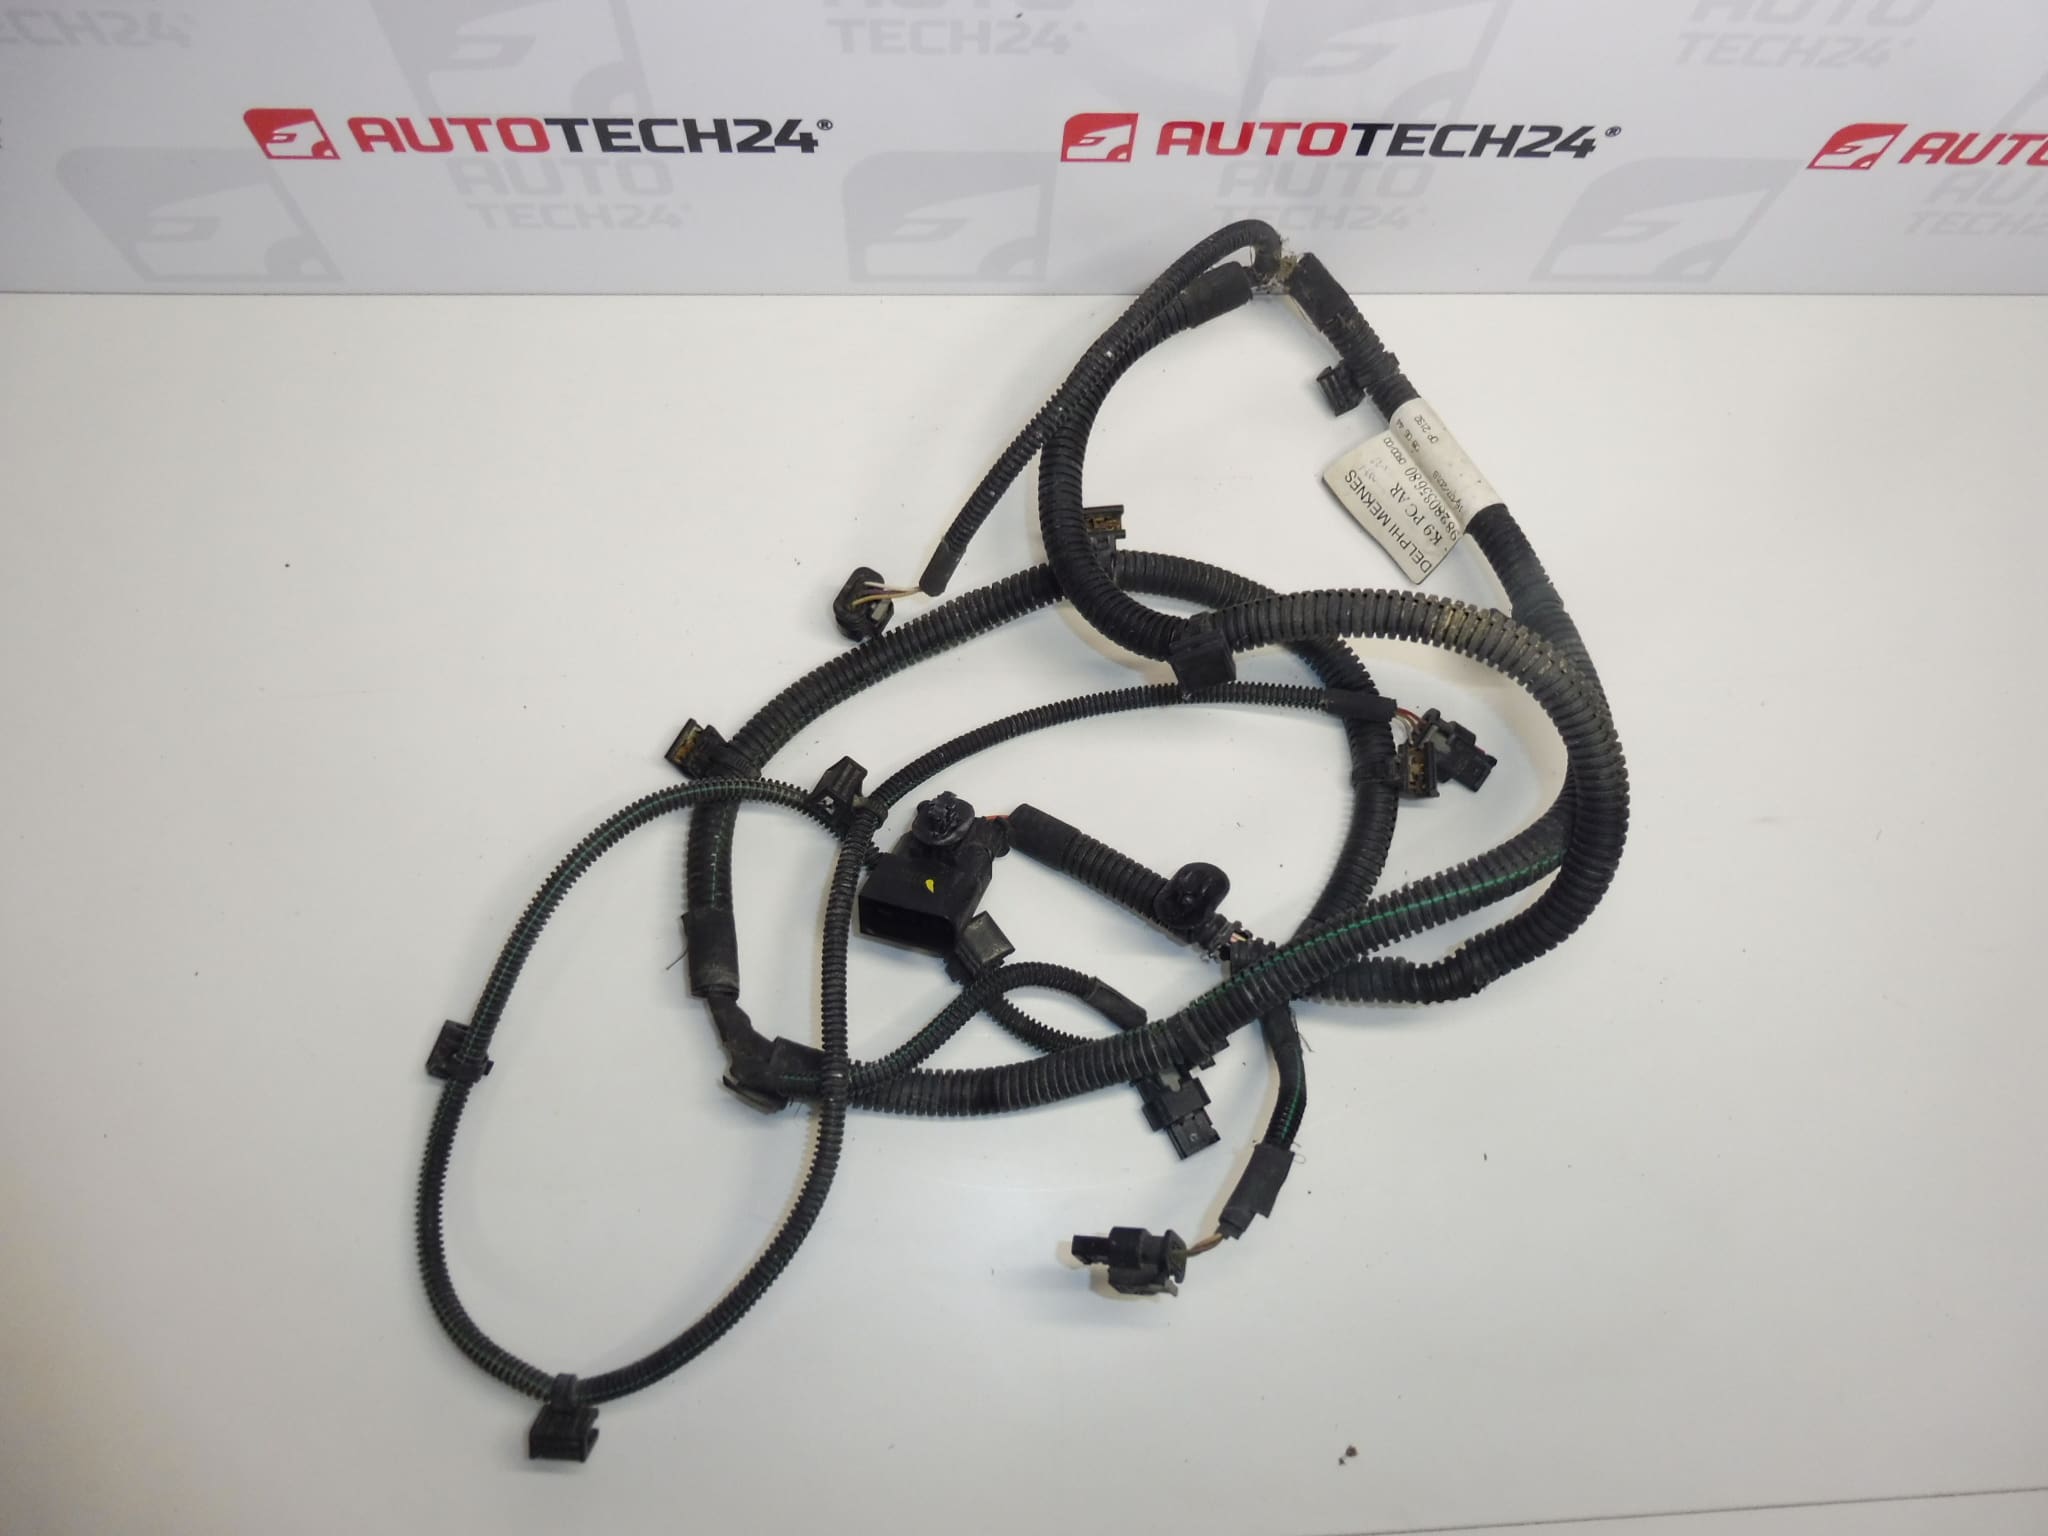
The used PDC rear parking sensor wiring harness, part number 9828035680, connects the rear parking sensors to the vehicle’s electrical system. It is a suitable replacement for damaged wiring, for example when wires are broken or connectors are mechanically damaged.
When selecting a replacement, compare the product number, connector design and layout of the individual branches with the original harness. A matching model name alone does not guarantee that the specific wiring configuration is the same.
Technical information
- Manufacturer: not specified; the source information lists Stellantis / CITROEN / PEUGEOT.
- Model: Citroën Berlingo K9, FIAT DOBLO III, OPEL COMBO E K9, PEUGEOT RIFTER, Toyota ProAce City.
- Part type: PDC rear parking sensor wiring harness.
- Condition: used part.
- Category: electrical components – wiring harnesses.
- Additional numbers: not specified.
Product codes
- Product codes: 9828035680.
Use this number as the primary reference when searching for a replacement harness, and compare it with the marking on the original part.
Installation recommendations
The following procedure is a general guide to replacing a parking sensor wiring harness. The exact access to the wiring, how it is secured and whether surrounding parts need to be removed depend on the specific model and vehicle configuration. Follow the manufacturer’s service procedure.
1) Before installation
- Compare the harness markings, the number and shape of the connectors, their locking mechanisms, the length and branching of the wiring, and the mounting points.
- Inspect the insulation, protective sleeves, connector latches and any seals. Check that the contacts are not bent, pushed in or corroded.
- Verify the cause of the fault before replacing the harness. A malfunctioning parking system may also be related to a sensor or another part of the electrical system.
2) Tools and materials required
- Standard hand tools suitable for removing the surrounding parts.
- Plastic tools for releasing clips and trim.
- A multimeter for checking disconnected wiring, and suitable diagnostic equipment if available.
- A product suitable for cleaning electrical contacts and a clean cloth.
- Replacement clips and wiring protection appropriate to the condition of the original mounting points.
3) Step-by-step installation procedure
- Secure the vehicle to prevent it from moving, switch off the ignition, and follow the prescribed procedure for allowing the electronics to enter sleep mode and disconnecting the battery.
- Access the original harness in accordance with the service instructions. Remove surrounding parts only as necessary.
- Take photos of the original wiring route, the position of the branches and each mounting point.
- Label the connections to avoid mixing up the connections for the individual sensors during installation.
- Release the connector locks and disconnect the connectors by pulling on their housings, not on the wires.
- Carefully release the clips one by one and remove the original harness without bending or pulling it forcefully.
- Compare the two harnesses side by side. If the connectors, branching or mounting points do not match, do not proceed by making unverified modifications.
- Inspect the mating connectors in the vehicle. Remove any dirt using an appropriate method and allow the contacts to dry before connecting them.
- Route the replacement harness along the original path. Allow sufficient slack in the branches and protect the wiring from sharp edges, moving parts and heat sources.
- Connect the connectors to the corresponding sockets and check that the latches are locked and any seals are correctly seated.
- Secure the harness and check that it is not stretched or pinched anywhere. Reinstall the removed parts.
- Restore power according to the manufacturer’s procedure and check that the parking system works.
4) Post-installation checks and function verification
- Check that the wiring is securely mounted and routed correctly, especially at transitions and branches.
- Activate the parking system as prescribed for the vehicle and check its response to a suitable obstacle in a safe area.
- If suitable diagnostic equipment is available, check for stored fault codes and verify after the function test that they do not reappear.
- Perform any test manoeuvre at low speed and do not rely on the sensors alone. No one should stand in the vehicle’s path.
5) Common installation mistakes and how to avoid them
- Mixing up connections: record which connector goes where and how the original wiring is routed before removing it.
- Connectors not fully engaged: check the locks after connecting and gently pull on the connector housing to verify the connection.
- Stretched or pinched wires: follow the original route and inspect all branches before refitting covers.
- Connecting to wet or corroded mating connectors: first eliminate the source of moisture and repair any contact damage.
- Replacing the harness without identifying the cause of the fault: check the wiring and related system components first.
Reasons why the part may be damaged
Common causes of damage to parking sensor wiring harnesses in general include:
- Mechanical stress and impacts, which can break wires or damage connectors.
- Moisture, dirt and road salt, especially when connector seals are damaged.
- Chafed insulation caused by loose clips or incorrect wiring routing.
- Material ageing and vibration, which can contribute to cracked insulation or connection faults.
- Improper work, such as pulling on wires, damaging latches or leaving connections inadequately protected.