Descrizione
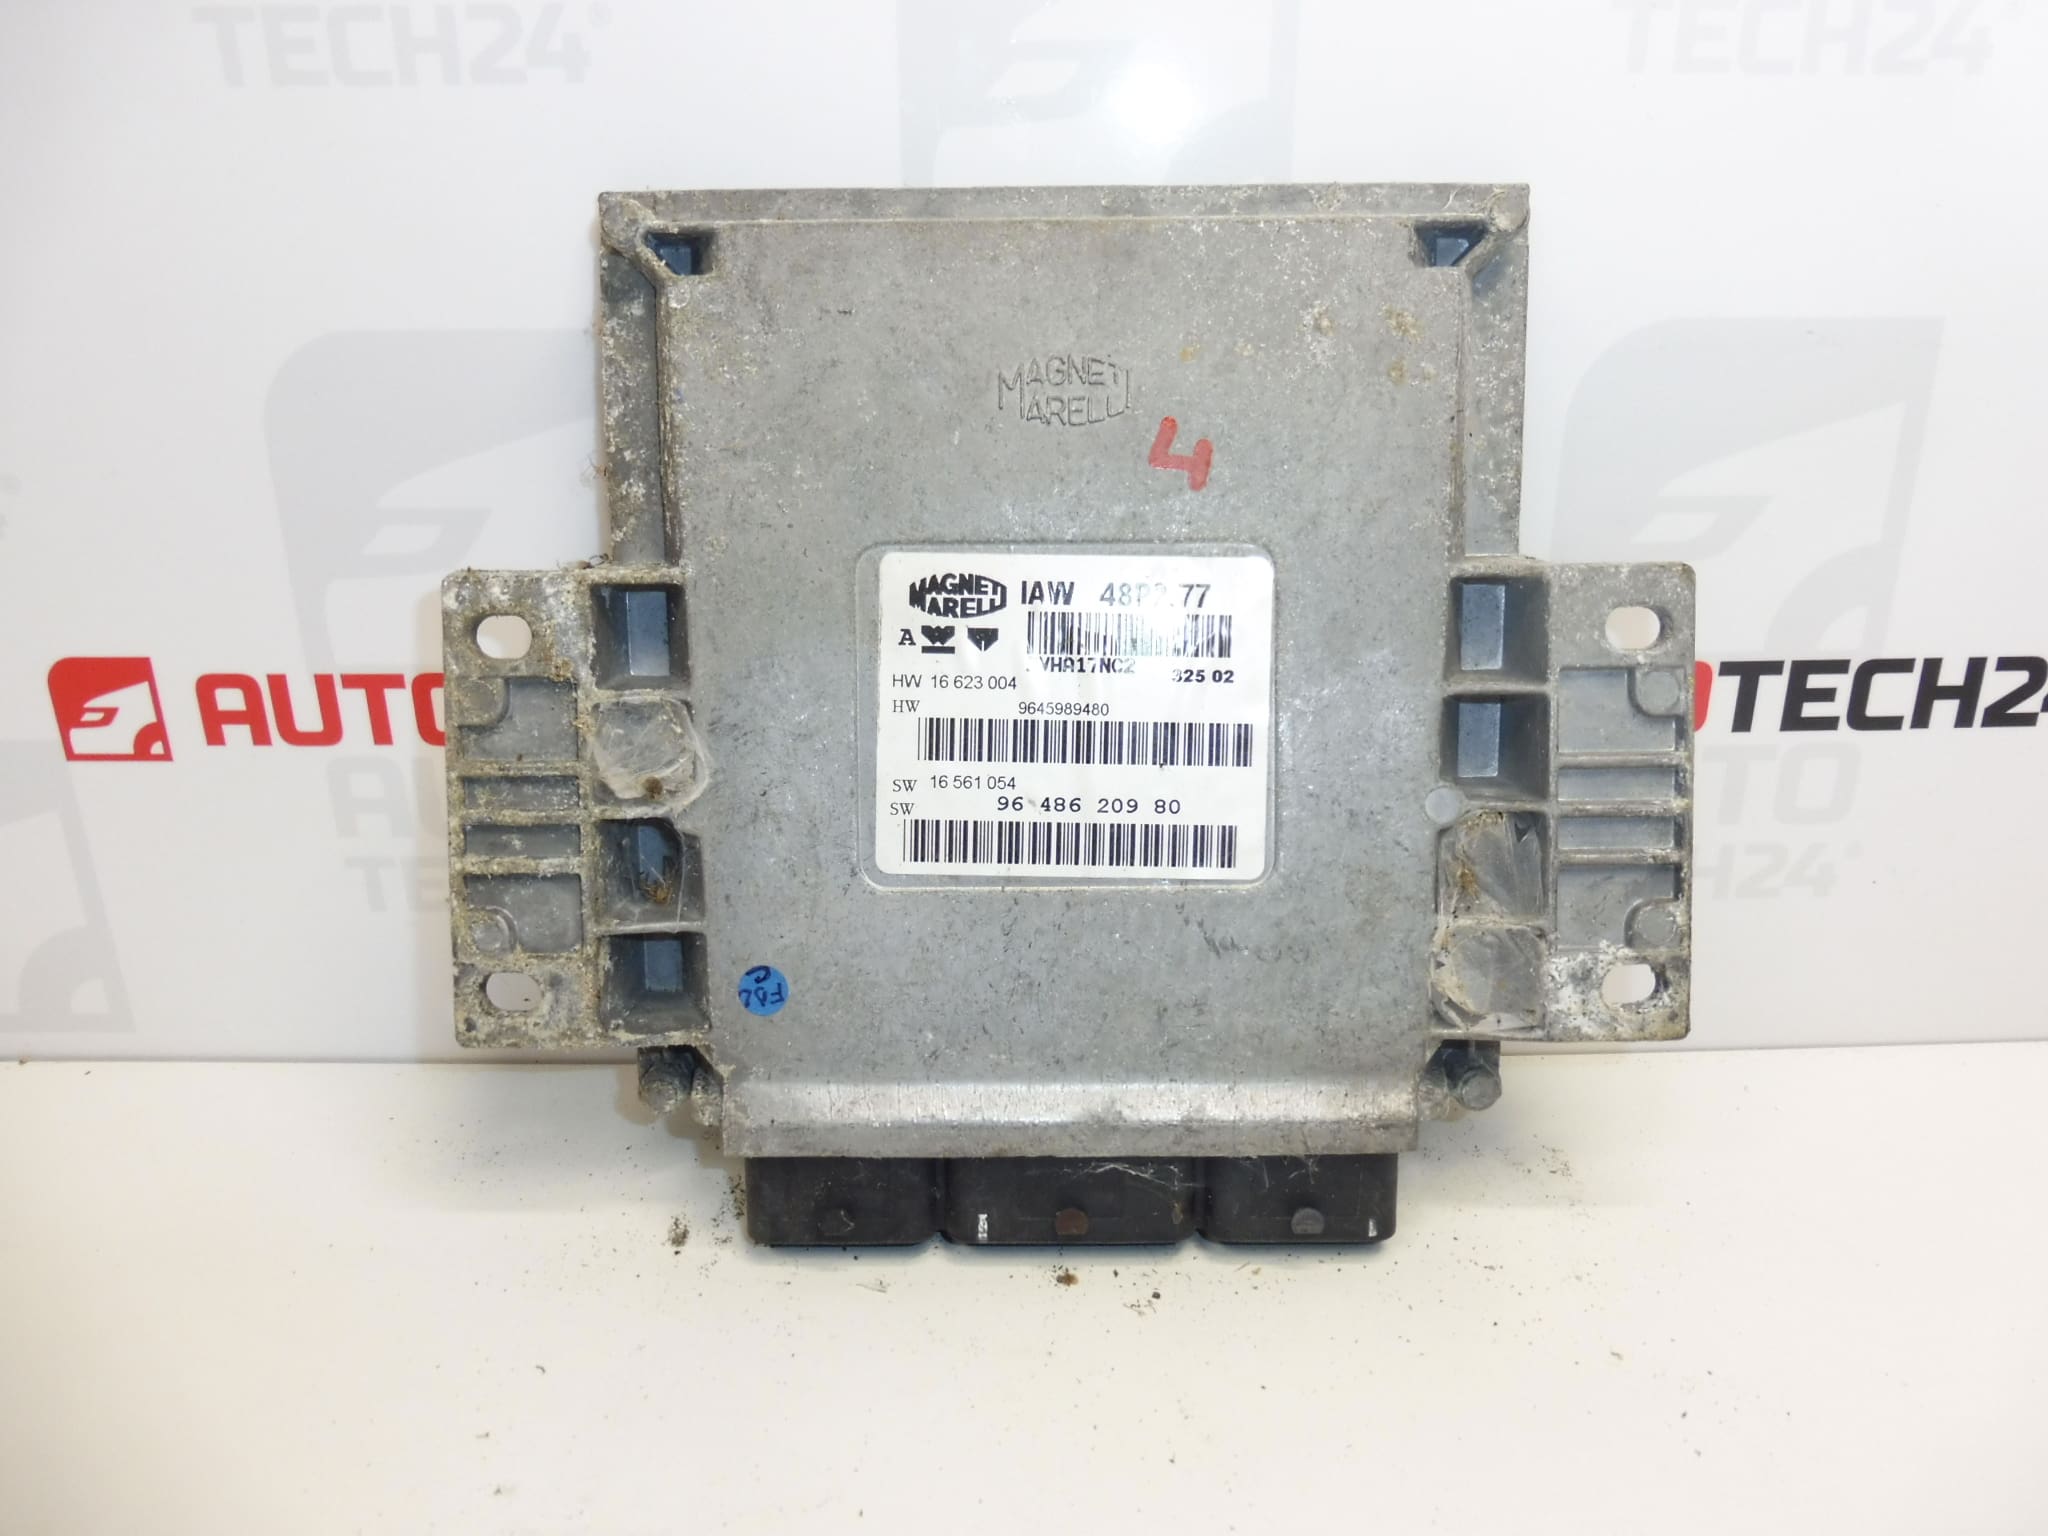
MAGNETI MARELLI IAW 48P2.77 control unit
From a PEUGEOT 206 1.1i
Part description
Used MAGNETI MARELLI IAW 48P2.77 injection control unit comes from a Peugeot 206 1.1i. This type of control unit processes signals from the engine sensors and controls fuel injection. When replacing a faulty unit, it is important to compare not only its designation but also to allow for data transfer or adaptation to the vehicle’s electronics.
The numbers 9648620980, 9645989480 and 1938NH can be used to search for the part and compare it with the existing unit. It can be used to replace the original unit when repairing the engine management system; however, matching the vehicle model alone is not enough to make the right choice. Before replacement, it is advisable to use diagnostics to rule out a fault in the power supply, wiring or connected components.
Technical information
- Manufacturer: MAGNETI MARELLI
- Model: Peugeot 206
- Control unit designation: IAW 48P2.77
- Part origin: PEUGEOT 206 1.1i
- Part type: injection control unit
- Condition: used part
- Other numbers: 9648620980, 9645989480, 1938NH
- Other designation in the documentation: NFP
Product codes
- Product codes: 9648620980, 9645989480, 1938NH
- Type designation: MAGNETI MARELLI IAW 48P2.77
- Model: Peugeot 206
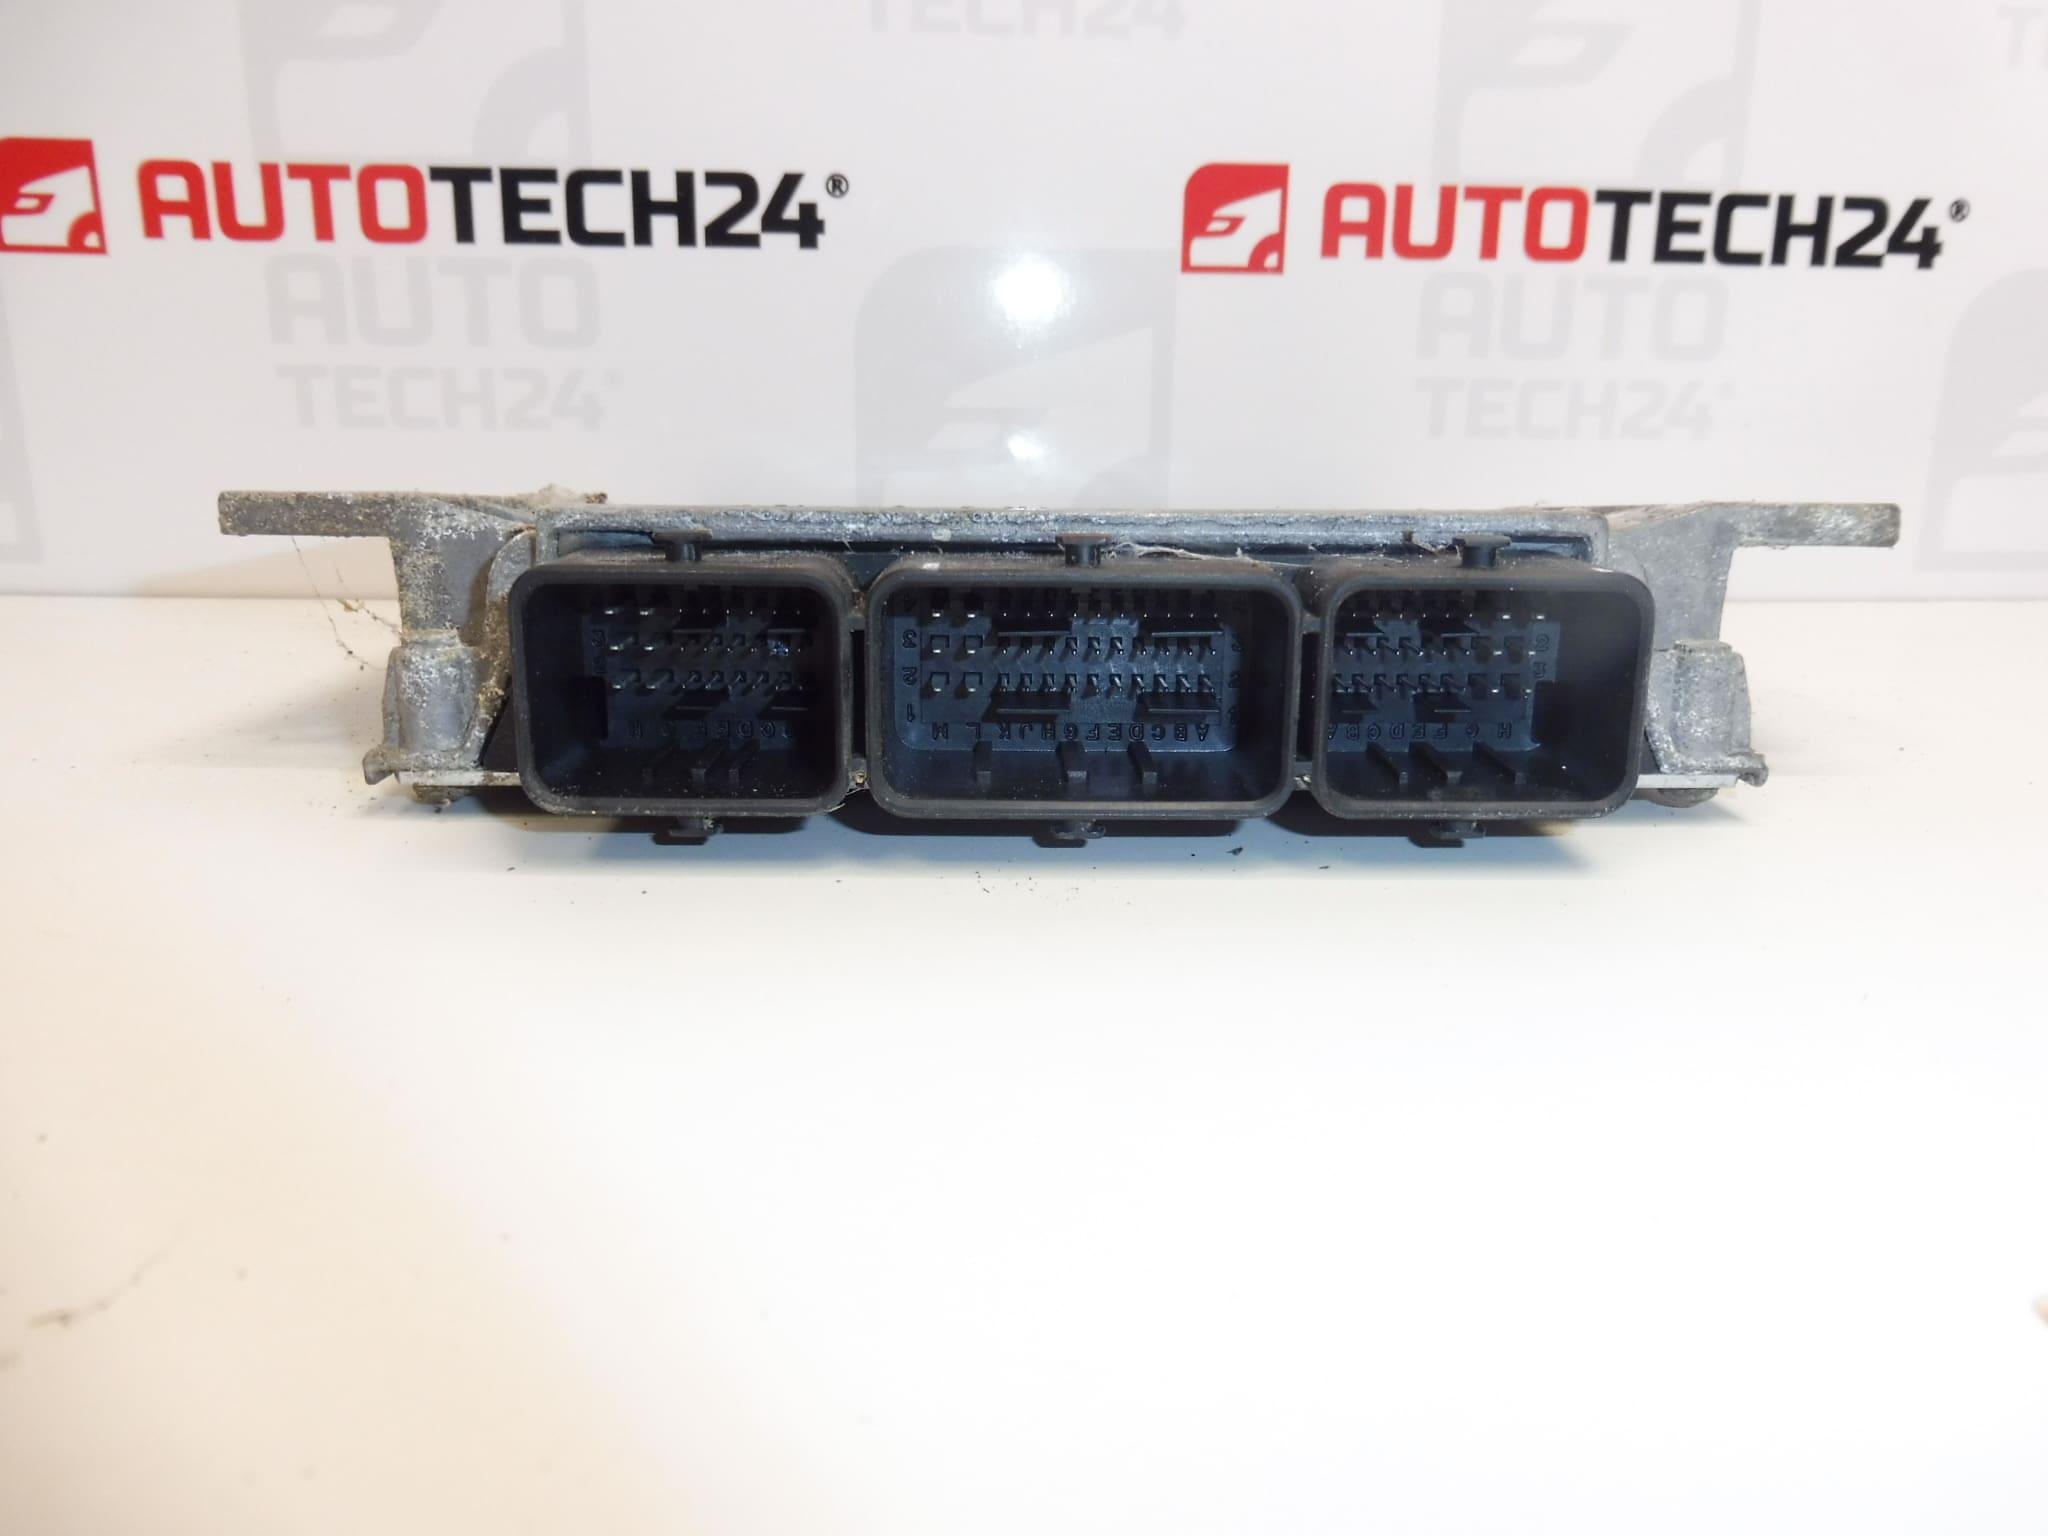
When selecting a part, compare the designation on the original control unit with the codes listed. Also take into account the connector design and the requirements for data transfer or coding.
Installation recommendations
General information for this type of part: replacing an injection control unit involves both mechanical installation and electronic commissioning. The procedure below is general; the exact steps depend on the specific vehicle version and the manufacturer’s service instructions.
1) Before installation
- Compare the type designation, product numbers, connectors and mounting points with the old control unit.
- Check the housing, connector pins and the surrounding area. Look for cracks, deformation, corrosion or signs of moisture.
- Use diagnostics to investigate the cause of the original fault, including the power supply, grounding and wiring. An unresolved fault may also damage the replacement control unit.
- Choose the commissioning method in advance and find out whether the necessary data can be safely retrieved from the old control unit.
2) Tools and materials required
- Standard hand tools suitable for the fasteners used.
- Diagnostic equipment suitable for the vehicle and tools for the selected data transfer or initialization method.
- A multimeter, suitable measuring tools and service documentation.
- If required, a product intended for cleaning electrical contacts and a clean, lint-free cloth.
- A suitable power supply for stabilizing the voltage during programming, in accordance with the requirements of the equipment used.
3) Step-by-step installation procedure
- Perform an initial diagnostic check and save the available fault and configuration data from the original control unit.
- Check the power supply, grounding and connected circuits. Resolve any faults found before installing the replacement part.
- Back up the necessary data from the original control unit using the selected method. Have an expert perform bench reading.
- Switch off the ignition and, following the manufacturer’s procedure, allow the electronic systems to enter sleep mode.
- Disconnect the battery according to the vehicle’s service instructions, and only then begin removal.
- Document the routing of the wiring and the connector connections. Release their locks and disconnect the connectors without pulling on the wires.
- Release the fasteners and remove the original control unit. Inspect the brackets, wiring and connection points.
- Before installation, ensure the replacement control unit has been prepared using the selected method, such as data cloning or virginization. The procedure must be appropriate for the specific electronics.
- Position the control unit in the brackets and secure it according to the manufacturer’s instructions. The housing and connectors must not be subjected to mechanical stress.
- Connect the connectors, secure their locks properly and check that the wiring is not pinched or under tension.
- Reconnect the battery using the prescribed procedure. If required by the selected method, perform initialization, telecoding and key adaptation with a stable power supply.
- Check diagnostic communication and engine operation. Assess any current faults, then carry out a safe operational check.
4) Post-installation checks and test drive / function verification
- Check communication with the control unit, start authorization and configuration accuracy.
- Check starting, engine operation and throttle response. Monitor the warning lights and available operating data in the diagnostic system.
- If the engine is running correctly and there are no safety-critical faults, carry out a short test drive.
- After the drive, repeat the diagnostic check and inspect the mounting and connectors of the control unit.
5) Common installation mistakes and how to avoid them
- Choosing based only on the car model: also compare the control unit type, product numbers and configuration requirements.
- Replacing without diagnosing the cause: first rule out faults in the power supply, grounding and connected circuits.
- Assuming a used control unit will work immediately: arrange for appropriate cloning or initialization before installation.
- Handling connectors while powered: follow the battery disconnection procedure and release connectors only by holding their bodies.
- Interrupting the power supply during programming: use suitable power stabilization and do not interrupt an ongoing write operation.
Installation and coding – important
- The control unit is used and is ‘paired’ with the original vehicle (VIN/PIN/keys).
- Commissioning options:
- Cloning data from the old control unit (EEPROM/Flash) – after cloning, the control unit is plug and play.
- Virginization followed by initialization/telecoding via DiagBox (possibly online) + key adaptation.
- It is recommended that this be performed by an expert with PSA service equipment (DiagBox/Lexia/PP2000).
- Always disconnect the battery before removal/installation and follow the manufacturer’s procedure to avoid damaging the control unit.
Reasons why the part may become damaged
For injection control units in general, the following factors can cause damage. This is not a description of faults identified in this particular unit.
- Moisture and corrosion: water ingress can damage the contacts and internal electronics.
- Overvoltage or incorrect power connection: electrical surges and reverse polarity can damage electronic circuits.
- Short circuit in the wiring or a connected component: this can overload the control unit’s output circuits.
- Thermal stress and vibration: over time, these contribute to the ageing of components and connections.
- Improper handling: forcibly disconnecting connectors, using unsuitable measuring methods or tampering with the housing can cause mechanical and electrical damage.
- Interrupted or incorrect programming: this can corrupt stored data and prevent the control unit from operating correctly.