Descrizione
Magneti Marelli IAW 6LPB control unit for Citroën and Peugeot vehicles
Part description
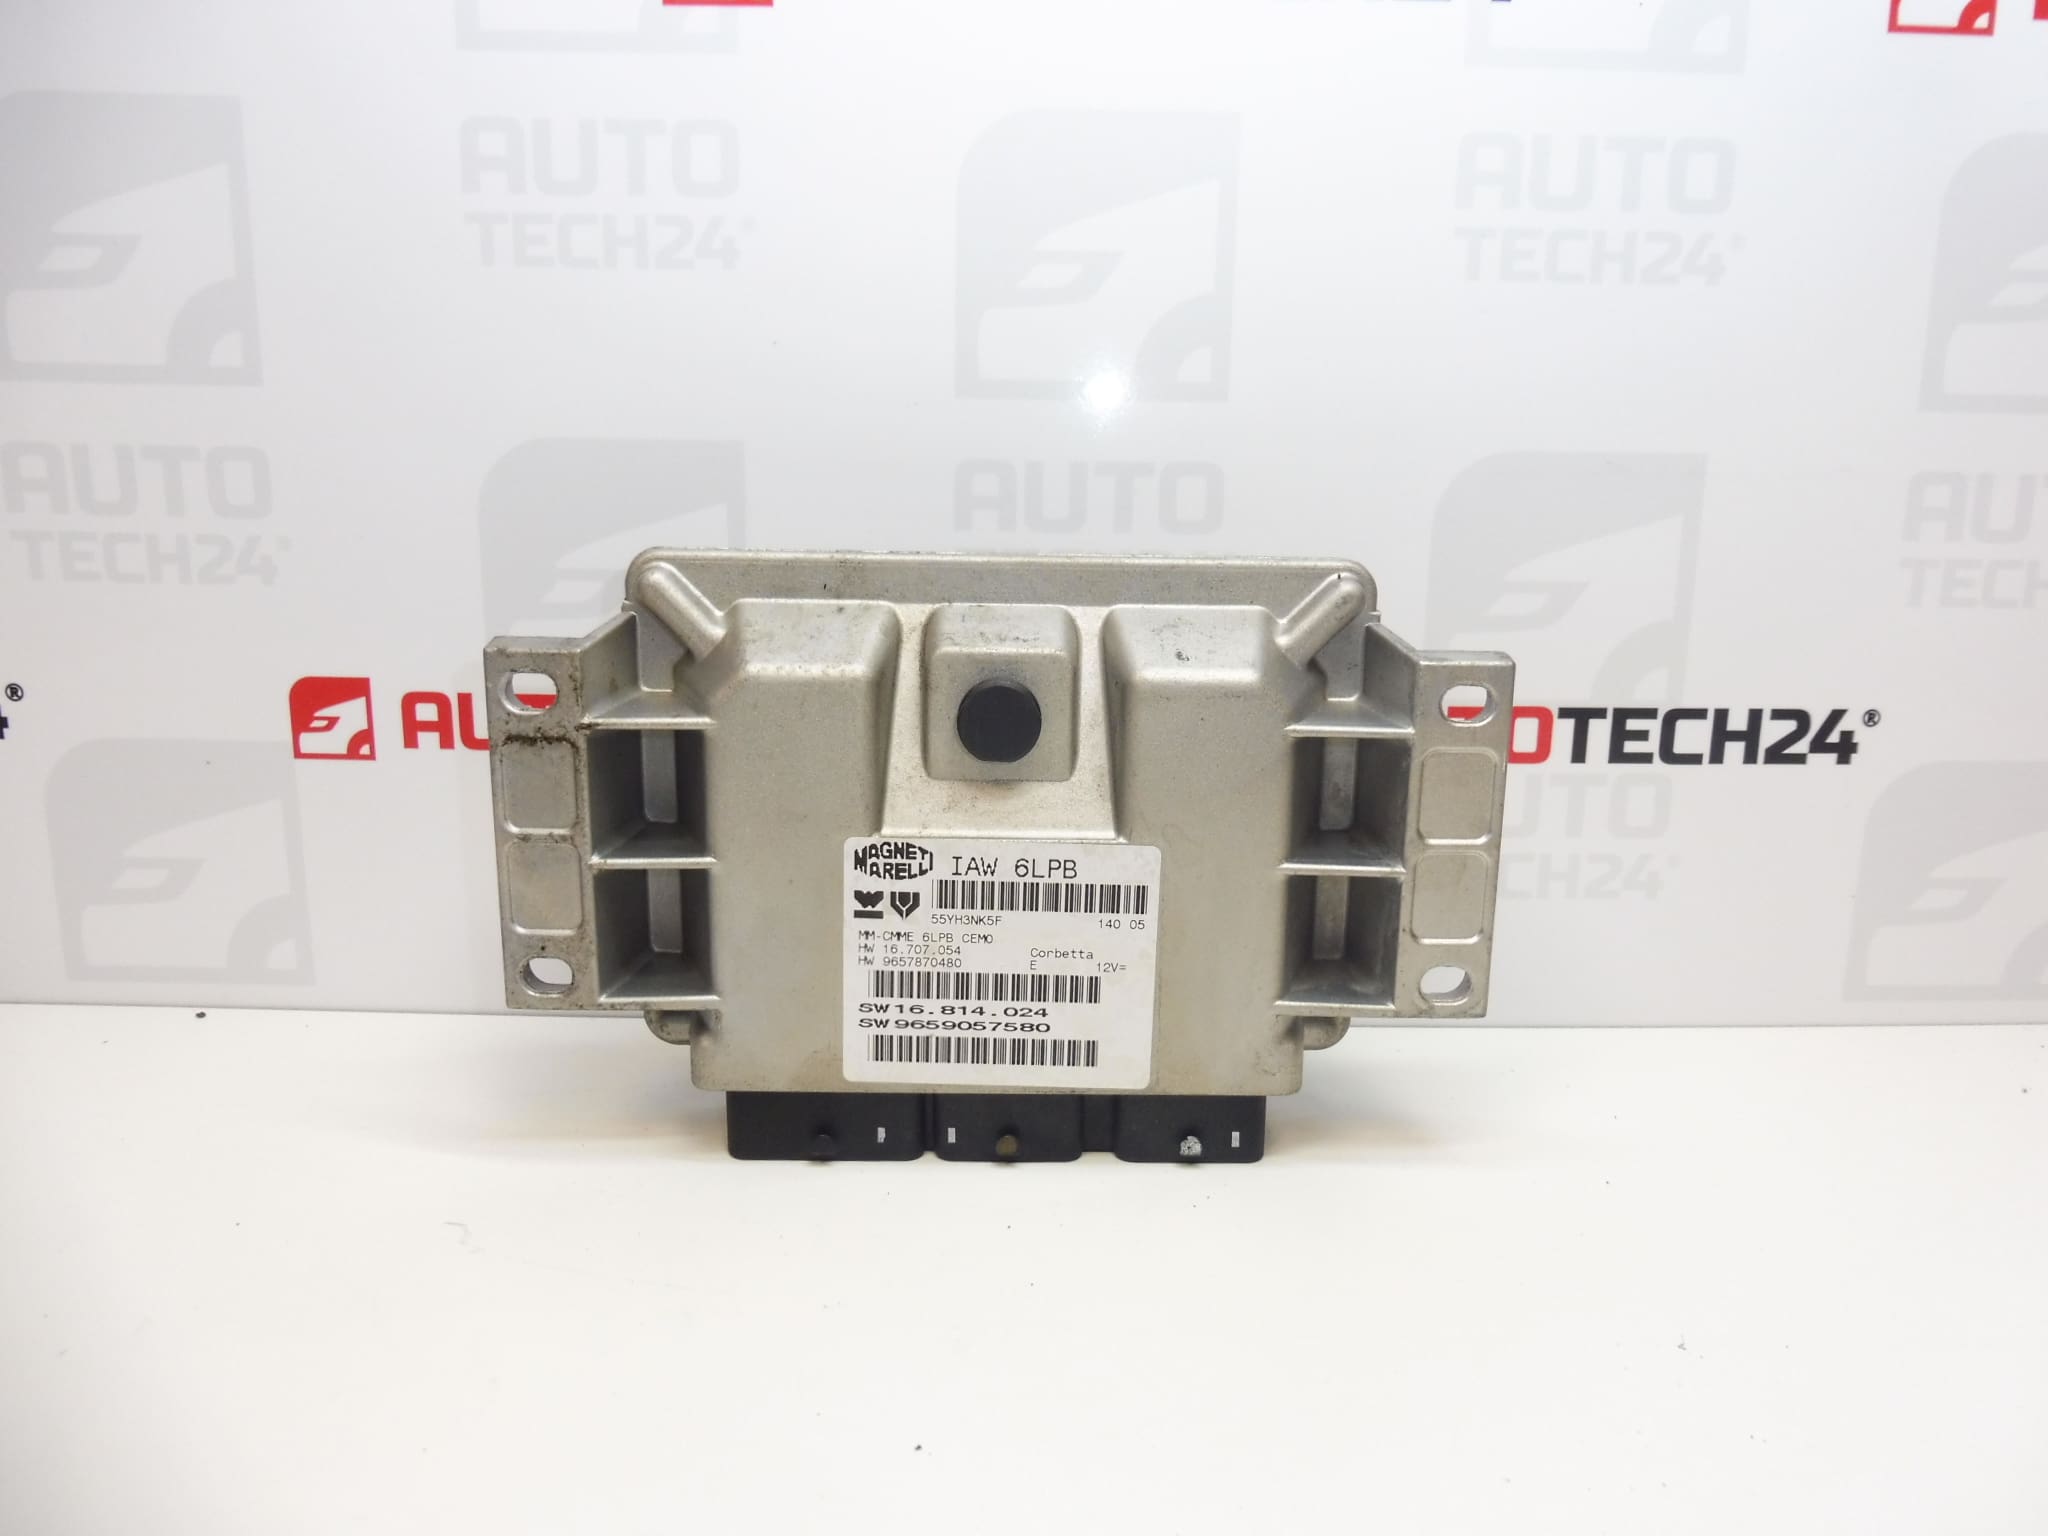
Used Magneti Marelli IAW 6LPB fuel injection control unit for Citroën and Peugeot vehicles with the 2.0 16V designation. The unit processes signals from sensors and controls fuel injection and other engine management functions. When replacing a faulty unit, it is important to ensure the part is the correct version and is compatible with the vehicle’s electronics.
The source information lists the Citroën C5, Peugeot 307 and Peugeot 407 models. When selecting a replacement part, compare in particular the numbers 9657870480 and 9659057580, the designation of the original unit and its version. Matching the model and engine capacity alone is not sufficient. This used part can replace the original unit, but professional data transfer or initialization will be required.
Technical information
- Manufacturer: Magneti Marelli
- Model: Citroën C5, Peugeot 307, Peugeot 407
- Unit type: IAW 6LPB
- Engine designation in the source information: 2.0 16V
- Part category: fuel injection control unit
- Condition: used part
- Additional numbers: 1943JT, 1943A3, 1942ZR, 1943A2
- Model years and exact engine code: not specified
Product codes
- Product codes: 9657870480, 9659057580, 1943JT, 1943A3, 1942ZR, 1943A2
- Type designation: Magneti Marelli IAW 6LPB
The listed codes are used to identify and search for the part. When comparing it with the original unit, also take its hardware and software version and the requirements for adaptation into account.
Installation recommendations
General information for this type of part: replacing a fuel injection control unit requires diagnostics and usually also work with stored data. The procedure below is general; the exact removal, power-disconnection and commissioning steps depend on the specific model and vehicle version.
1) Before installation
- First, use diagnostics to confirm the cause of the fault. Similar symptoms can be caused by a faulty power supply, grounding, wiring or a connected component.
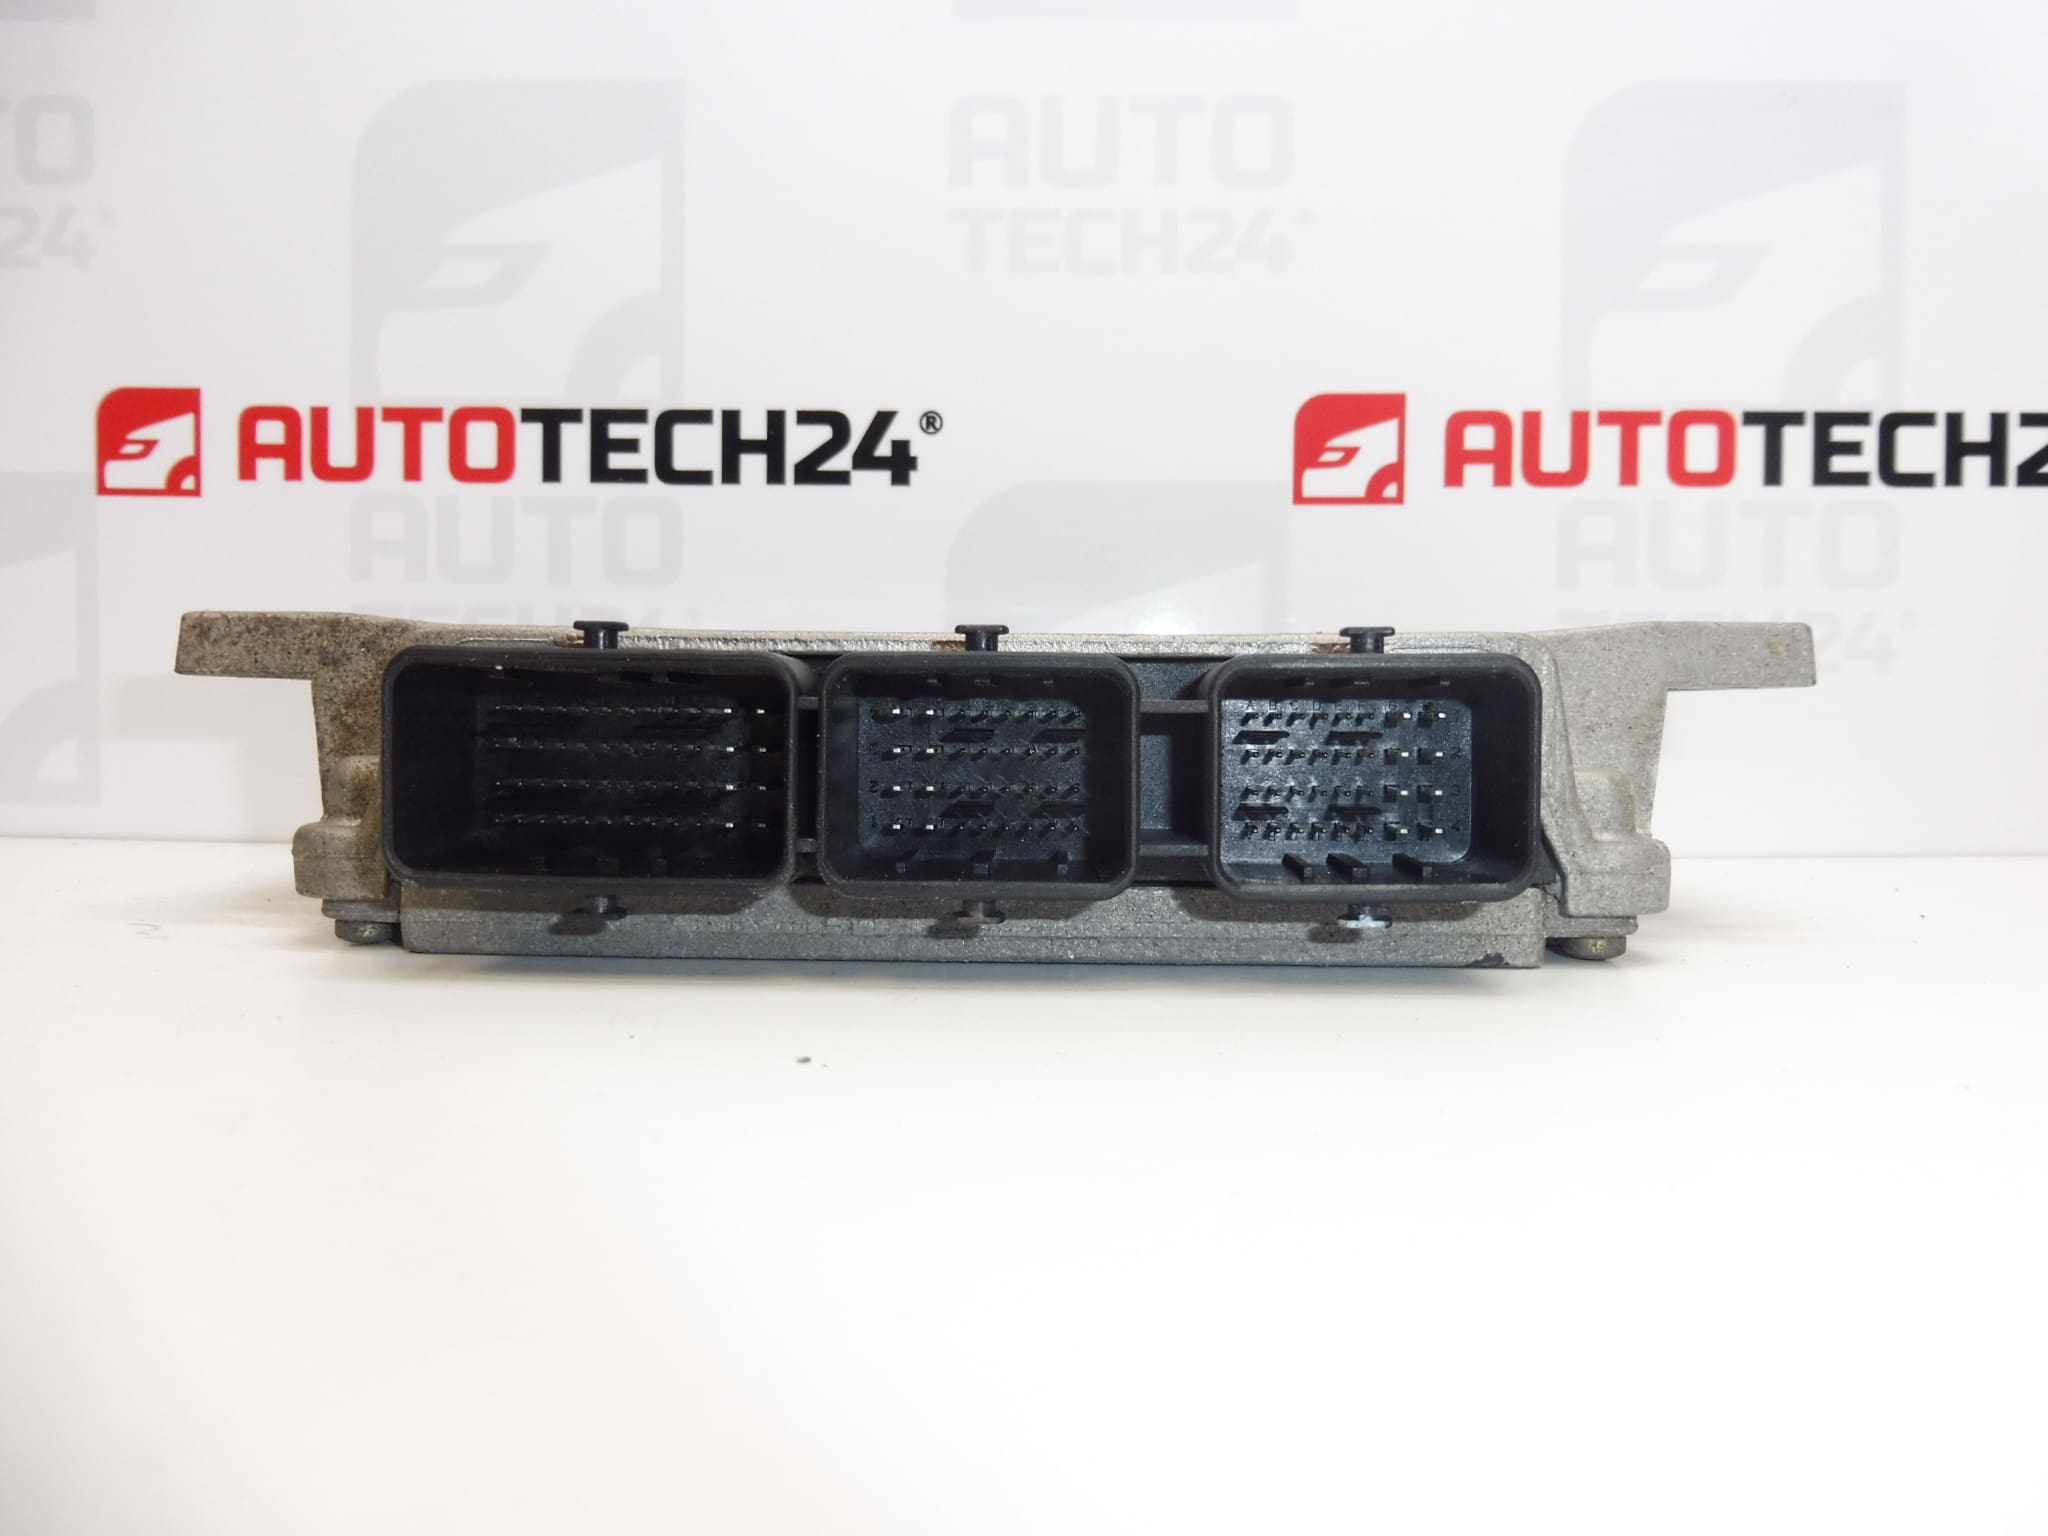
- Compare the product numbers, IAW 6LPB designation, available hardware and software information, connectors and mounting points with the original unit.
- Inspect the casing of the used unit, mounting points, connectors and contacts. Look for corrosion, moisture, cracks, bent pins and signs of overheating.
- Determine in advance how the unit will be commissioned and arrange to back up the original data if it can be read.
2) Tools and materials required
- Standard hand tools suitable for the unit’s mountings and surrounding covers.
- Diagnostic equipment suitable for the vehicle and equipment for cloning or initializing the unit.
- A multimeter for checking the power supply and grounding.
- A suitable electrical contact cleaner, clean cloths and electrostatic discharge protection when working with electronics.
- A stabilized power supply suitable for diagnostic and programming procedures, according to the requirements of the equipment being used.
3) Step-by-step installation procedure
- Run an initial diagnostic, record any faults and note the available identification details of the original unit.
- Check the power and ground wires, as well as the associated wiring. Rectify any cause of the damage before connecting the replacement unit.
- If the condition of the original unit allows, arrange for its data to be professionally read and backed up. Choose a cloning or initialization procedure.
- Switch off the ignition, follow the manufacturer’s procedure for allowing the electronics to go to sleep, and disconnect the battery before removal.
- Access the unit according to the service procedure for the specific vehicle. Before disconnecting anything, note the wiring layout and connector orientation.
- Release the connector locks and carefully disconnect the connectors. Do not pull on the wires or pry against the contacts.
- Undo the fasteners and remove the original unit. Check the bracket and surrounding area, especially for signs of water ingress or damaged wiring.
- Prepare the replacement unit as required for the selected method. Leave data transfer and any work on the electronics to a specialist.
- Position the replacement unit and secure it according to the vehicle manufacturer’s instructions. The wiring must not be stretched, pinched or strained against edges.
- Connect the connectors, make sure their locks are properly secured, and reinstall any protective components that were removed.
- Reconnect the battery according to the manufacturer’s procedure. If initialization was selected, complete the required coding and key adaptation using suitable diagnostic equipment.
- Verify communication with the unit, complete the required diagnostic procedures and check engine operation.
4) Post-installation checks and test drive/functional verification
- Verify communication with the unit, start authorization and successful completion of the adaptation.
- Check starting, engine operation, response to acceleration and warning lights.
- Read the fault memory again and assess any persistent problems; do not rely on simply clearing the faults.
- If the engine is running correctly and the vehicle has no safety-related faults, take a short test drive. Then repeat the diagnostic check.
5) Common installation mistakes and how to avoid them
- Selecting a part based only on the car model: also compare the codes, unit version and software requirements.
- Replacing the unit without resolving the original cause: check the power supply, grounding, wiring and connected circuits before installation.
- Connecting while the power is on: follow the manufacturer’s procedure for disconnecting the battery and handling electronic components.
- Damaging the connectors: release the locks first and do not use force if a connector is not seated correctly.
- Interrupting programming: ensure a stable power supply and a reliable connection to the diagnostic equipment.
- Skipping adaptation: a used unit may not allow the engine to start after a simple physical installation alone.
Installation and coding – important
- The unit is used and is “paired” with the original vehicle (VIN/PIN/keys).
- Commissioning options:
- Clone the data from the old unit (EEPROM/Flash) – after cloning, the unit is plug and play.
- Virginize the unit and then initialize/telecode it via DiagBox (possibly online) and adapt the keys.
- We recommend having this done by a specialist with PSA service equipment (DiagBox/Lexia/PP2000).
- Always disconnect the battery before removal/installation and follow the manufacturer’s procedure to avoid damaging the unit.
Reasons why the part may be damaged
The following factors can generally cause damage to fuel injection control units. This is not a description of the known condition of this specific unit.
- Moisture and water ingress: can cause contact corrosion and damage to the internal electronics.
- Overvoltage or incorrect handling of the power supply: can damage sensitive electronic circuits.
- A short circuit in the wiring or a connected component: can overload the unit’s output circuits.
- Poor grounding and loose connections: cause an unstable power supply and can lead to electrical stress.
- Thermal stress and vibration: can gradually damage electronic components and their connections.
- Improper work: incorrectly opening the casing, damaging connectors or interrupting data writing can impair the unit’s functionality.