Descrizione
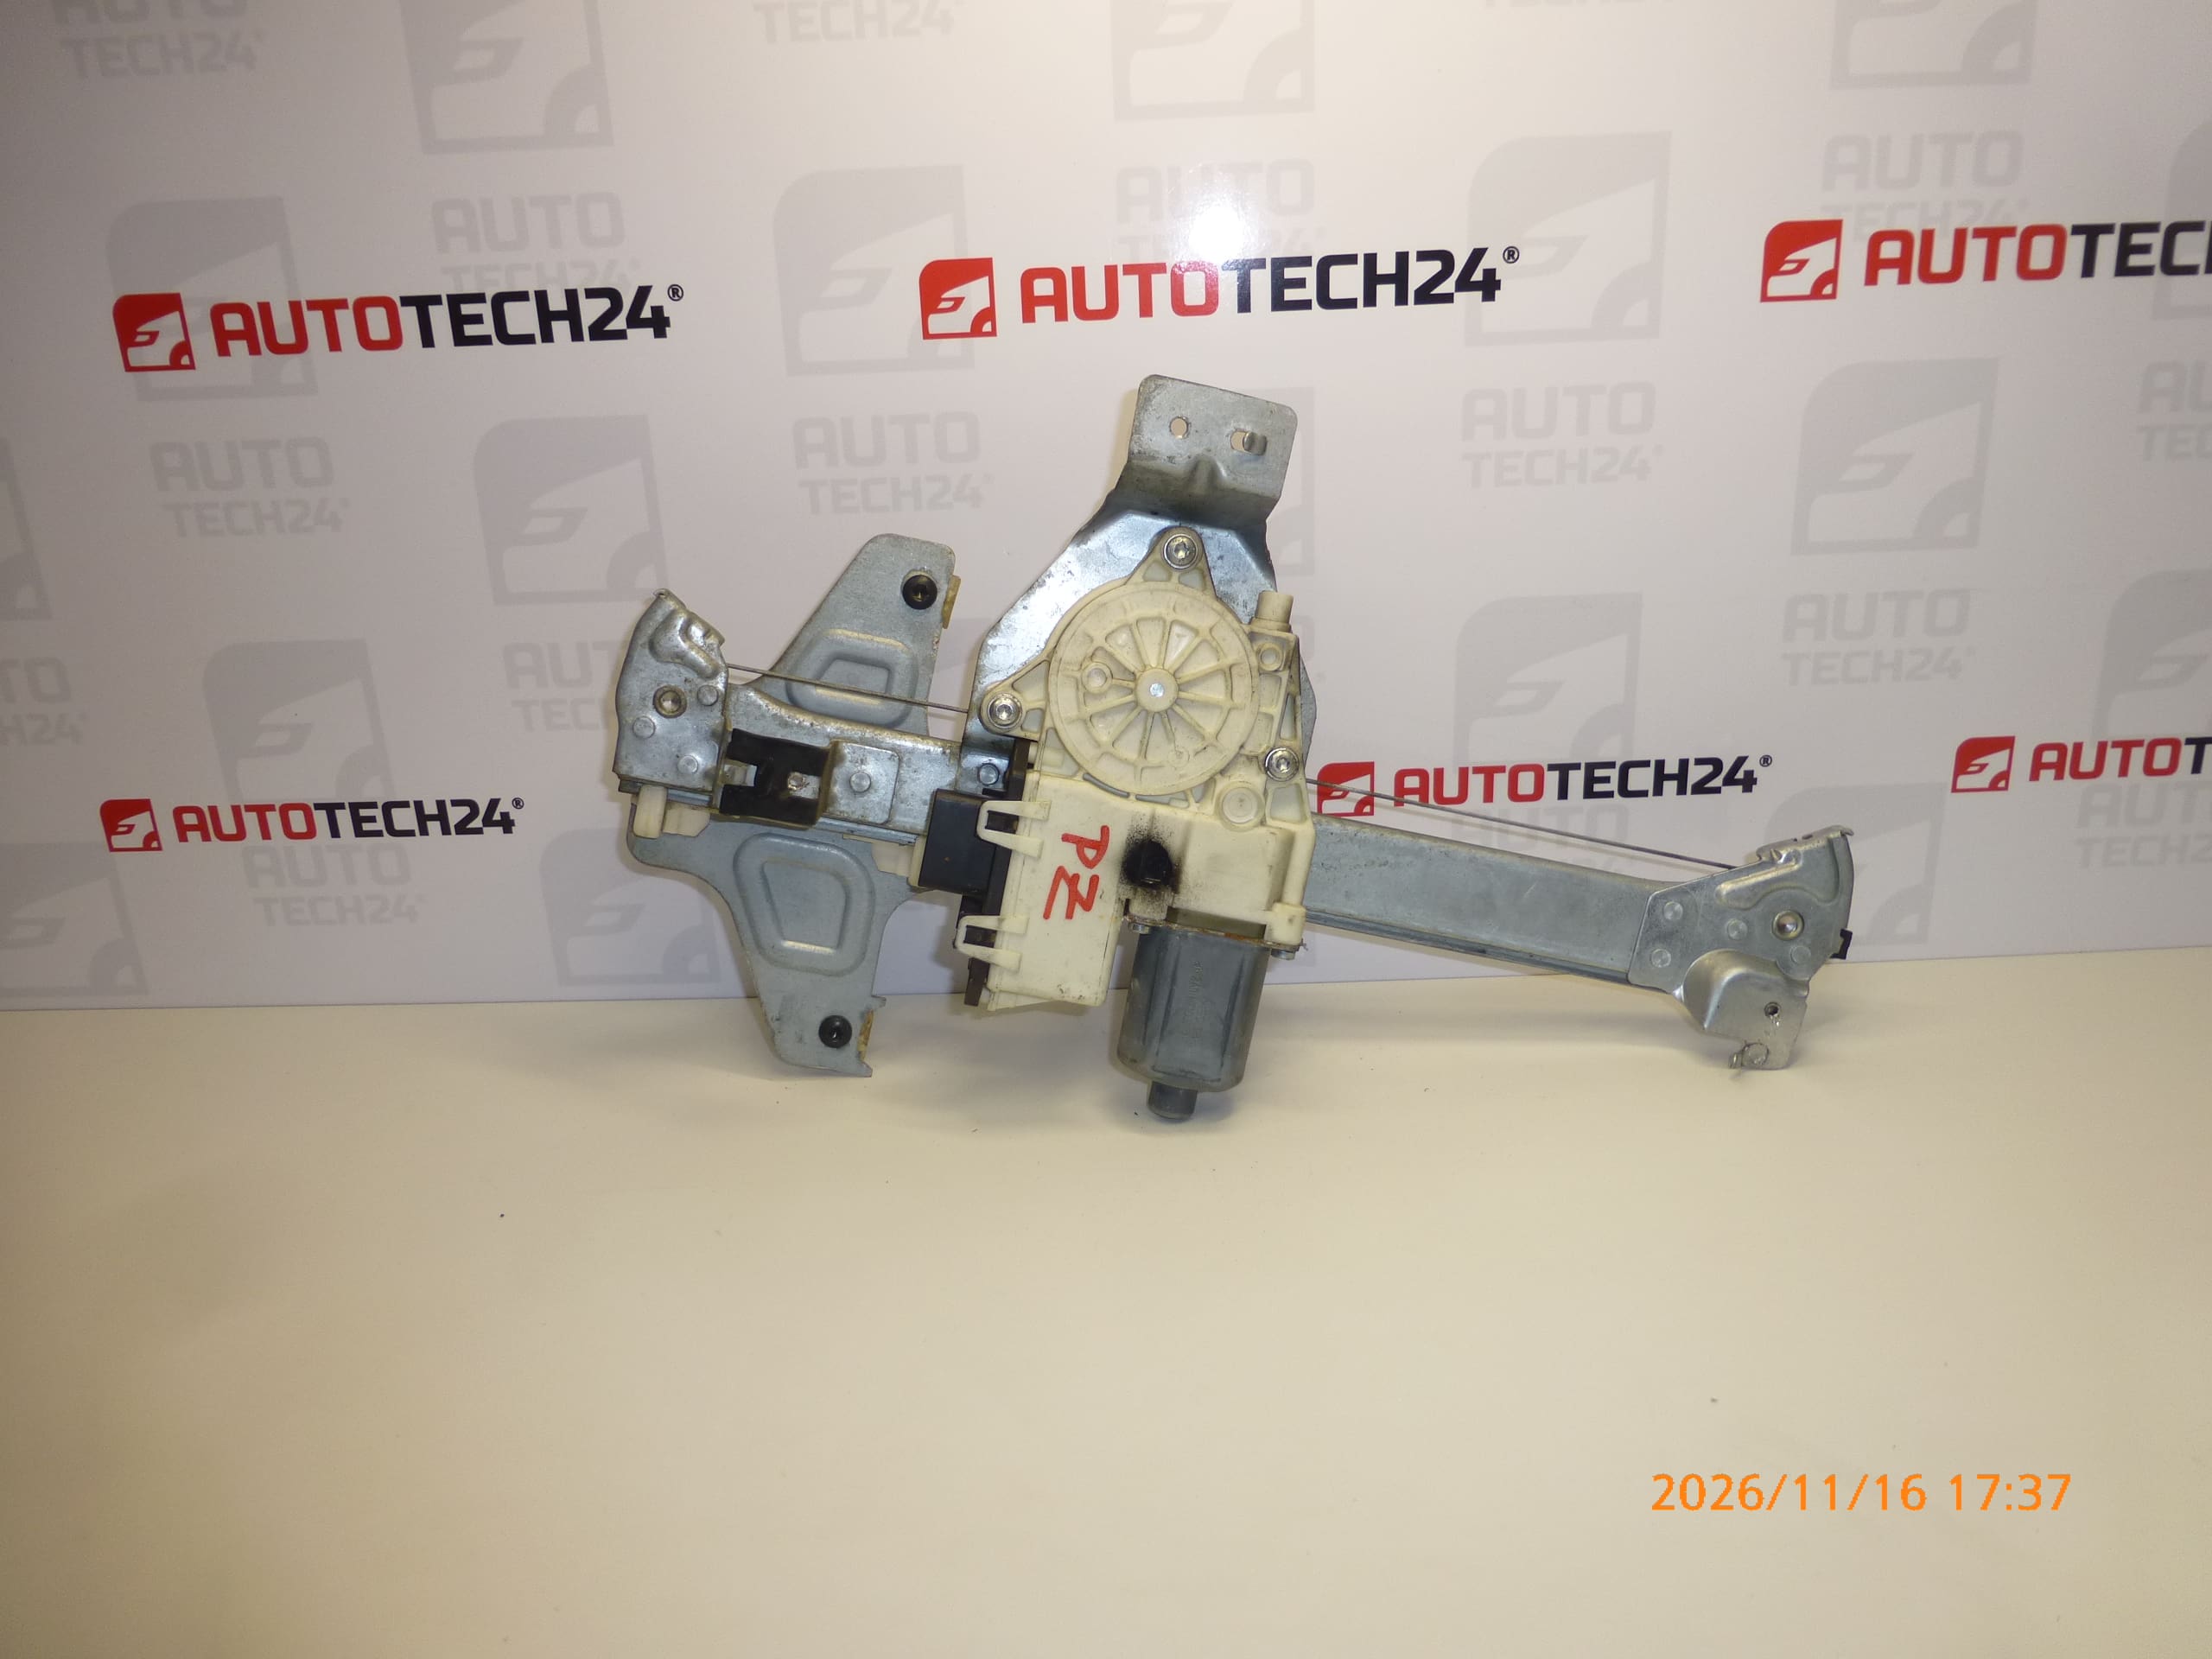
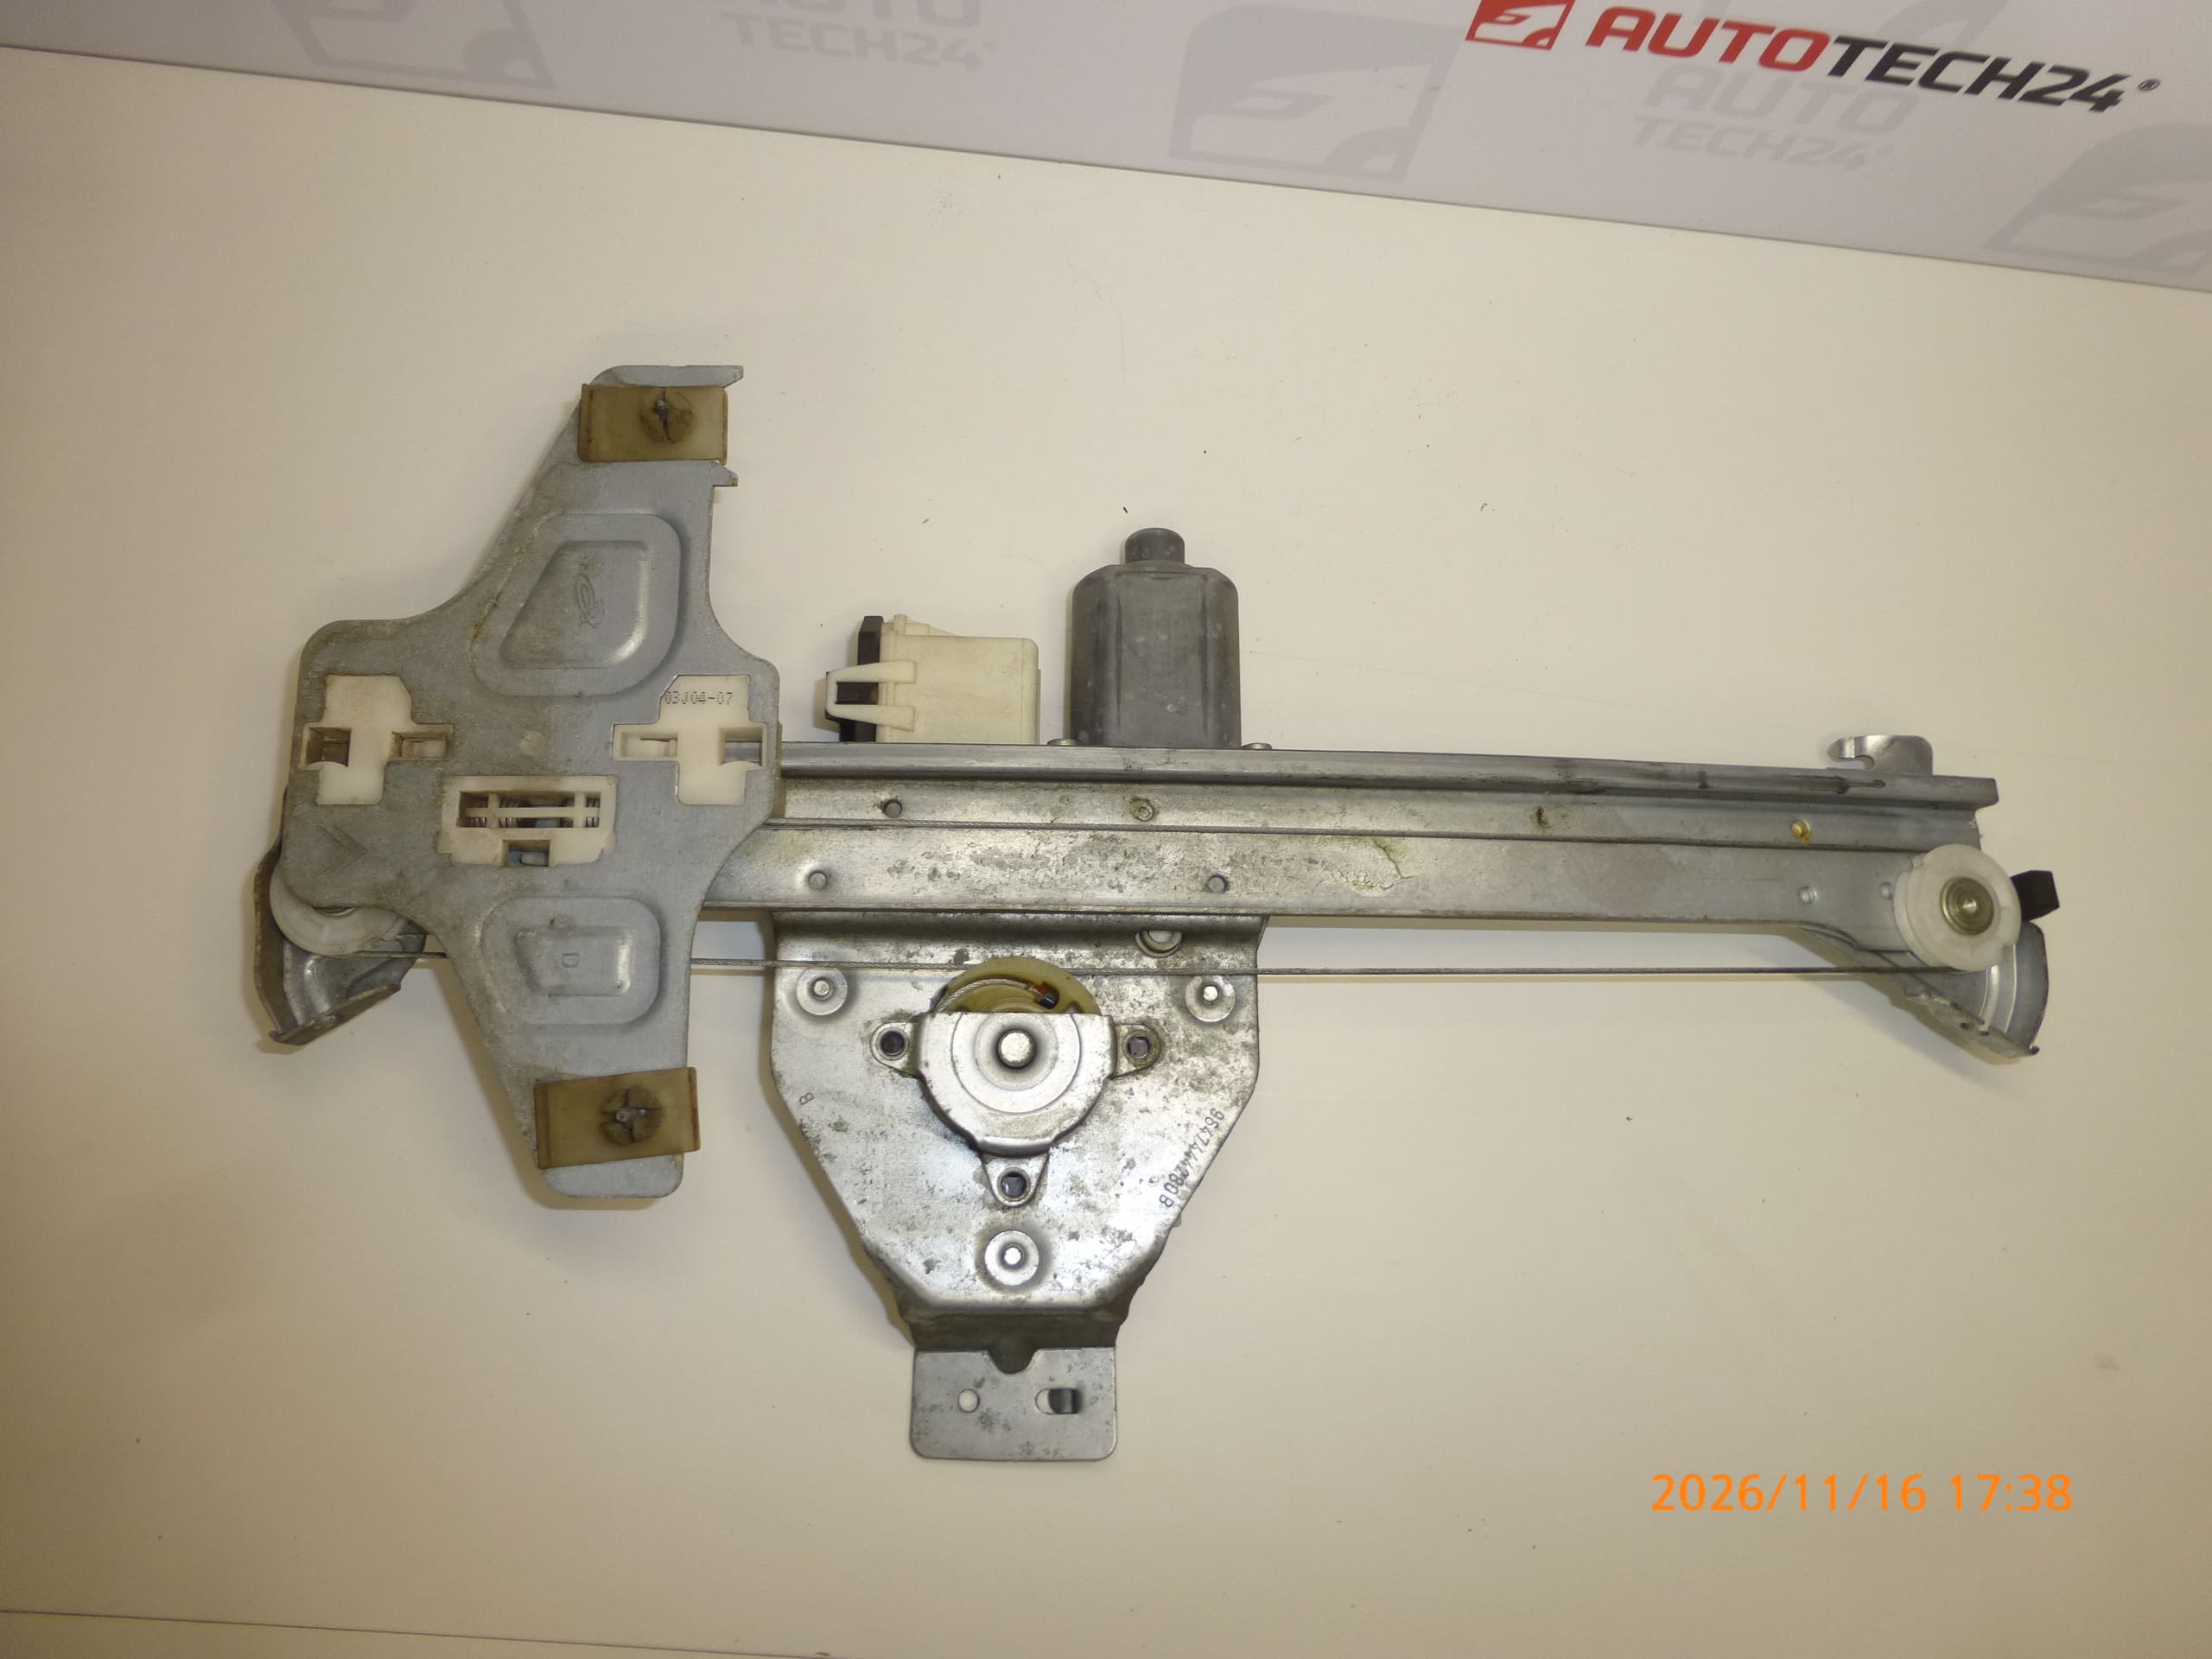
Right rear window regulator mechanism for first-series 5-door CITROËN C4 vehicles
Passenger-side rear door
Part description
Used right rear window regulator mechanism for the first-series five-door Citroën C4 guides and moves the window glass in the passenger-side rear door. It is a suitable choice when repairing a non-functioning or mechanically damaged window regulator, provided the fault is actually in its mechanism.
When selecting a part, compare above all the product numbers 9647444280, 922489 and 9224H3, the design of the mechanism and its mounting points with the original part. The available information does not specify whether an electric motor is also included; therefore, the scope of the assembly cannot be determined solely from the window regulator designation.
Technical information
- Manufacturer: not specified; the information provided lists the designation Stellantis CITROEN PEUGEOT.
- Model: Citroën C4.
- Vehicle configuration: first series, 5 doors.
- Location: right rear door, behind the passenger.
- Part type: window regulator mechanism.
- Condition: used automotive part.
- Additional numbers: 9224H3.
- Electric motor included: not specified.
Product codes
- Product codes: 9647444280, 922489, 9224H3.
The numbers are an important reference when searching for a replacement mechanism. Before installation, also compare the door side, design and mounting points of the original and replacement parts.
Installation recommendations
The following procedure is general and typically applies to replacing a window regulator mechanism. The exact method for removing the trim, releasing the glass and securing the mechanism depends on the specific vehicle configuration. Follow the manufacturer’s service procedure.
1) Before installation
- First, verify the cause of the fault. A non-functioning window does not necessarily mean the mechanism is damaged; the problem may also be with the controls, power supply or electric motor.
- Compare the part numbers, assembly shape, mounting points and method of attaching the glass. If the assembly includes electrical components, compare their connections as well.
- Check the used part for deformation, cracks, corrosion and the condition of moving parts. For a cable-operated design, inspect the cables, their routing and seating.
- Prepare a safe means of securing the glass to prevent it from falling. Do not disassemble or operate the mechanism loose outside the door without support and without following the manufacturer’s prescribed procedure.
2) Tools and materials required
- Standard hand tools suitable for the fasteners used, and tools for carefully releasing the trim.
- Equipment intended to safely support and secure the glass.
- Protective gloves, safety glasses and suitable protection for the paintwork and interior.
- Cleaning supplies and, if necessary, material for restoring the seal of the inner protective film, depending on the door design.
- If riveted joints are used, suitable equipment for removing and replacing them in accordance with the service procedure.
3) Step-by-step installation procedure
- Park and secure the vehicle safely, ensuring sufficient working space by the right rear door.
- If possible and safe, position the glass so that its attachment is accessible. Do not use force if the mechanism is jammed.
- Switch off the ignition and, before working on electrical connections, disconnect the battery according to the vehicle manufacturer’s instructions.
- Carefully remove the door trim. Disconnect the relevant connectors and controls without pulling on the wires.
- Access the mechanism and carefully move aside any protective film or moisture barrier. Note the wiring route and the position of the mountings.
- Support the glass securely, release its connection to the mechanism and secure it against slipping down, following the service procedure.
- Disconnect any electrical connection to the mechanism, release its fasteners and remove the old part without damaging the glass, wiring or door.
- Compare the two parts side by side. If the electric motor or other original components need to be transferred, proceed only according to the service instructions for the specific configuration.
- Insert the replacement mechanism and secure it at the relevant mounting points. Ensure that it is seated correctly without tension and that the moving parts can travel freely.
- Position and secure the glass. Check its position in the guides, and only remove the temporary support once it is securely attached.
- Reconnect the electrical connections and reconnect the battery according to the manufacturer’s procedure. During testing, keep hands and tools clear of the path of the glass and mechanism; stop immediately if the glass tilts or encounters unusual resistance.
- After a successful test, restore the seal of the protective barrier, position the wiring correctly and reinstall the door trim.
4) Post-installation checks and function verification
- Check several times that the window moves smoothly down and up. The glass must not tilt, catch or come loose from its mounting.
- Listen to the mechanism in operation and check for cracking, scraping or knocking sounds.
- Verify that the glass closes properly and that the relevant controls work. If the specific configuration requires window initialization, perform it according to the manufacturer’s instructions.
- Check that the trim and moisture protection are correctly fitted. If you take a brief test drive, use it to check for vibrations or unusual aerodynamic noise.
5) Most common installation errors and how to avoid them
- Glass not secured properly: always support it securely and prevent it from falling before releasing the mechanism.
- Installing the mechanism under tension: before final tightening, check that the assembly and glass are correctly seated in their guides.
- Forcing the window or repeatedly operating a jammed window: stop if you encounter resistance and determine the cause; otherwise, further damage may occur.
- Pinched wiring or incorrectly connected plugs: maintain the correct routing and check that the connections are secure.
- Protective film not sealed: after the repair, restore its proper adhesion and seal to prevent water from reaching the trim.
Reasons why the part may become damaged
The following are general causes of damage that can affect window regulator mechanisms; they do not describe the known condition of this particular item:
- Wear of moving parts through prolonged use, including sliders and guides, and also cables in cable-operated mechanisms.
- Increased resistance of the glass due to dirty guides, damaged seals or incorrect positioning.
- Attempts to lower a frozen or blocked window, which place excessive strain on the mechanism.
- Moisture and corrosion, especially when the protection inside the door is damaged or water drainage is restricted.
- An impact to the door or an improper previous repair, which may deform or misalign the mountings.
- Continuing to use the window despite the first signs of a fault, such as cracking, uneven movement or the glass tilting.