Descrizione
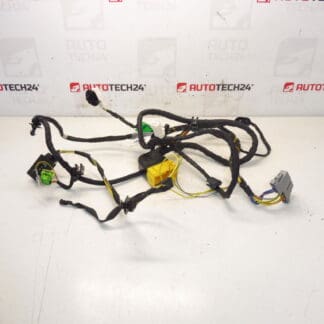
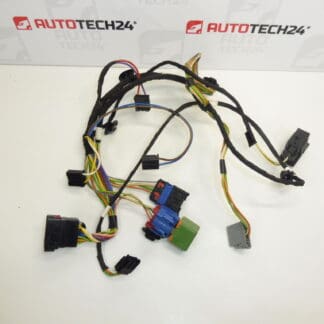
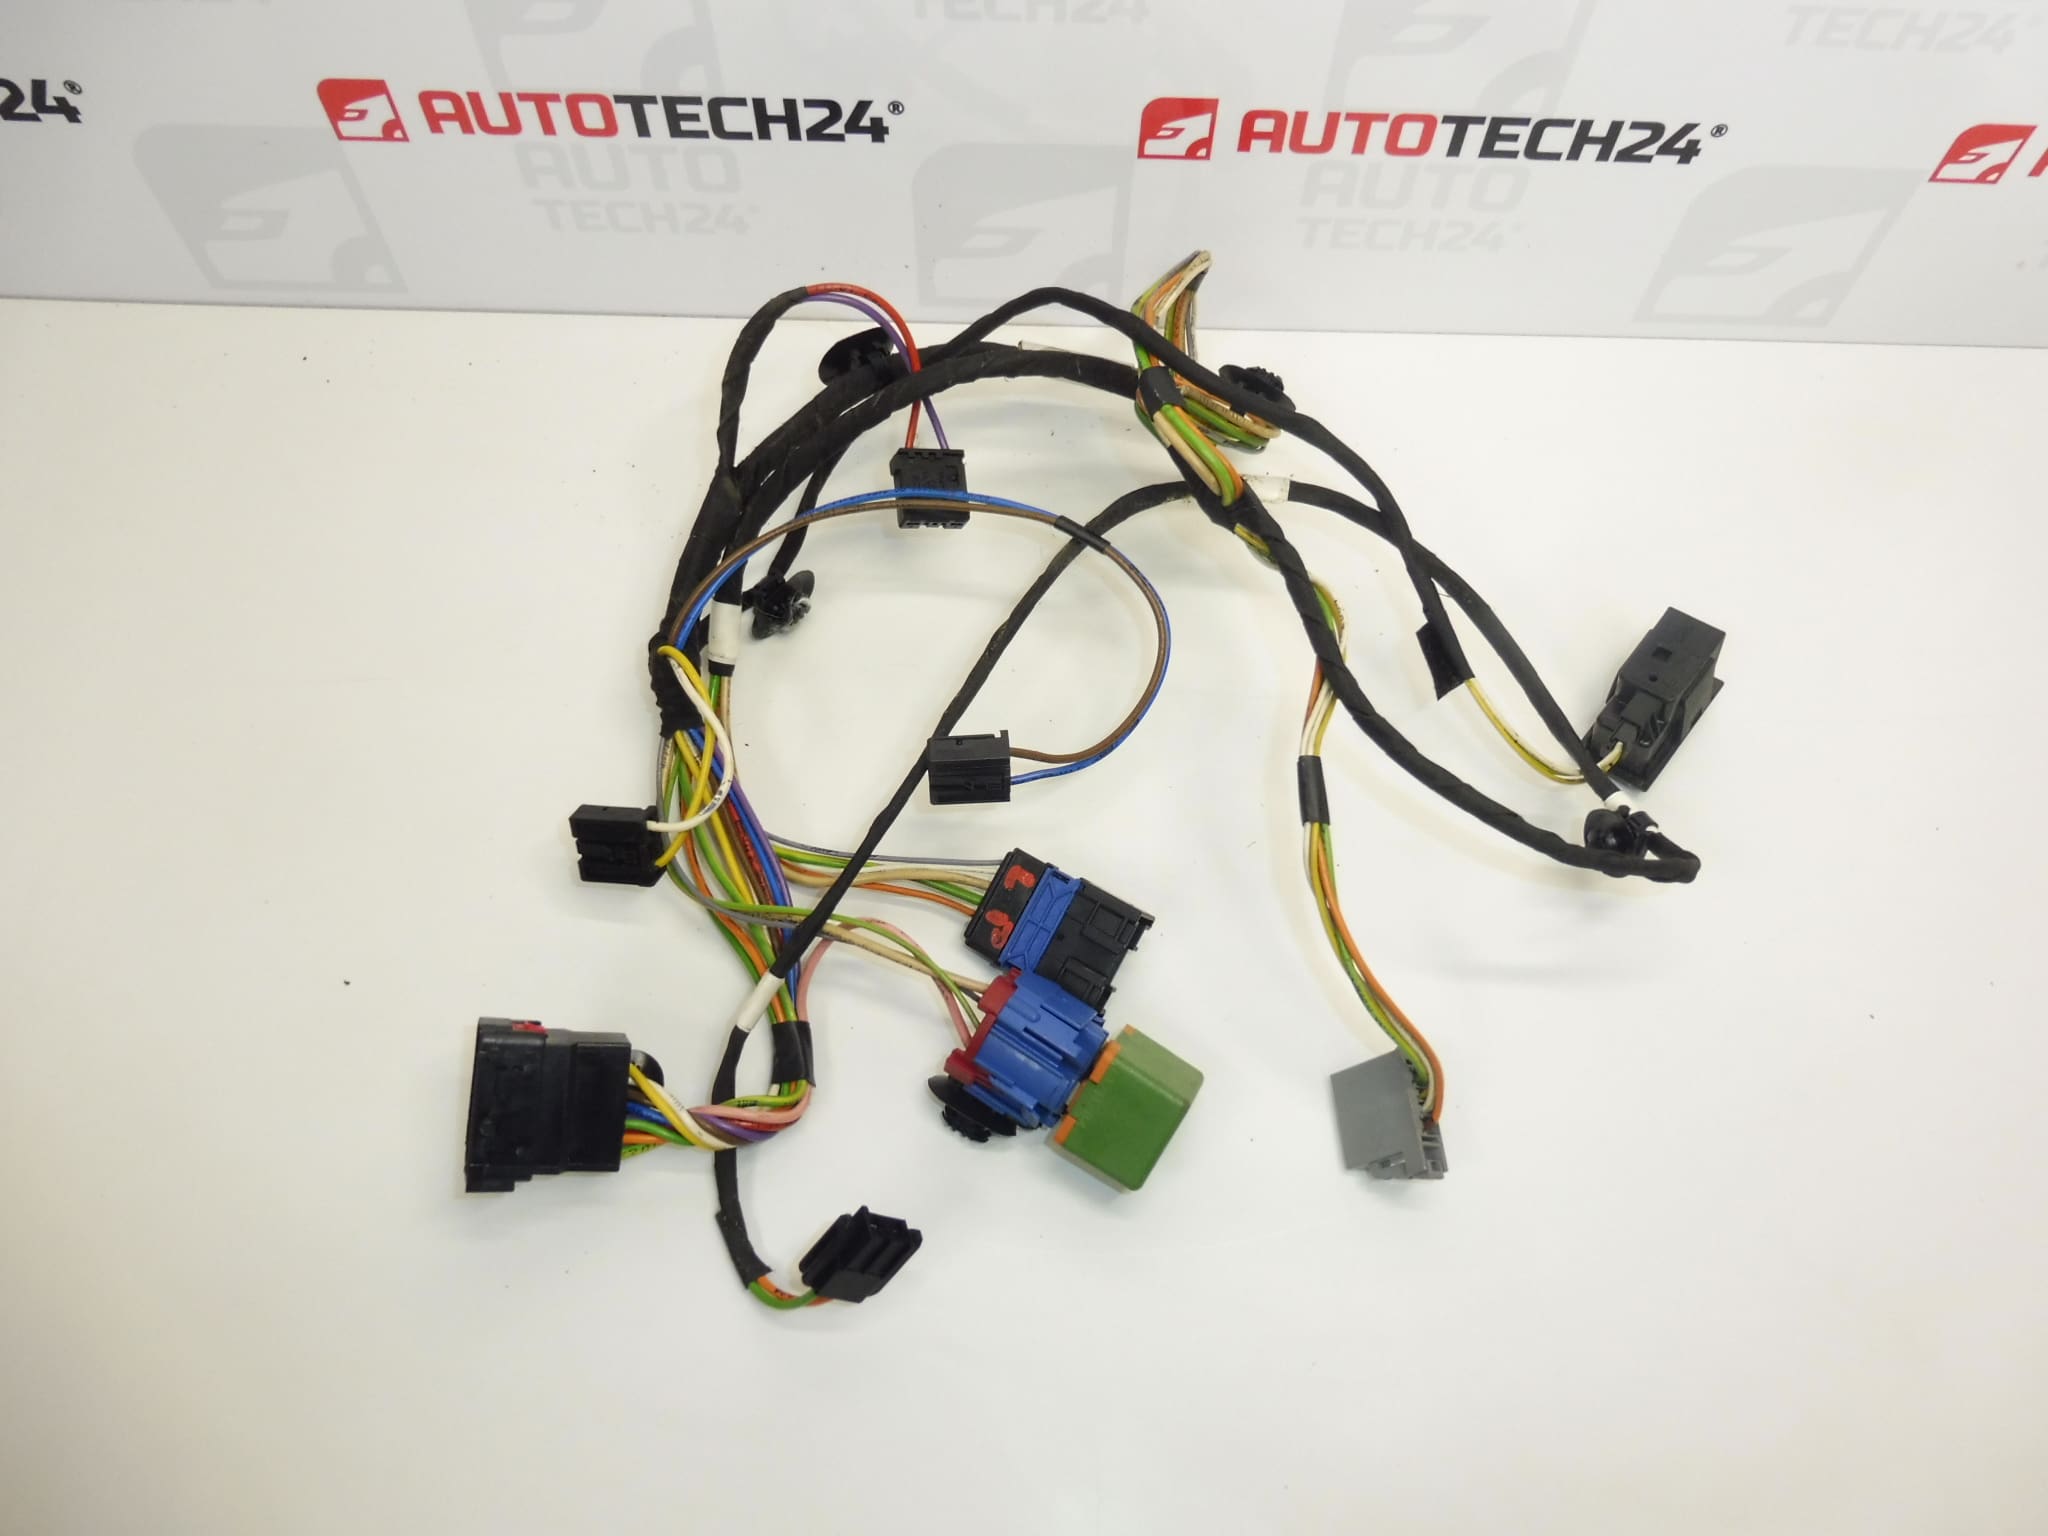
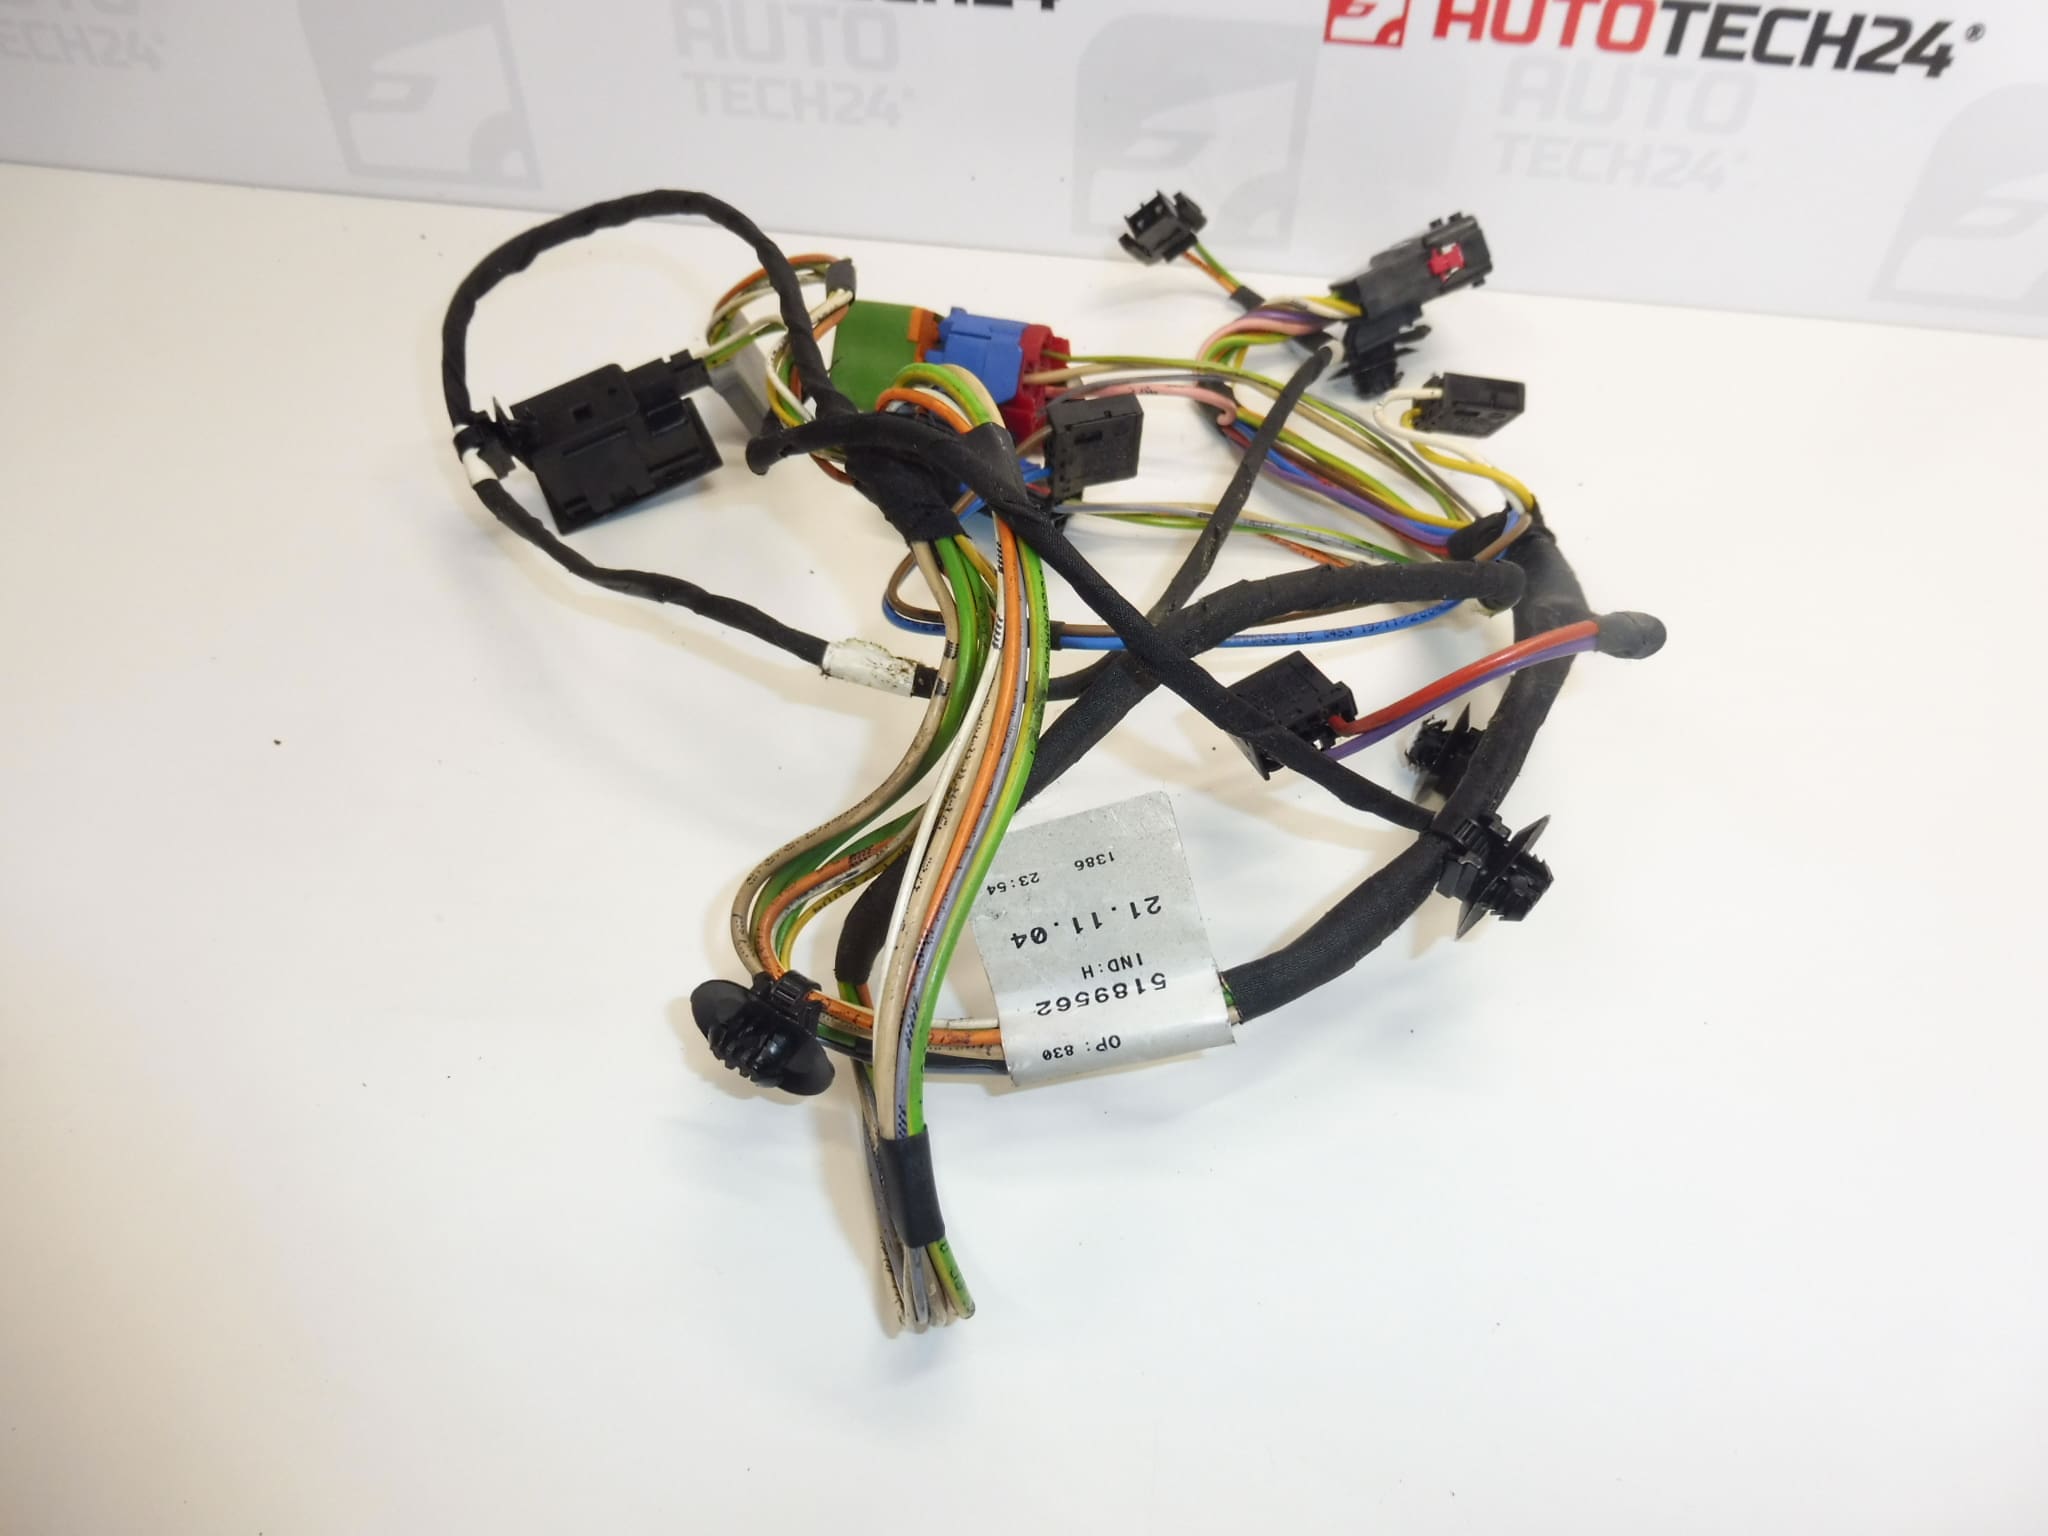
Complete front driver’s seat wiring harness for PEUGEOT 407
Relay version
Part description
Used Peugeot 407 front driver’s seat wiring harness in the relay version, intended to replace the corresponding original harness. It provides the electrical connections between the seat components and the associated vehicle wiring, depending on the vehicle’s equipment. The key part number to look for when searching for a replacement is 9649424580.
Replacing the entire corresponding harness may be a suitable solution if multiple wires or connectors are damaged, or if the original wiring has been improperly modified. Before selecting a part, compare not only the product number but also the connectors, wiring branches and relay version. The specific seat functions supported are not stated in the available documentation.
Technical information
- Manufacturer: not specified; the documentation lists the designation Stellantis CITROEN PEUGEOT.
- Model: Peugeot 407.
- Part type: front driver’s seat wiring harness.
- Version: with relay.
- Condition: used automotive part.
- Other numbers: not specified; additional designation in the documentation: NFP.
Product codes
- Product codes: 9649424580.
- Model: Peugeot 407.
- Additional designation: NFP.
The number 9649424580 is the primary reference for finding this harness. Also verify that the version matches by comparing it with the original part and the service documentation for the vehicle in question.
Installation recommendations
General information for this type of part: the following procedure is a general recommendation for replacing a seat wiring harness. The exact removal procedure, connections and safety precautions depend on the specific version and vehicle equipment. Seat wiring may also be connected to safety systems; the available documentation does not specify whether such systems are present or how they are connected on this part.
1) Before installation
- Compare the markings on the original and replacement harnesses, the number and shape of the connectors, their mechanical keying, wiring branches, clips and relay version.
- Check the insulation, protective sleeves, connector latches and contacts. Look for signs of overheating, corrosion, pinching or added splices.
- Inspect the relay and its connections. Do not force a connector into place if its contacts are damaged or dirty.
- Determine the cause of the original fault so the replacement harness is not exposed to the same damage. Have the service procedure for disconnecting the battery and any work on safety systems ready.
2) Tools and materials required
- Standard hand tools suitable for the fasteners used, and tools for carefully releasing clips.
- A flashlight, connector-marking supplies and a way to photograph the wiring route.
- Suitable fastening and protective components for automotive electrical systems if the original ones cannot be safely reused.
- Depending on the scope of the work, diagnostic equipment and a measuring instrument, used only on circuits where the service procedure permits it. Do not use a standard test light or measure resistance on airbag or pretensioner circuits.
3) Step-by-step installation procedure
- Secure the vehicle against movement and prepare access to the seat. If the seat needs to be moved electrically to gain access, do so before disconnecting the power supply.
- Switch off the ignition, disconnect the battery, and follow the procedure and waiting period specified by the manufacturer for work on the electrical system and any safety systems.
- Access the wiring according to the service documentation. If the seat or covers need to be removed, follow the instructions for the specific version.
- Photograph the original harness routing, the position of its branches and clips, and the relay. Mark the connection points to prevent mix-ups during installation.
- Release the connector locks and disconnect the connectors by pulling on their housings, not the wires. Also inspect the mating connectors.
- Carefully release the clips and remove the original harness. Note any areas of abrasion or pinching and eliminate the cause before installing the replacement.
- Compare the two harnesses side by side. If the wiring, connectors or relay version differ, do not adapt the installation by cutting wires or changing connections without the appropriate documentation.
- Route the replacement harness along the original path and secure it in the designated clips. Leave enough slack for seat movement and prevent contact with sharp edges or moving mechanisms.
- Connect the matching connectors, engage their locks and secure the relay section. Check that no wire is stretched, twisted or pinched.
- Reinstall any removed parts according to the service procedure. If the seat was removed, secure it in accordance with the manufacturer’s specifications.
- After completing the mechanical checks, restore the power supply according to the manufacturer’s procedure and check the seat functions and the status of any related safety systems.
4) Post-installation checks and function verification
- Test the available electric seat functions according to the vehicle’s actual equipment.
- Throughout the normal seat adjustment range, check that the wiring is not stretched, caught or pinched.
- Watch for any warning lights. If a safety system fault appears, have the vehicle professionally diagnosed; simply clearing the fault does not address its cause.
- Only carry out a test drive after verifying that the seat is securely fastened and the affected systems are working correctly. A test drive does not replace an on-site wiring inspection.
5) Common installation mistakes and how to avoid them
- Mixing up similar harnesses: compare the part number, connectors and wiring branches before installation.
- Disconnecting connectors while powered: always follow the prescribed power-disconnection procedure and the manufacturer’s safety instructions.
- Pulling on the wires: release the connector lock first and handle only the connector housing.
- Incorrect wiring routing: retain the original route, clips and slack for seat movement.
- Leaving a damaged mating connector in place: inspect both sides of the connection before reconnecting to prevent high contact resistance or intermittent contact.
- Improper testing of safety circuits: follow the service documentation and, if in doubt, have the work carried out by a qualified mechanic.
Reasons why the part may become damaged
For seat wiring harnesses, common causes of damage generally include mechanical stress and connector faults. This is not a description of any defects identified on the item offered.
- Repeated seat movement can strain wires and their terminations if the wiring is routed incorrectly.
- Pinching or chafing can occur when the harness comes into contact with the seat mechanism, a sharp edge or objects under the seat.
- Moisture and dirt can cause contact corrosion and impair electrical connections.
- Loose contacts or electrical overload can cause connectors to heat up and damage the insulation.
- Improper repairs and removal can damage latches, pull wires out of connectors or create unreliable connections.
- Material ageing can reduce the flexibility of the insulation and the durability of protective components and plastic clips.