Descrizione
Power cable to the START-STOP capacitor for e-HDi engines
Part description
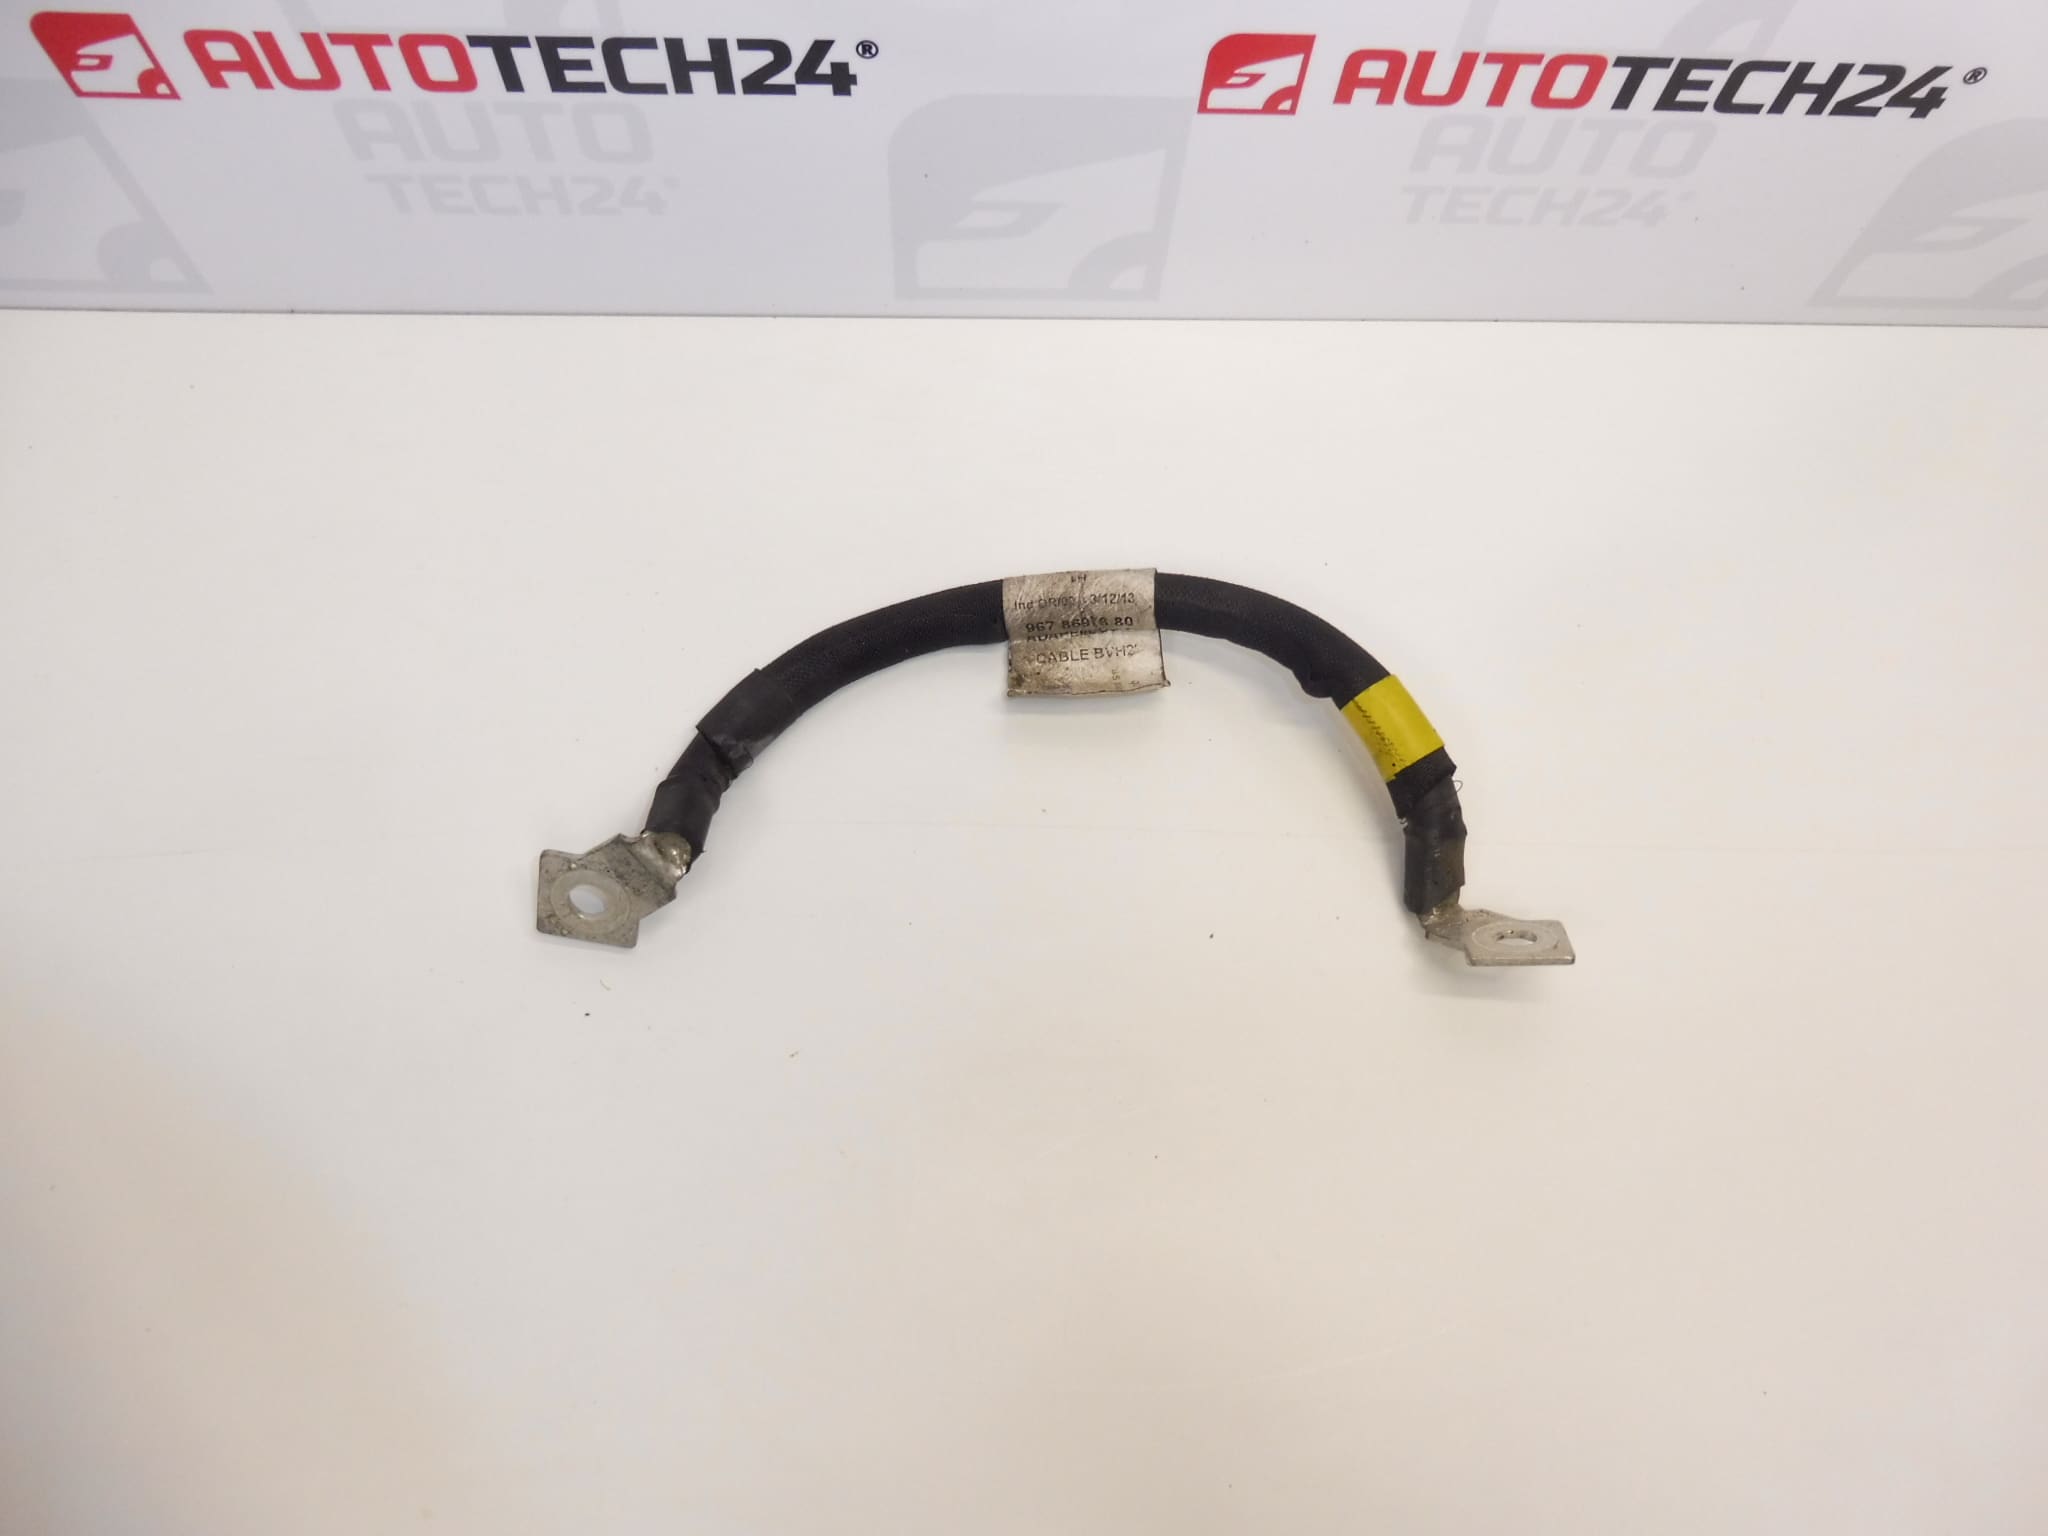
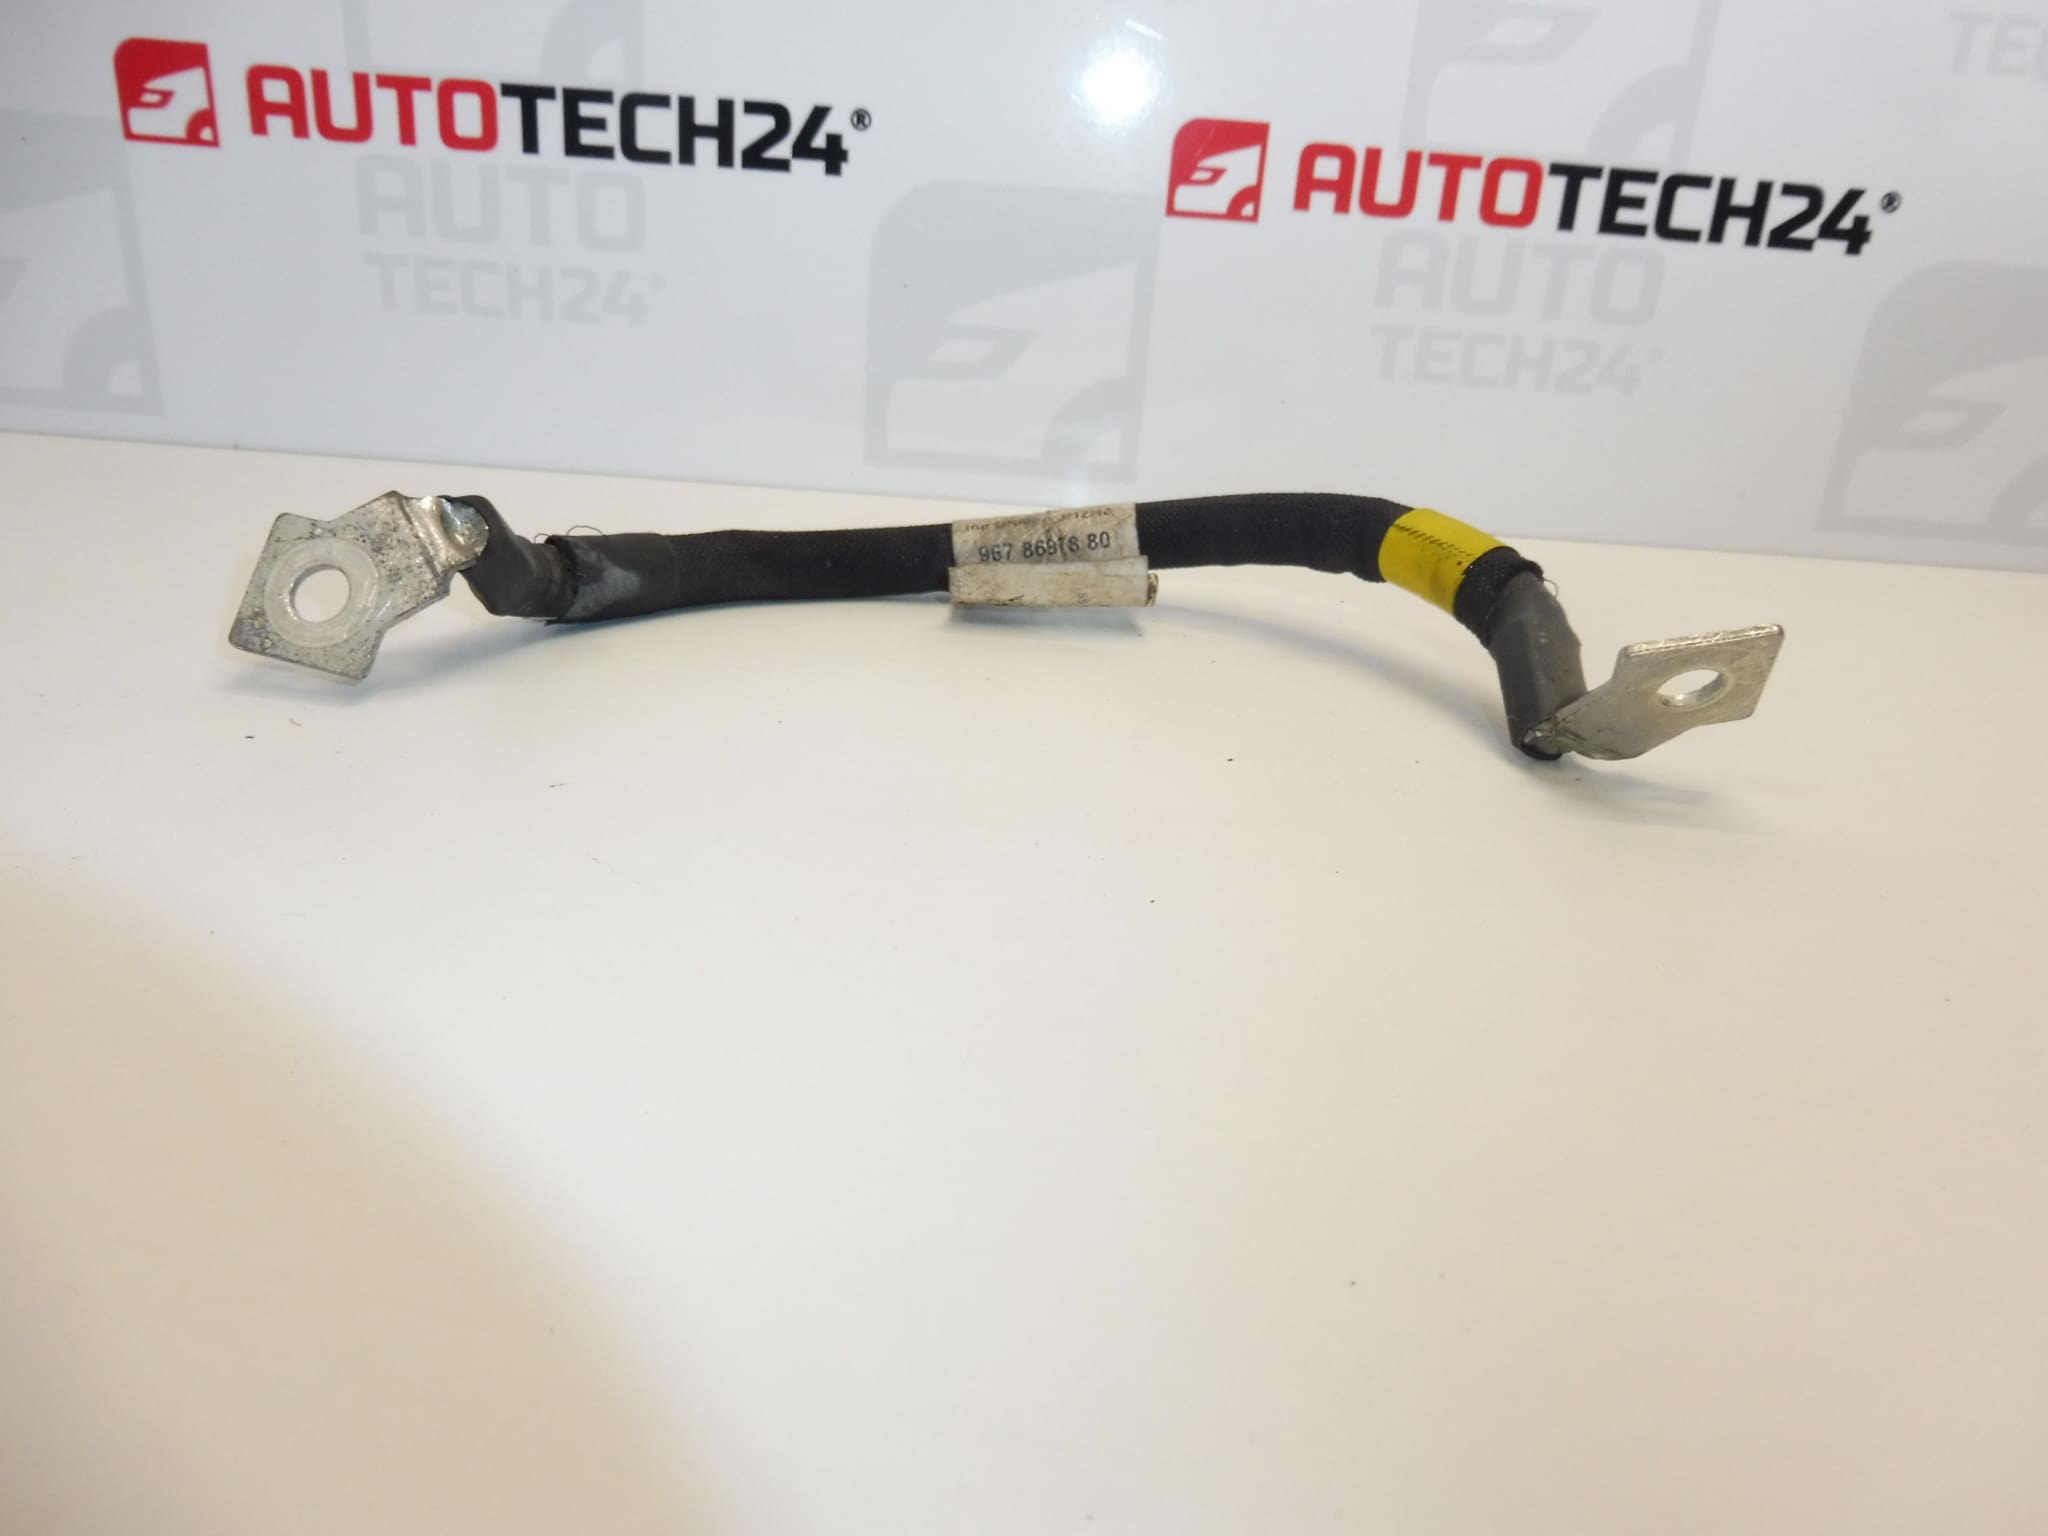
Used power cable to the START-STOP system capacitor for Citroën and Peugeot vehicles with e-HDi engines. The part is identified by product number 9678697880, an important reference when selecting a replacement for a damaged cable.
The cable provides the electrical connection to the capacitor in the START-STOP system. Intact insulation and properly functioning connection points are essential for reliable transmission of electrical power. Replacement may be a suitable solution if the cable is mechanically damaged, the terminals are damaged, or a wiring fault has been confirmed by diagnostics. However, the START-STOP system not working does not necessarily mean this part is at fault.
Technical information
- Manufacturer: not specified; the source documents list the designation Stellantis CITROEN PEUGEOT.
- Model: Citroën C4, Citroen C4 II, Citroën C4 PICASSO, Citroën C4 Picasso II, PEUGEOT 3008 I, Peugeot 308, Peugeot 308 T9, PEUGEOT 5008 I.
- Part type: power cable to the START-STOP capacitor.
- Application according to description: e-HDi engines.
- Category: 1.6 HDI, electrical components, wiring harnesses, engine harnesses.
- Condition: used auto part.
- Other numbers: not specified.
The models are taken from the supplied labels. This list does not mean the part is suitable for all engine variants and configurations; when selecting a part, compare the product number, connections, and construction with the original cable.
Product codes
- Product codes: 9678697880.
When searching for a cable to the battery capacitor or START-STOP system wiring, use the designation 9678697880. Also confirm the match by comparing the terminals, length, cable routing, and mounting points with the original part.
Installation recommendations
The following procedure is a general guide to replacing electrical wiring to the capacitor. The exact steps, access to the part, and safe system disconnection depend on the specific vehicle model and configuration. The capacitor may retain electrical energy even after the battery is disconnected. Therefore, do not assume that disconnecting the battery confirms the system is safe, and never discharge the capacitor by shorting its terminals.
1) Before installation
- Compare designation 9678697880, cable length and routing, terminal shape, connection locking features, and mounting hardware with the old part.
- Inspect the insulation along the entire accessible length. The cable must not have cracks, abrasions, melted areas, or exposed wires.
- Check connection points for corrosion, deformation, looseness, and signs of overheating. Do not install a damaged used part.
- Also inspect the mating connectors and identify the cause of the original fault to prevent the damage from recurring.
2) Tools and materials required
- Standard hand tools suitable for the accessible connections and fasteners.
- Suitable tools for carefully releasing connector locks and clips.
- Protective equipment, a suitable measuring instrument, and the manufacturer’s service procedure for safely deactivating the system.
- If needed, a product intended for cleaning electrical contacts, a clean cloth, and diagnostic equipment.
3) Step-by-step installation procedure
- Secure the vehicle safely, switch off the ignition, and follow the manufacturer’s instructions for deactivating the electrical systems.
- Disconnect the battery in the prescribed order. Follow the manufacturer’s procedure for safely bringing the capacitor to a state in which work can be carried out.
- Verify that the electrical system is safe using the prescribed method. If you do not have the necessary equipment or procedure, have the replacement carried out by a professional workshop.
- Gain access to the cable without forcibly moving surrounding components. Before removal, note its routing and the position of the clips.
- Release the locks and connections according to their design. Do not pull on the wires or force the contact parts with a lever.
- Remove the cable from its clips and check whether the mounting area has sharp edges, signs of friction, or heat damage.
- Inspect the mating connectors. Remove any contamination using a suitable method; damaged or overheated mating connectors must be repaired before proceeding.
- Route the replacement cable along the original path and secure it without tension, twisting, or tight bends. Keep it away from moving or hot parts.
- Restore all connections and their locking features. Tighten any bolted connections according to the manufacturer’s documentation, not by guesswork.
- Refit the removed covers and return the system to operation according to the manufacturer’s procedure, including reconnecting the battery and carrying out any required initialization procedures.
4) Post-installation checks and function verification
Check that the connections are locked, the cable is secured, and there is sufficient clearance from surrounding components. After returning the vehicle to operation, watch for any error messages and run diagnostics if necessary. Check START-STOP operation only under the conditions specified by the manufacturer for its activation. A short test drive can supplement the inspection, but START-STOP not activating by itself does not confirm that the cable is faulty. Stop testing if you notice the smell of overheated insulation or any other unusual symptoms.
5) Most common installation errors and how to avoid them
- Working without safely deactivating the capacitor: follow the service procedure; do not rely solely on disconnecting the battery.
- Selecting a part based only on the vehicle model: also compare the product number and the cable’s physical design.
- Locks not fully engaged or connections loose: check every connection before restoring power.
- Incorrect cable routing: maintain the original route and attachment points to prevent the insulation from chafing and the cable from being pulled.
- Leaving a damaged mating connector in place: correct the cause of poor contact, otherwise the connection may overheat again.
Reasons why the part gets damaged
Common causes of damage to this type of electrical wiring include:
- Vibration and insulation abrasion due to loose or incorrect fastening.
- Moisture and contact corrosion, which can reduce the conductivity of the connection.
- Overheating at connection points due to a loose or contaminated contact.
- Heat stress and aging of the insulation in the engine compartment.
- Careless removal or incorrect installation, such as pulling on the cable, pinching it, or routing it over a sharp edge.
- External mechanical damage, for example during repairs to surrounding components or caused by rodents.