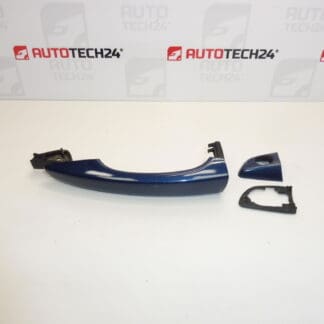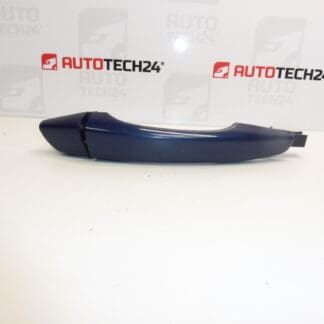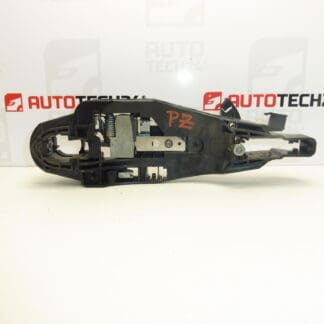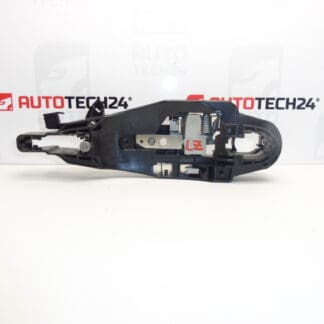
Descrizione
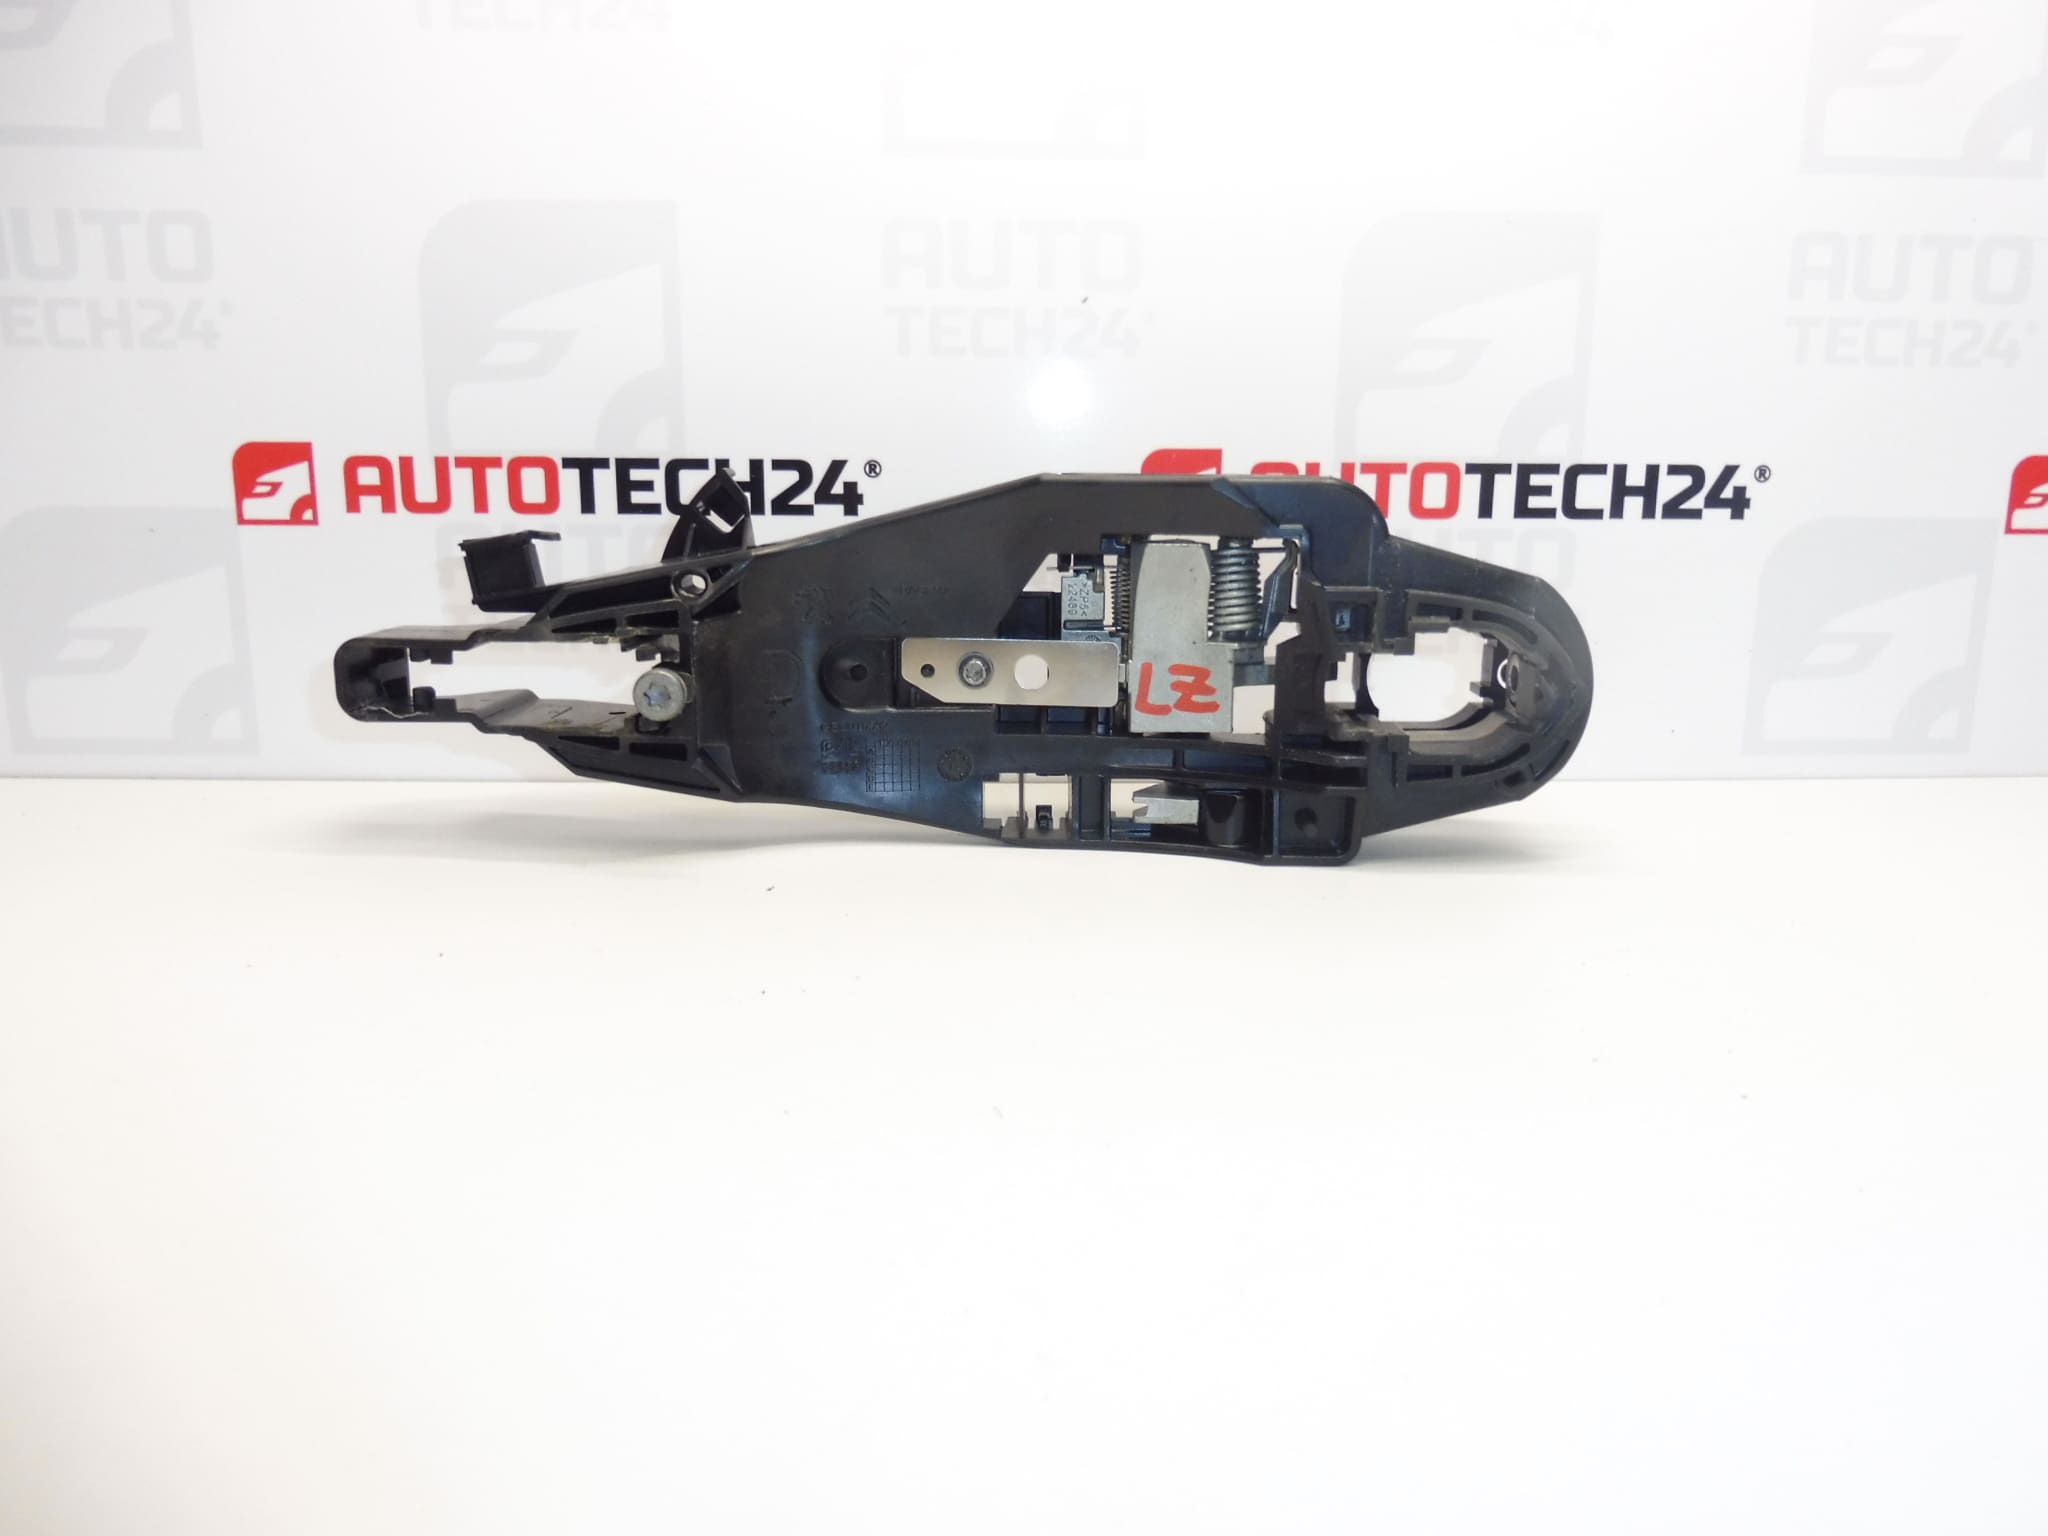
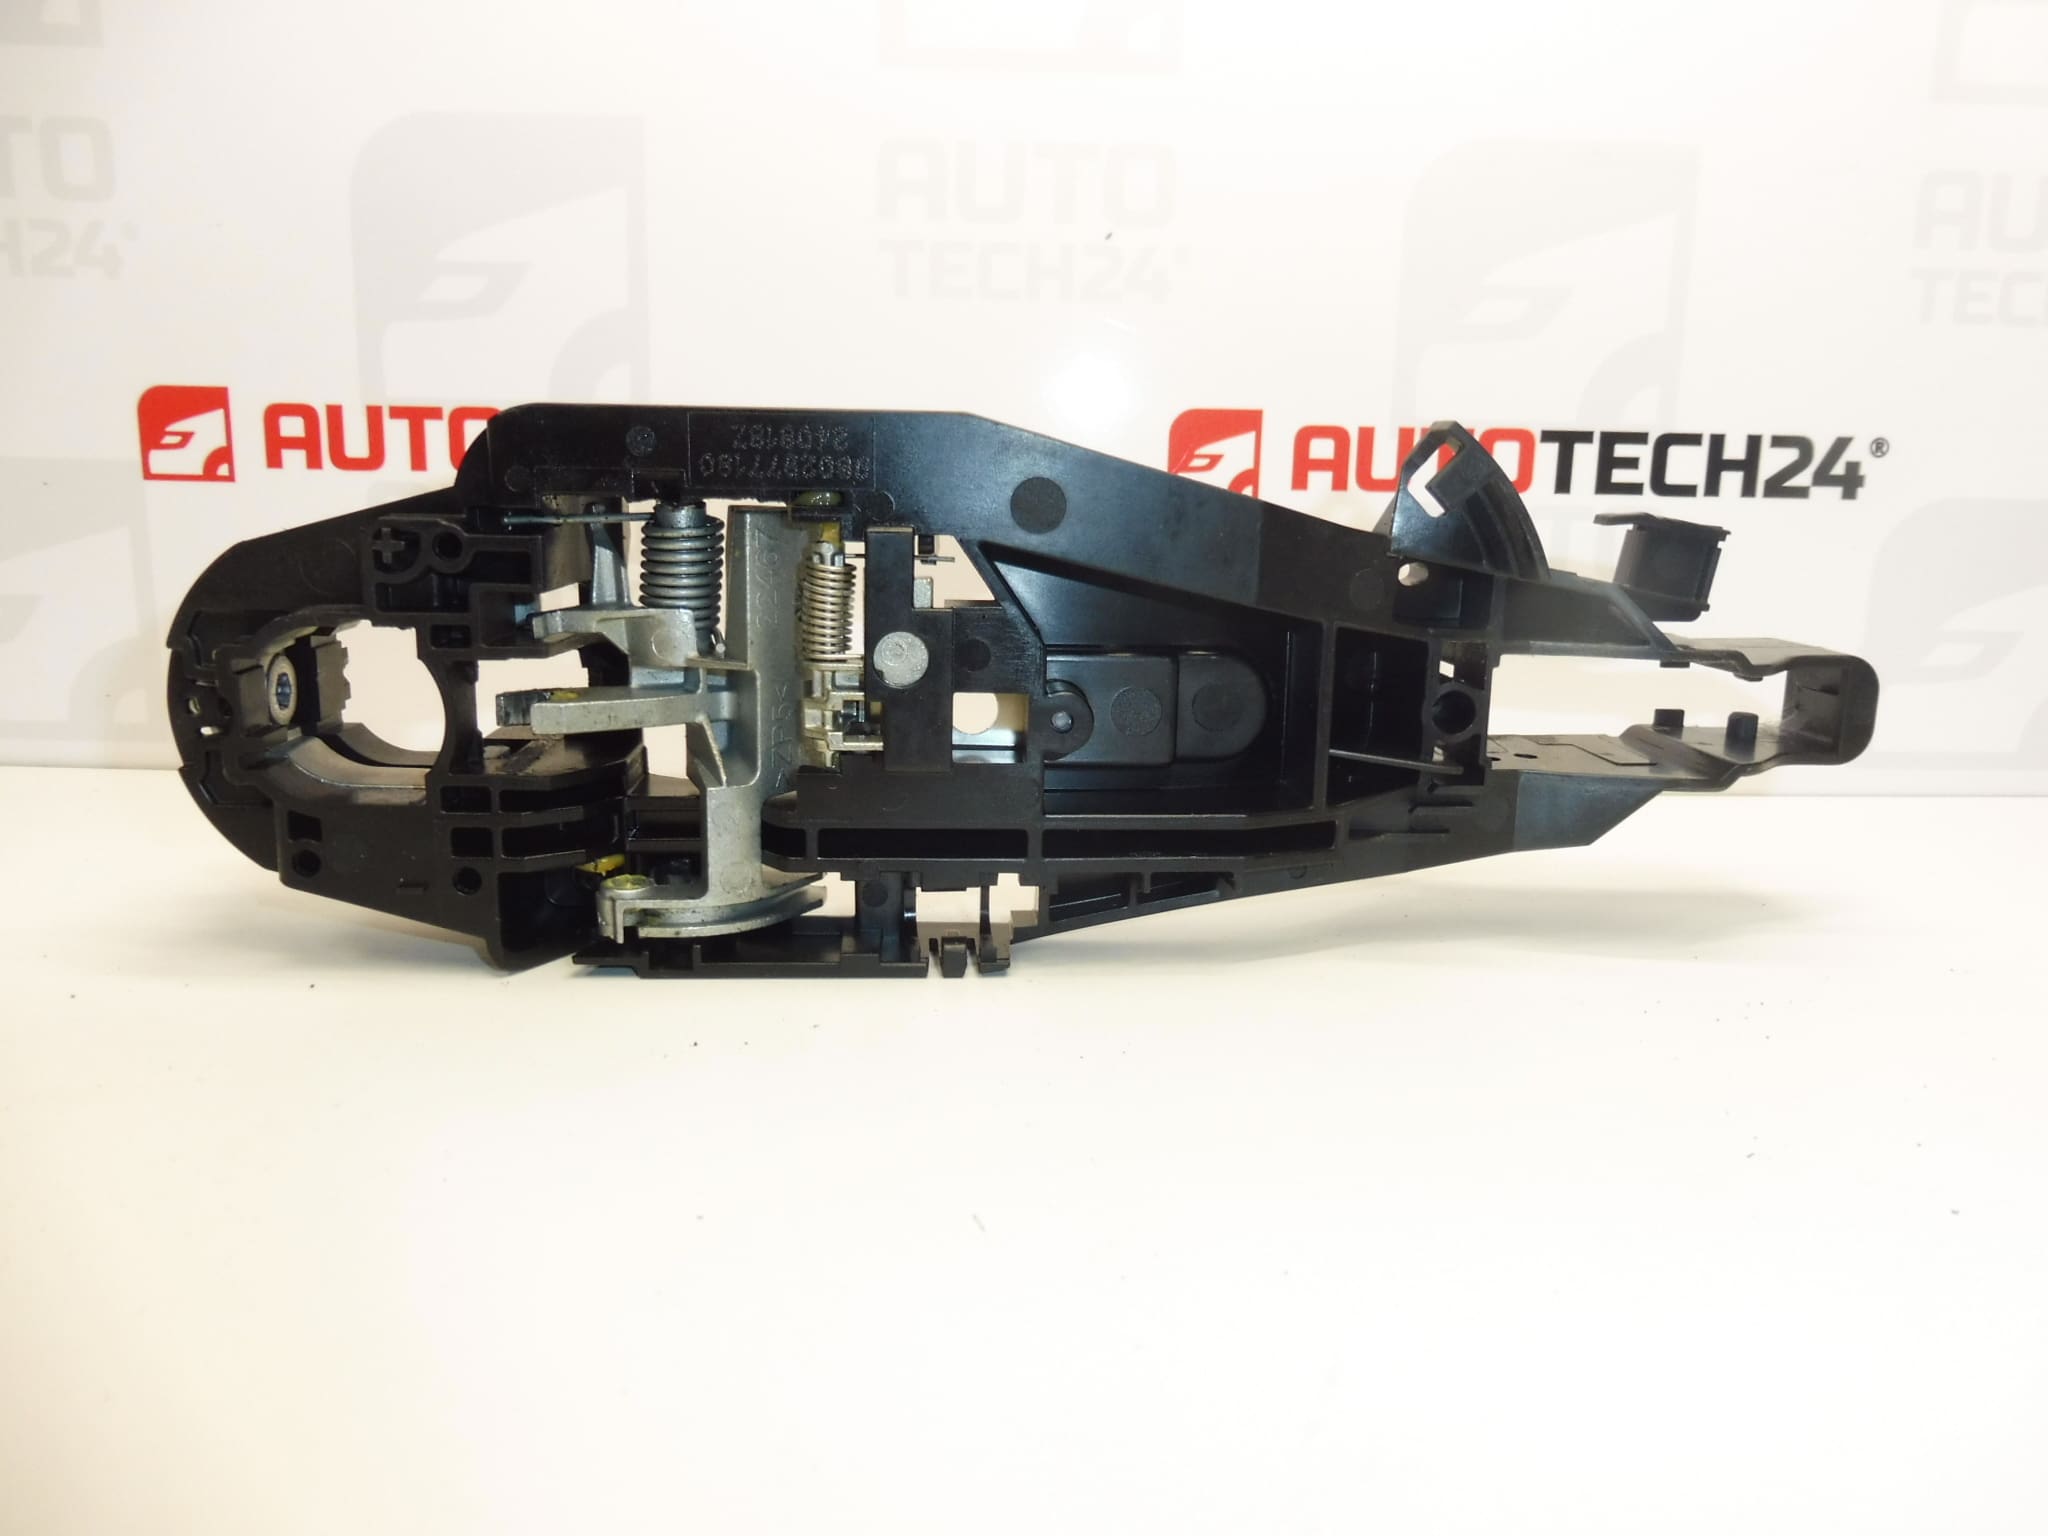
Door handle mounting bracket for right front and left rear doors for Stellantis group vehicles CITROEN PEUGEOT OPEL FIAT TOYOTA
Part description
The used door handle mounting bracket 9802977180 is used to attach the door handle and hold it securely in place. It is designed for the right front and left rear doors. If the original bracket is damaged, replacing it may eliminate handle looseness and restore proper guidance when operating the door, if the mounting bracket is the cause of the fault.
This part is a suitable choice when repairing a door handle if its mounting component needs to be replaced. When selecting a part, compare the product number 9802977180, the bracket shape and the configuration of its mounting points with the original part. A matching model name alone does not necessarily mean the handle has the same design.
Technical information
- Manufacturer: not specified; the documentation lists the designation Stellantis CITROEN PEUGEOT.
- Model: Citroën Berlingo K9, FIAT DOBLO III, OPEL COMBO E K9, PEUGEOT PARTNER III, PEUGEOT RIFTER, Toyota ProAce City.
- Part type: door handle mounting bracket.
- Application: right front and left rear doors.
- Condition: used part.
- Other numbers: not specified.
Product codes
- Product codes: 9802977180.
The number 9802977180 is the primary identifier for finding this handle mounting bracket. Before installation, compare it with the marking on the original part, if legible, and also check that the design matches.
Installation recommendations
The following procedure applies generally to this type of part. The exact method for accessing the bracket, releasing the handle and removing related components depends on the specific model and door configuration. Follow the vehicle manufacturer’s service procedure.
1) Before installation
- Compare the used bracket with the original part: marking, shape, dimensions, mounting points and contact surfaces.
- Check for visible cracks, deformation, damaged threads or broken retaining features.
- Also inspect the handle and the associated operating mechanism. Replacing the bracket will not resolve a fault caused by a damaged lock or another related part.
- Before disassembly, take photos of the position of accessible components and their connections.
2) Tools and materials required
- Standard hand tools with sockets matching the fasteners actually used.
- Plastic trim removal tools if trim or covers need to be released.
- A flashlight, a container for small fasteners and a soft pad for removed parts.
- A clean cloth, a suitable cleaning agent for contact surfaces and protection for the surrounding paintwork.
3) Step-by-step installation procedure
- Secure the vehicle against movement and open the door being repaired to allow sufficient working space.
- Protect the paint around the handle and check the disassembly procedure for the specific door configuration.
- If the work requires disconnecting electrical components, switch off the ignition and disconnect the power supply according to the manufacturer’s instructions.
- Access the handle mounting. Remove covers or trim only as needed for the particular configuration and do not pry forcefully.
- Record the position of the bracket, retaining features and any connection to the operating mechanism.
- Support or hold the handle and gradually release its mounting according to the service procedure. Prevent small parts from falling into the door cavity.
- Remove the damaged bracket and inspect the surrounding mounting area. Remove dirt from the contact surfaces without damaging the protective coating.
- Compare the two parts again and insert the replacement bracket in the same orientation. It must seat correctly without having to force it into place with the fasteners.
- Restore the handle mounting and reconnect any mechanical or electrical connections that were disconnected. Tighten the fasteners according to the manufacturer’s instructions; do not overtighten them.
- Before refitting the covers, check that the handle is seated correctly, operates smoothly and returns to its original position. Then refit all removed covers, trim and any protective layers.
4) Post-installation checks and function test
First, with the door open, check that the handle does not bind, is not excessively loose and returns to its original position. Only then carefully close the door and test opening, closing, locking and unlocking several times. Also check the interior door controls, taking their configuration and any child lock setting into account. If the door cannot be opened or secured reliably, do not use the vehicle until the fault has been rectified. To verify the handle mounting itself, a functional check with the vehicle stationary is essential.
5) Common installation errors and how to avoid them
- Wrong configuration or orientation: before disassembly, compare the number, shape and mounting points of both parts.
- Forcing the bracket into place: if the part does not seat correctly, check its position and the surrounding components; do not force it into place.
- Overtightening the fasteners: follow the manufacturer’s procedure to avoid damaging the mounting or threads.
- Incorrect connection of the operating mechanism: use the photos taken before disassembly and check operation before refitting the covers.
- Pinched wiring or damaged protective layers: check their routing before finishing the work and restore them to their original condition.
Reasons why the part becomes damaged
In general, door handle mounting brackets can be damaged in particular in the following ways:
- Repeated mechanical stress during everyday use, especially if the handle is already loose.
- Pulling sharply on the handle when the mechanism is stiff or the door is frozen.
- Impact or deformation of the door, which changes the position of the mounting and stresses the bracket outside its normal load direction.
- Improper disassembly or installation, for example prying, incorrect seating or overtightening the fasteners.
- Increased resistance in the related mechanism, which transfers greater force to the handle and its mounting.
When replacing the bracket, also check that the handle and related components move freely. Resolving the cause of excessive stress helps protect the replacement bracket from further damage.