Descrizione
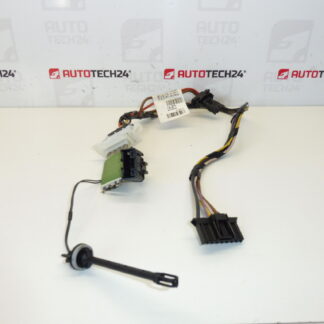
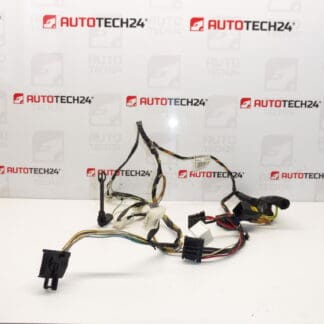
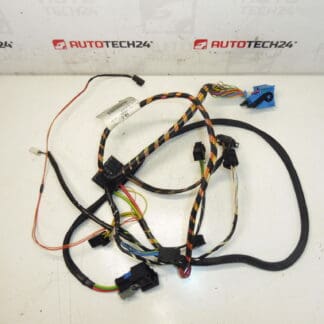
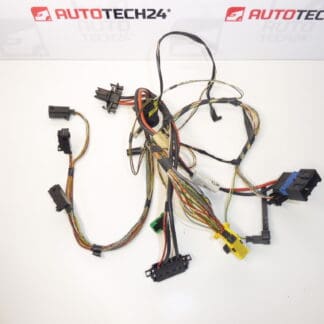
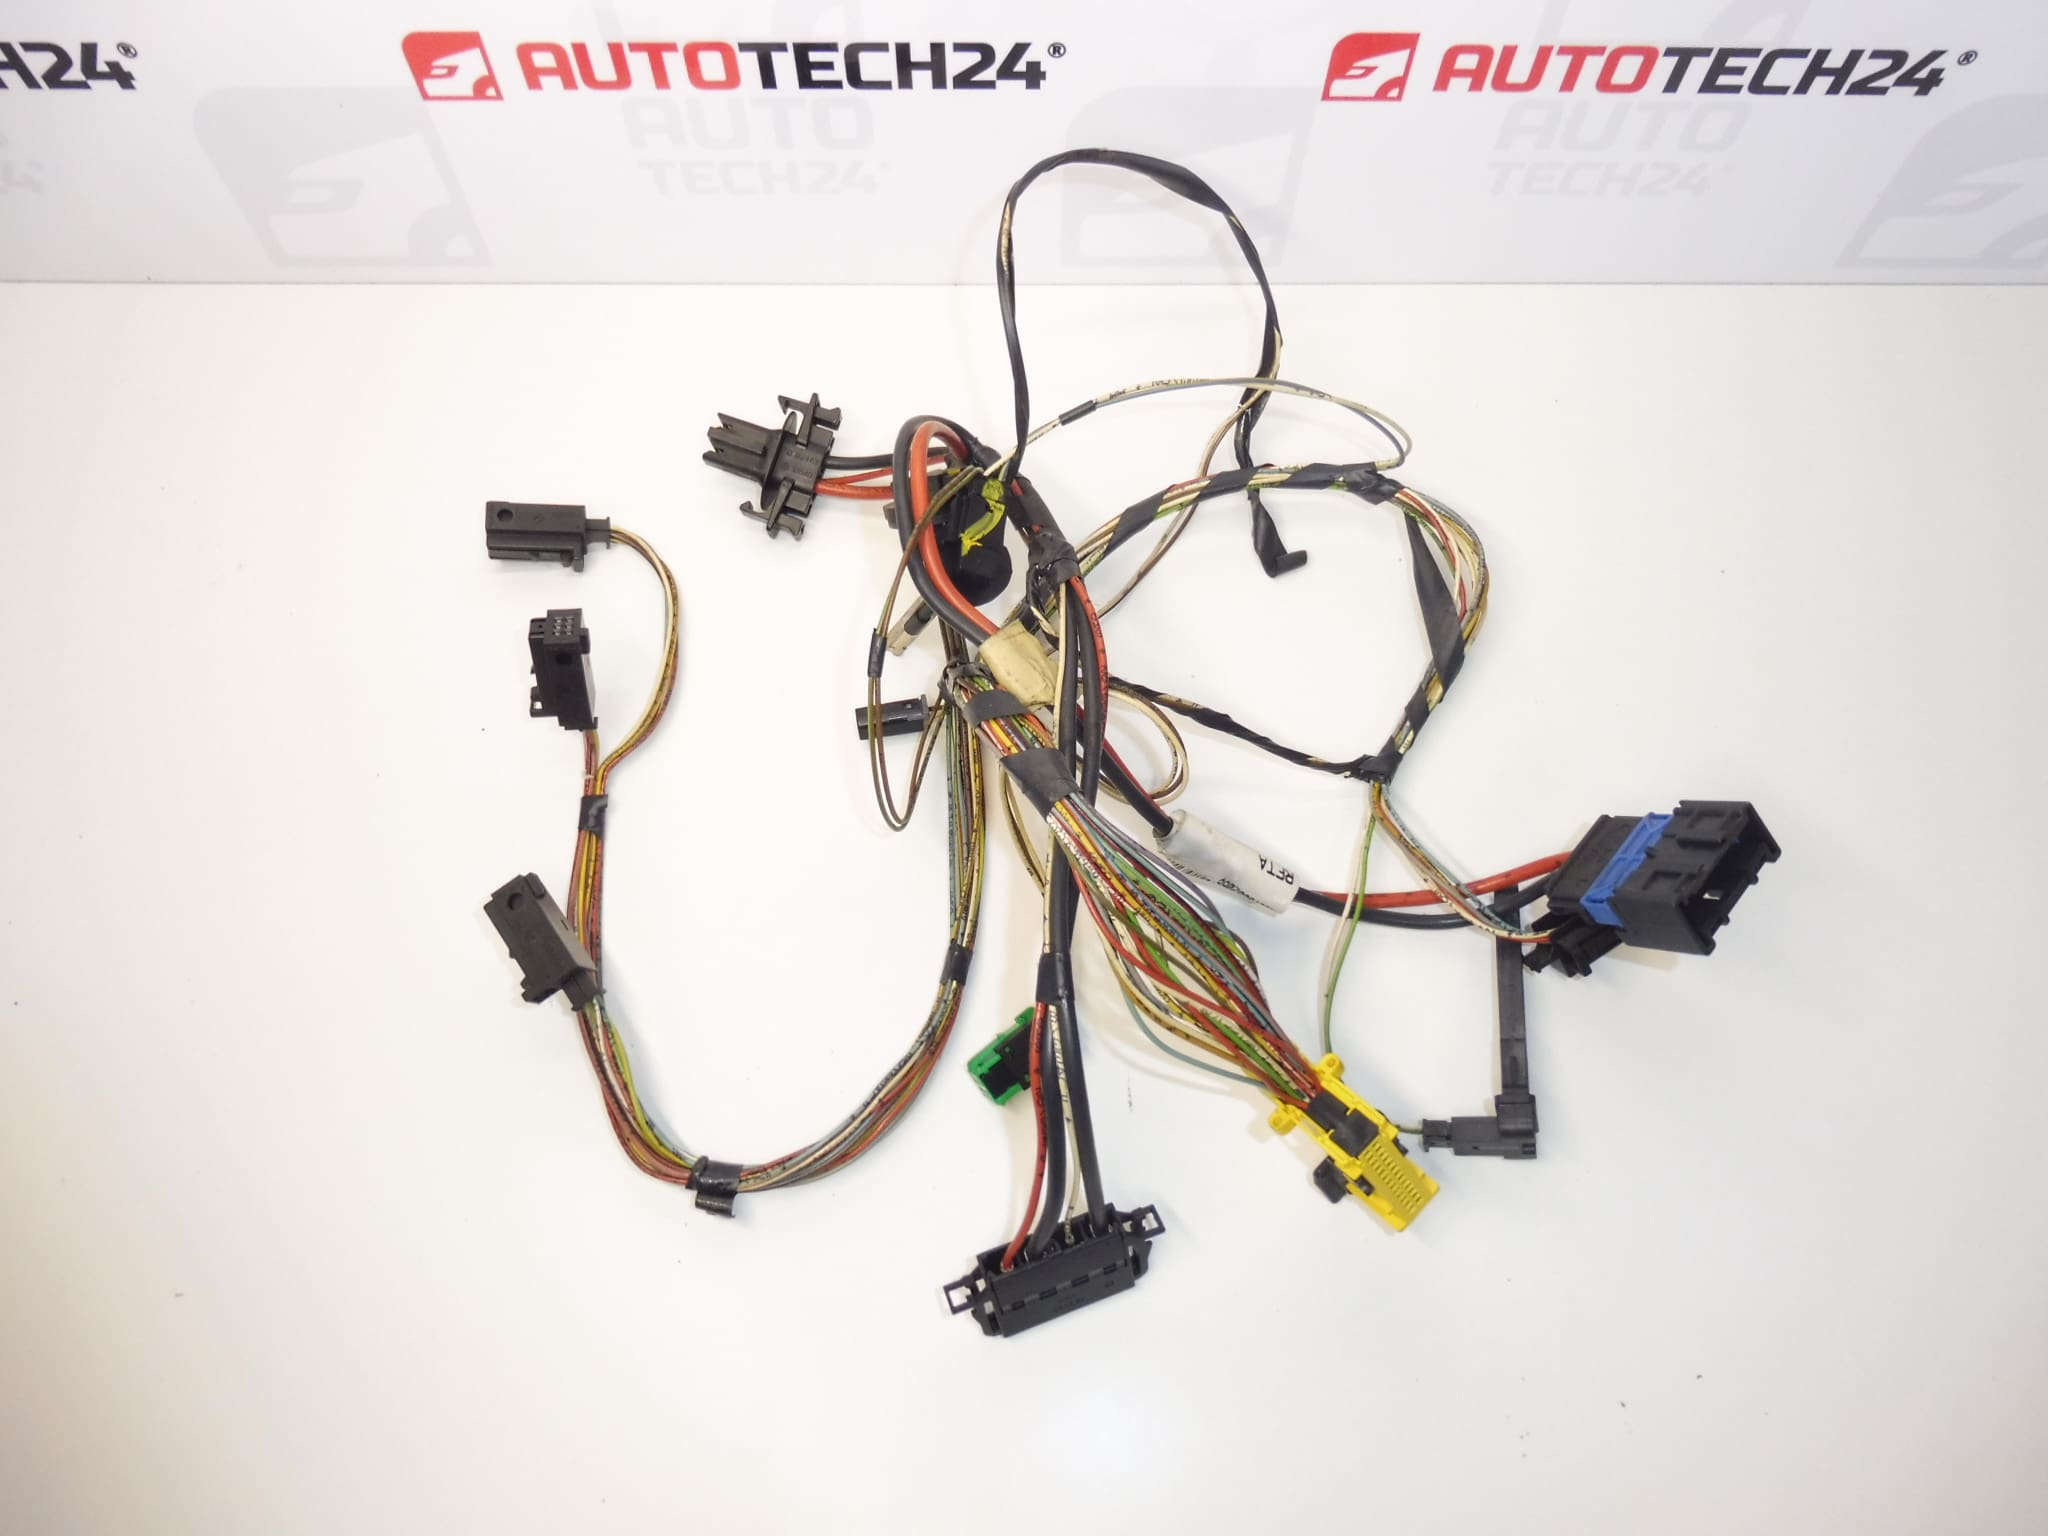
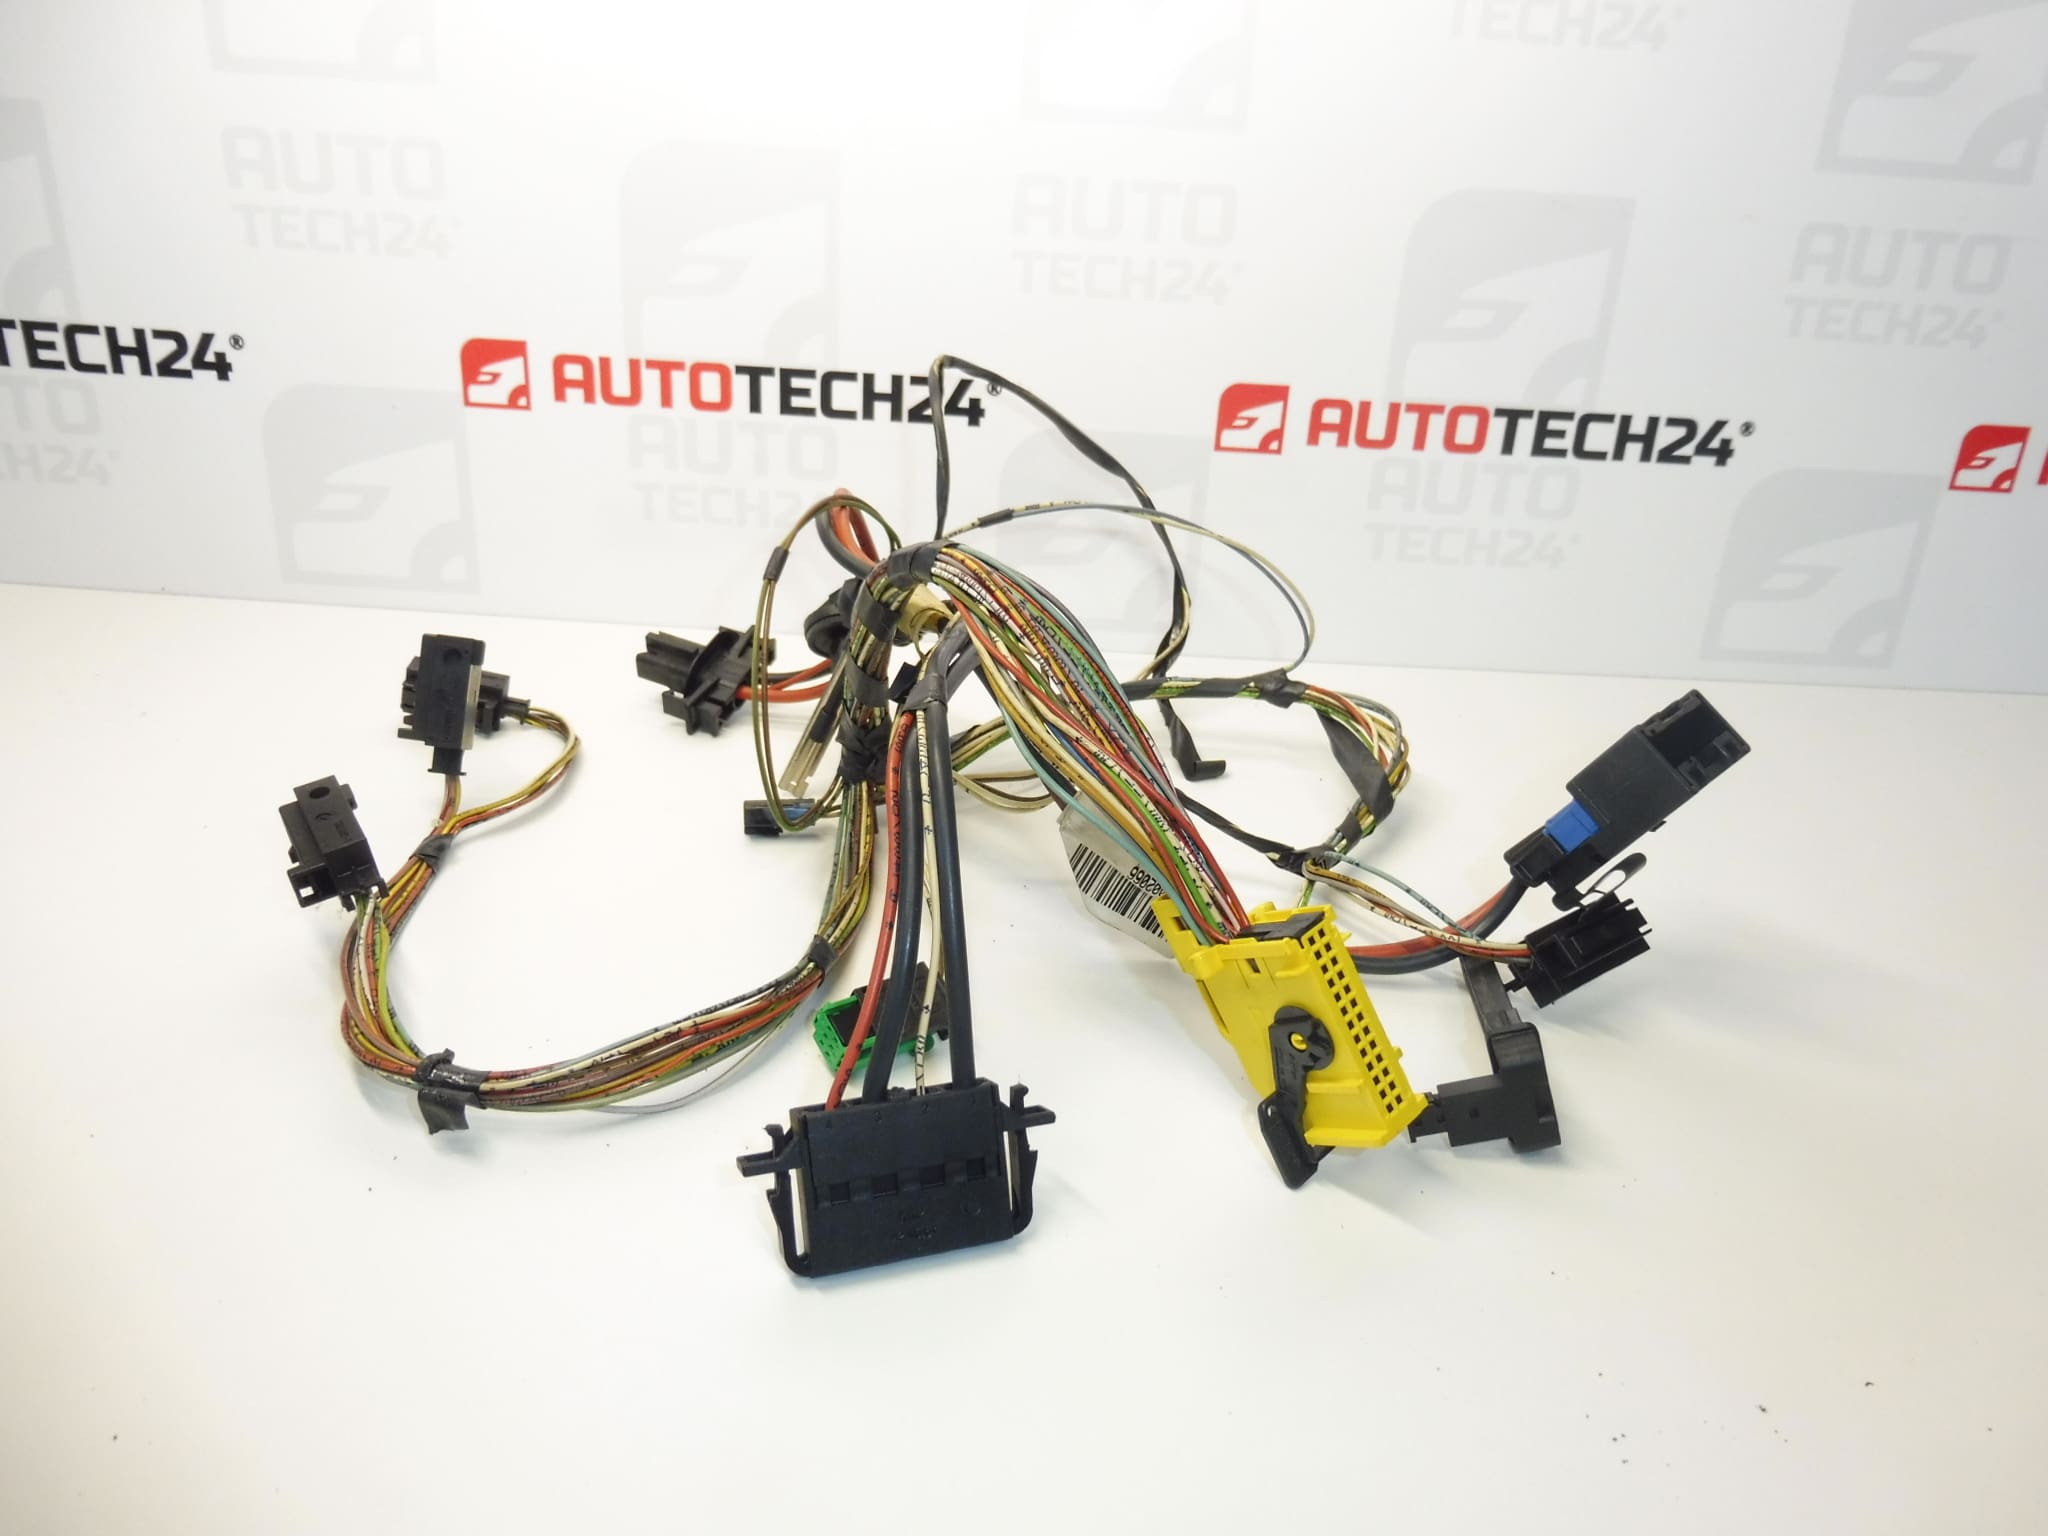
Complete BEHR digital climate control wiring harness for Peugeot 307 from 2004
Part description
Used BEHR digital climate control wiring harness for Peugeot 307 from 2004 is used to electrically connect the components of the climate control system. It is a suitable solution when repairing damaged wiring, for example, broken wires or damaged connectors. Replacing the entire harness may be more practical than repairing several damaged sections of the original wiring.
When selecting a harness, refer particularly to numbers 42991 and 643642, the connector design and the arrangement of the individual branches. It is also important to distinguish between climate control types—this harness is listed in the supplied information for BEHR digital climate control.
Technical information
- Manufacturer: BEHR
- Model: Peugeot 307
- Additional number: T5 – additional designation in the product name
- Part type: digital climate control wiring harness
- Application according to the supplied information: Peugeot 307 from 2004, BEHR digital climate control
- Condition: used car part
- Scope according to the original description: complete harness
- Additional designation in the supplied information: NFP
Product codes
- Product codes: 42991, 643642
- Model: Peugeot 307
Compare the numbers with the markings on the original part. Assess compatibility together with the climate control type, connector shape, pin configuration and harness routing—not just the vehicle model.
Installation recommendations
The following procedure is general guidance for replacing a climate control wiring harness. The exact access to the part, extent of disassembly and procedure for disconnecting the electrical system depend on the specific vehicle configuration. Follow the manufacturer’s service documentation.
1) Before installation
- First verify that the fault is actually caused by the wiring, rather than the power supply, controls or one of the connected components.
- Compare the part numbers, number and shape of connectors, their keying, pin configuration, branch lengths and mounting points with the old harness.
- Inspect the insulation, protective coverings, connector locks and contacts. Look for cracks, abrasions, corrosion, signs of overheating and non-professional modifications.
- If checking wire continuity, do so with the harness disconnected and according to the wiring diagram. Do not apply test voltage to unknown contacts.
2) Tools and materials required
- Standard hand tools suitable for accessible fasteners and plastic trim tools for careful removal of trim.
- A multimeter, suitable test probes and the wiring diagram for the specific vehicle.
- A flashlight, tools for marking connectors and a means of photographing the original harness routing.
- If required, a suitable electrical contact cleaner and materials intended for protecting and securing automotive wiring.
3) Step-by-step installation procedure
- Document the symptoms of the fault and the available climate control functions before replacement, if testing them is safe.
- Switch off the ignition and, following the manufacturer’s procedure, allow the electronics to enter a quiescent state. Then disconnect the battery as specified.
- Access the harness by removing the necessary covers or trim according to the service documentation. Do not open the refrigerant circuit when replacing the wiring harness alone.
- Photograph the original harness route, mounting points and individual connections. Mark the connectors if necessary.
- Release the connector locks and disconnect them by pulling on the connector body, never on the wires. Do not force stuck connections apart.
- Gradually release the fasteners and remove the original harness without damaging surrounding components or adjacent wiring.
- Compare the two harnesses side by side. If there are differences in wiring, connectors or branching, stop the installation and confirm the correct version using the documentation.
- Route the replacement harness along the original path. Protect it from contact with sharp edges, hot surfaces and moving parts; branches must not be stretched or pinched.
- Connect the corresponding connectors and check that their locks are engaged. Each connection must seat without excessive force.
- Check the entire route, mounting points and clearance around nearby mechanisms. Restore the power supply according to the manufacturer’s instructions and perform a safe functional test; the wiring must be secured before final assembly.
- After a successful inspection, reinstall the covers and trim. Make sure their edges and fasteners do not catch the wires.
4) Post-installation checks and function verification
Test the digital climate control and its response to changes in the available settings, such as the desired temperature, fan speed and airflow direction. Watch for interruptions, erratic behavior or the smell of overheated insulation. If suitable diagnostic equipment is available, check for stored faults. Only take a short test drive after the vehicle has been fully reassembled, and verify that the functions do not cut out when the vehicle vibrates.
5) Common installation mistakes and how to avoid them
- Choosing the wrong harness version: compare the markings, connectors and branching beforehand—not just the vehicle model.
- Damaging contacts by forcing connections: check the connector orientation and keying; do not use force.
- Pinched or stretched wires: follow the original route and inspect all risk areas before fitting the covers.
- Connector locks not fully engaged: after connecting, check that each connector is mechanically secured.
- Leaving the original cause of the fault unresolved: address any water ingress, improper fastening or fault in a connected component, otherwise the replacement harness may also be damaged.
Reasons why the part gets damaged
Common causes of damage to climate control wiring harnesses in general include:
- Aging insulation and heat stress, which can cause wire protection to become brittle and crack.
- Vibration and abrasion due to loose fastening or improperly routed wiring.
- Moisture and water ingress, which promote contact corrosion and impair electrical connections.
- Overheating at connections due to poor contact or electrical overload.
- Careless previous removal, especially pulling on wires, breaking connector locks and pinching the harness under covers.
- Non-professional wiring modifications, such as poor-quality connections or inadequately protected repaired sections.