Descrizione
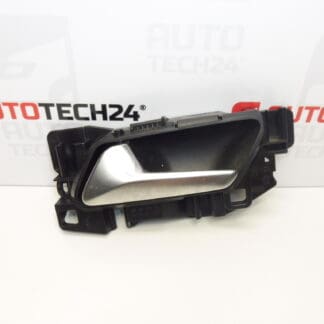
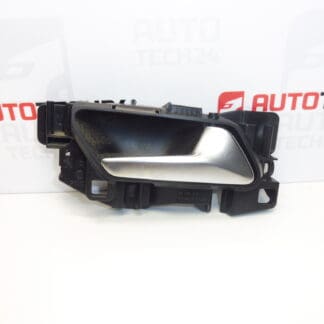
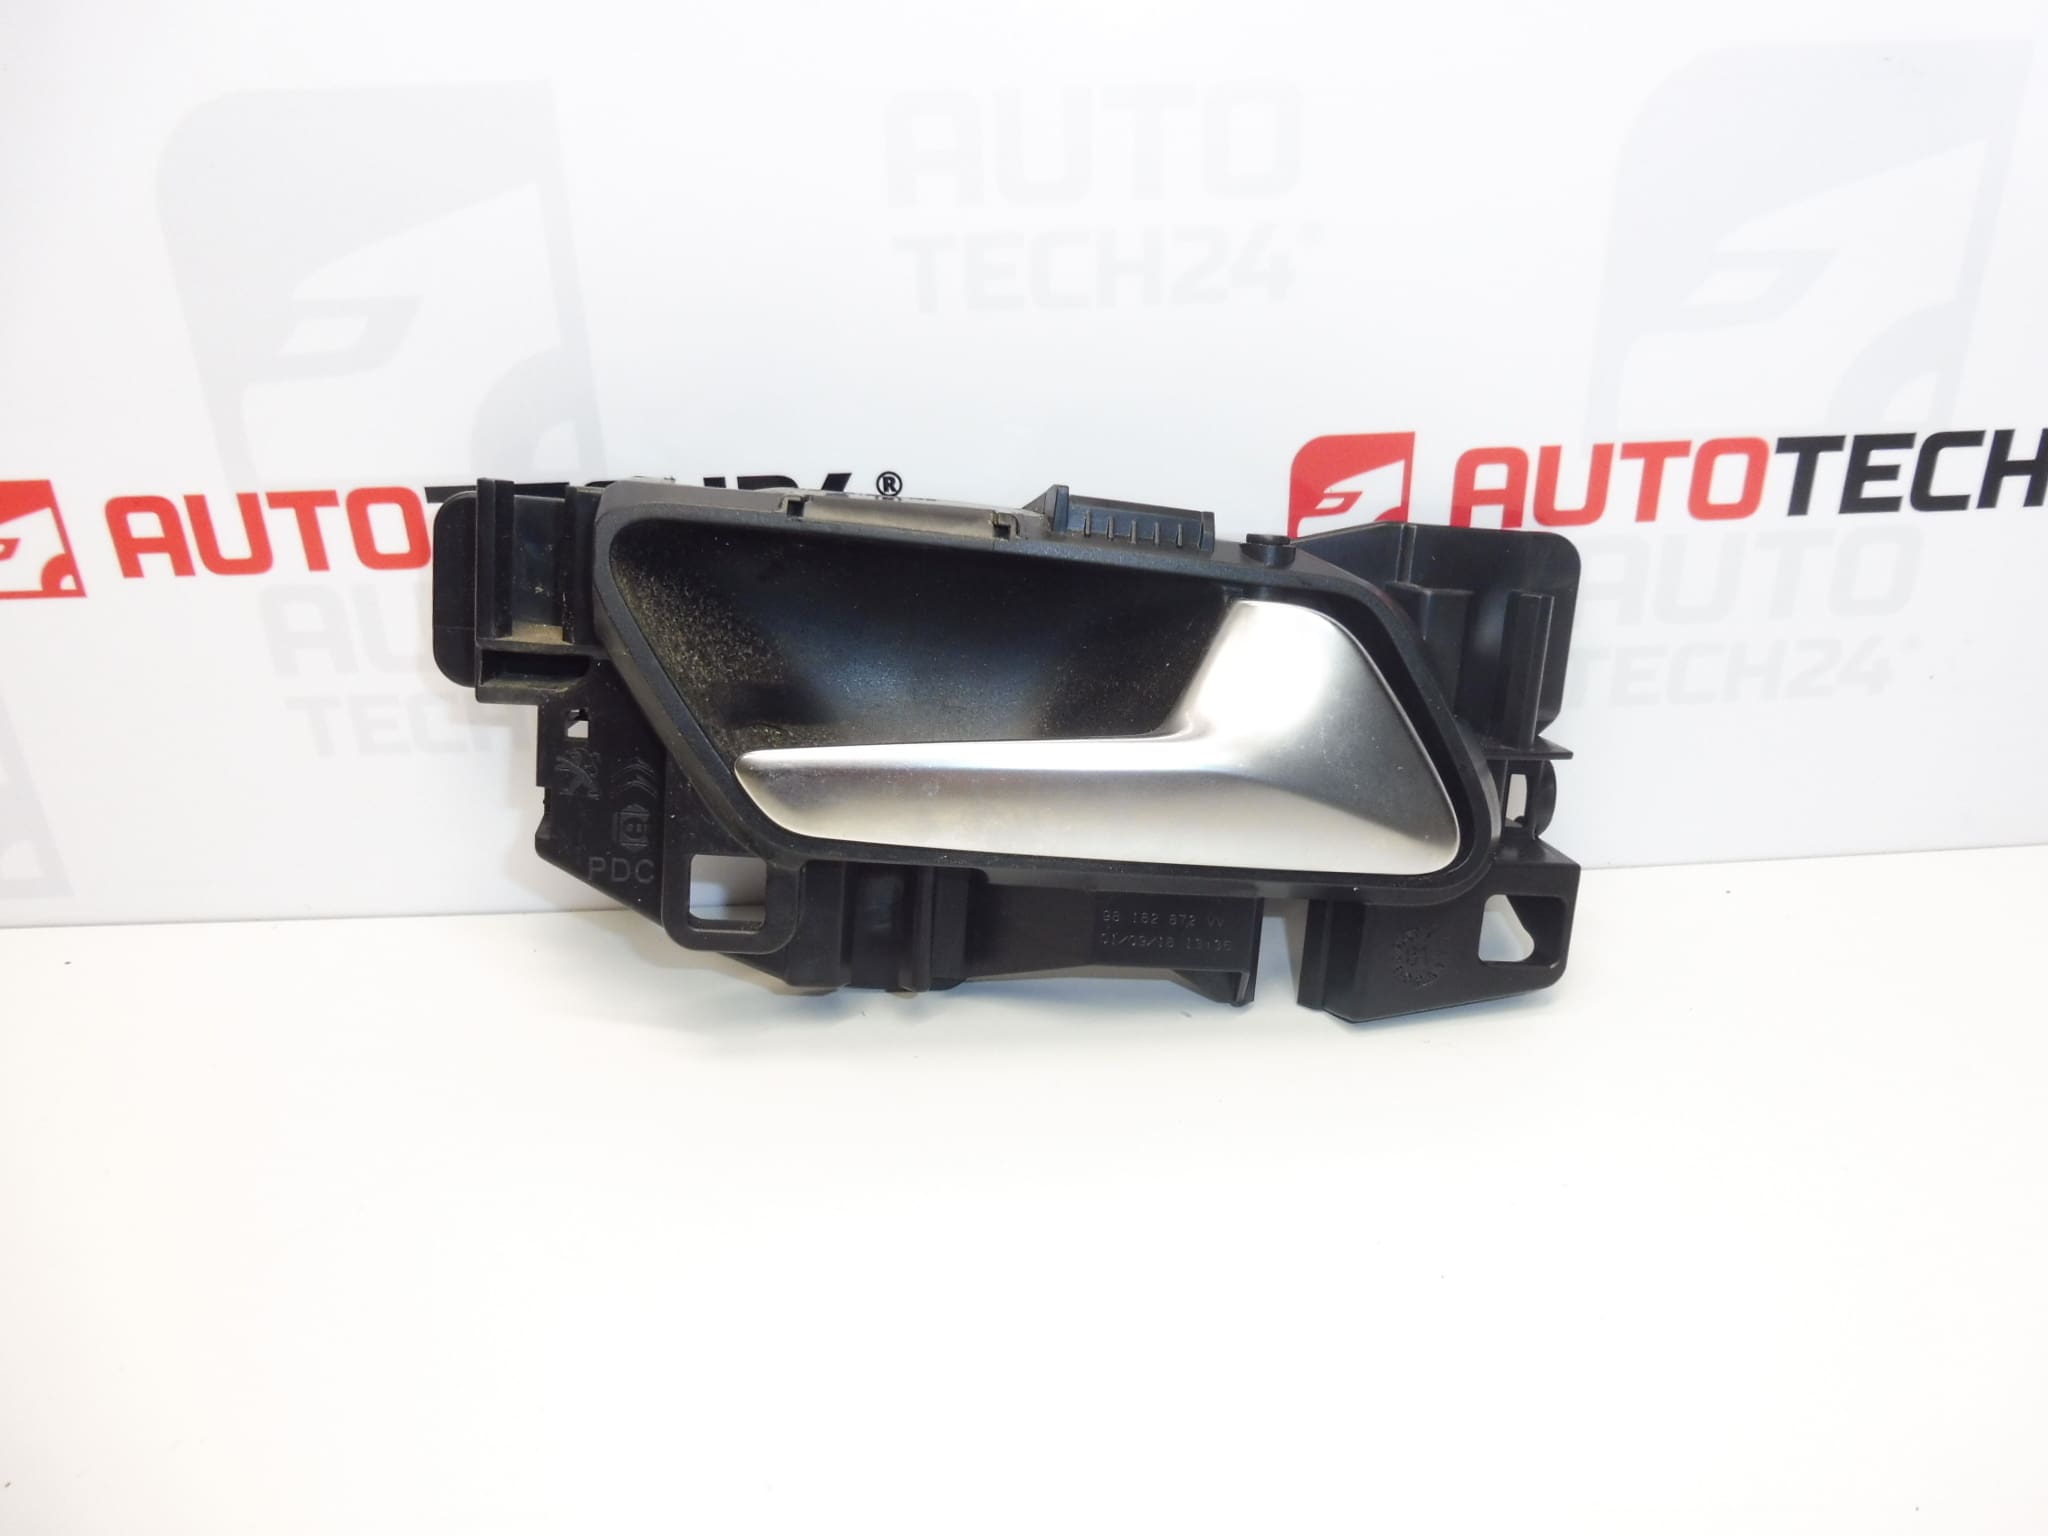
Front passenger door opening handle for vehicles from the Stellantis group: CITROEN PEUGEOT OPEL FIAT TOYOTA
Color HVV – SILVER
Part Description
Front passenger door interior handle 98182872VV is used to open the door from inside the vehicle. This used part is a suitable choice when replacing a damaged handle, a cracked mounting point, or a worn control. The silver finish HVV – SILVER should also be taken into account when matching it to the interior.
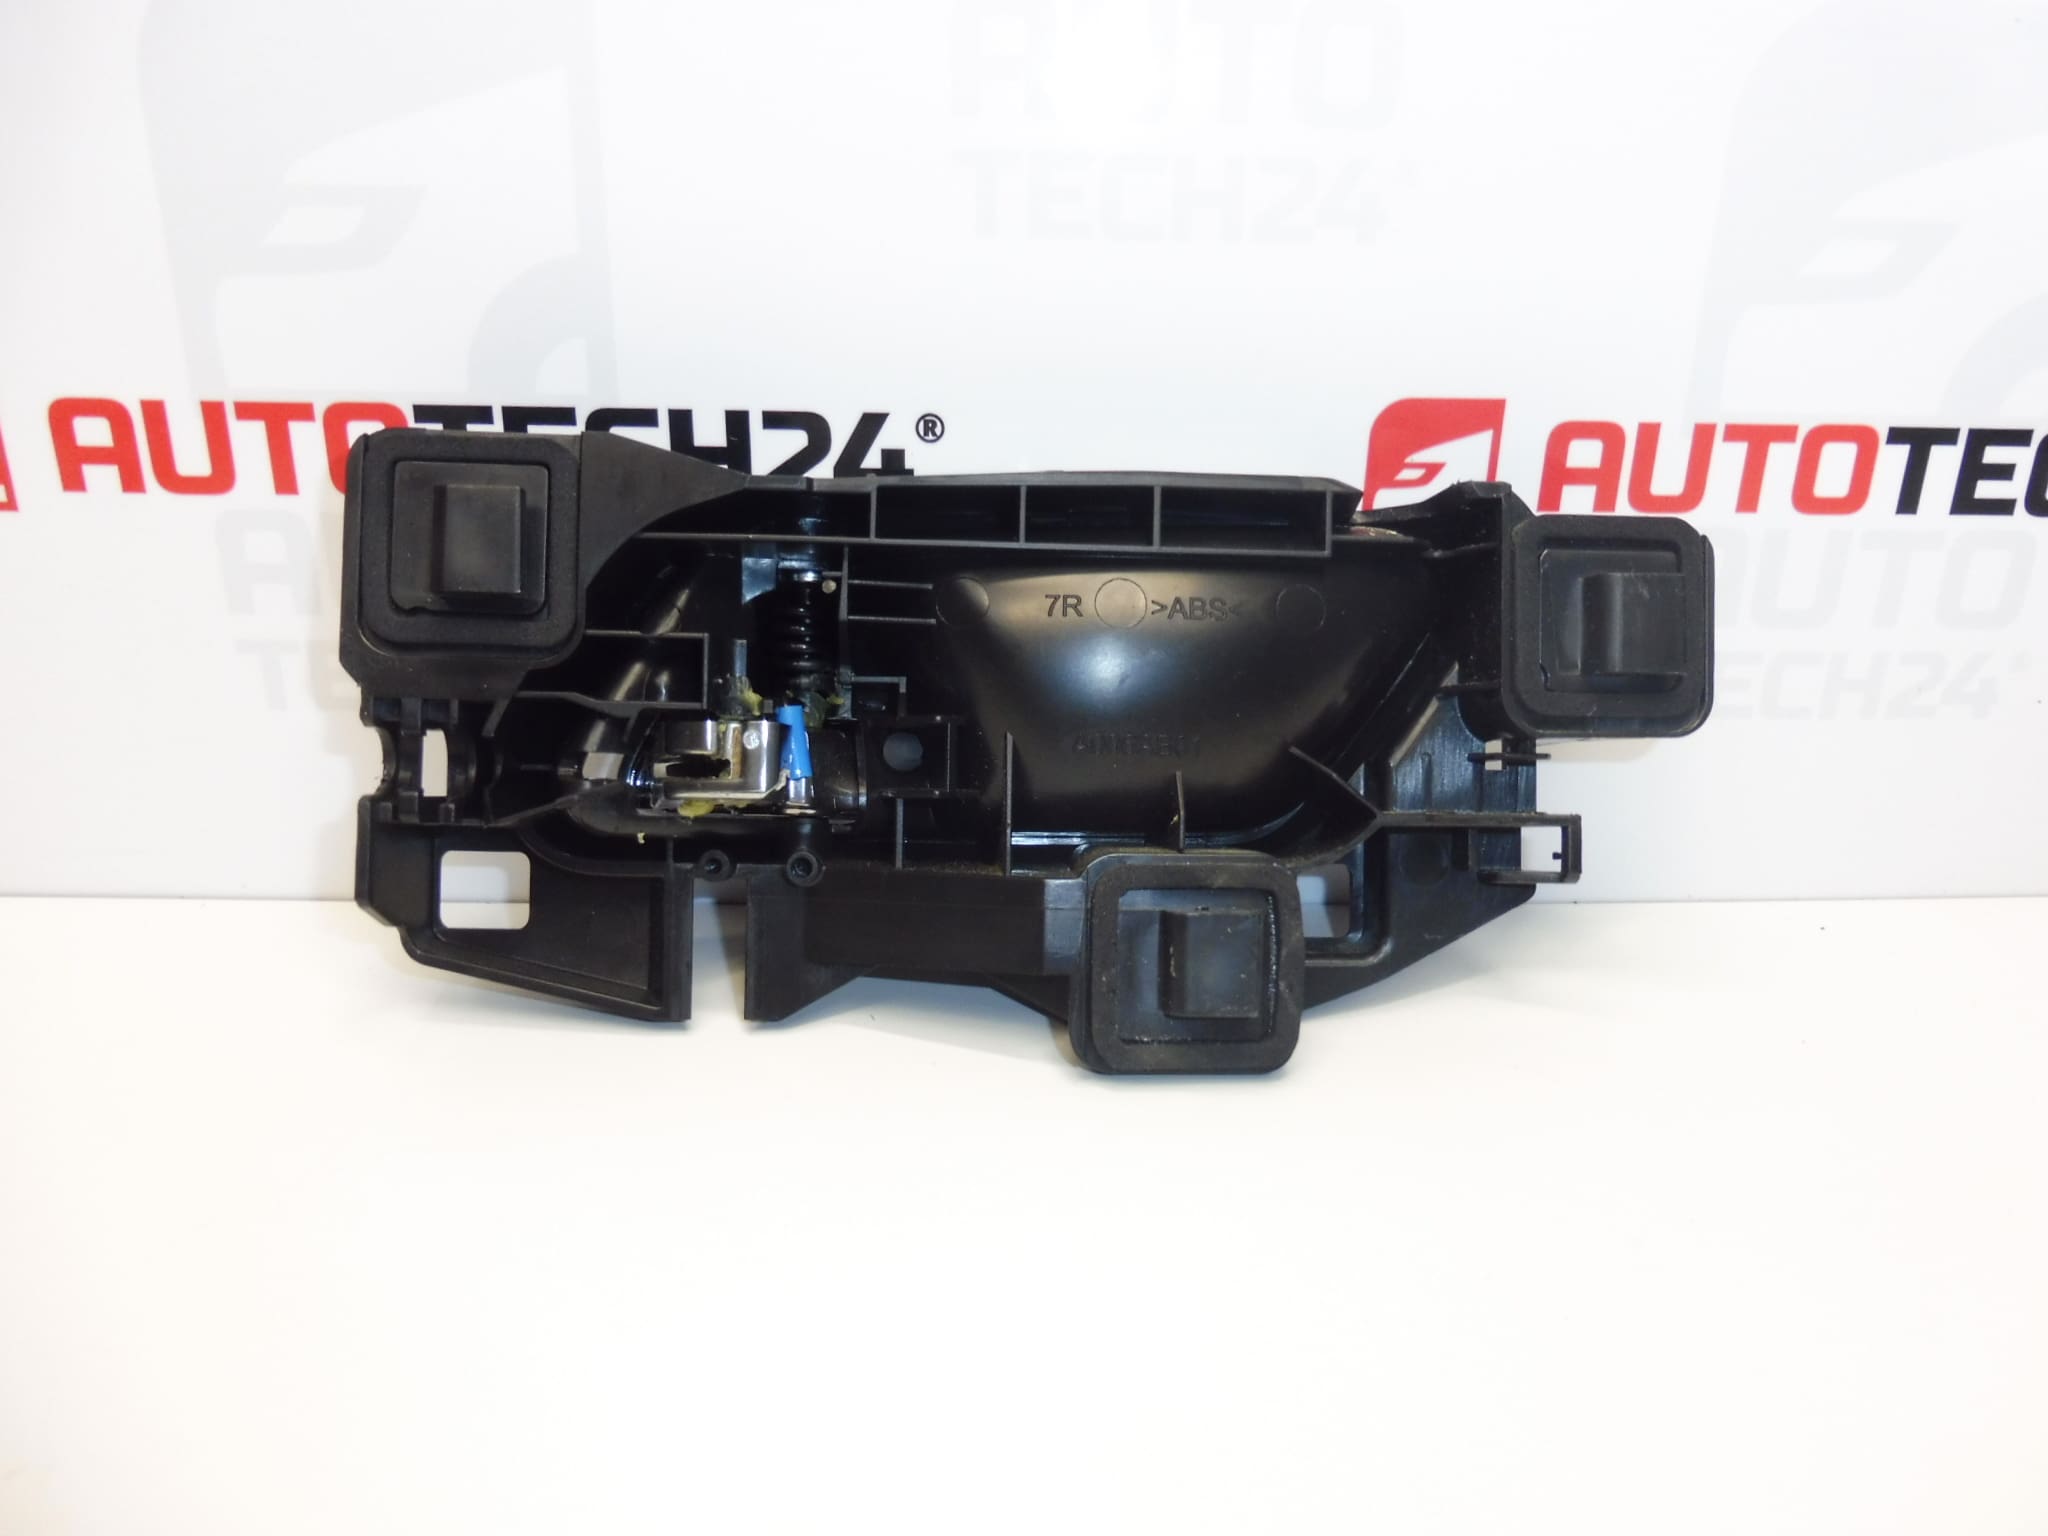
The reference information lists Citroën Berlingo K9, OPEL COMBO E K9, PEUGEOT PARTNER III, and PEUGEOT RIFTER models. When selecting a part, compare the product number, shape, mounting points, and connection to the operating mechanism with the original part. The model name alone may not distinguish between all handle versions.
Technical Information
- Manufacturer: not specified; the reference information lists the Stellantis group.
- Model: Citroën Berlingo K9 | OPEL COMBO E K9 | PEUGEOT PARTNER III | PEUGEOT RIFTER.
- Part type: interior handle / door opening control.
- Location: front passenger door.
- Color: HVV – SILVER.
- Condition: used part.
- Additional numbers: not specified.
Product Codes
- Product codes: 98182872VV.
- Color code: HVV – SILVER.
When searching for a replacement interior handle, use the designation 98182872VV and compare it with the marking on the original part, if legible.
Installation Recommendations
The following general procedure applies to this type of part. The exact procedure for removing the door trim, securing the handle, and connecting the operating mechanism depends on the specific model and vehicle version. Follow the manufacturer’s service procedure.
1) Before installation
- Compare the part number, its designation for the front passenger door, the handle shape, color, and all mounting points with the old part.
- Inspect the used part, especially the mounting points, moving parts, and the point where the door lock control connects. Check for cracks or significant wear.
- Check that the handle moves smoothly without applying force. If the mechanism includes a return element, also check that it returns to its original position.
- Check whether the fault is caused by the rod, cable, or lock. Replacing the handle alone may not resolve a fault in the connected mechanism.
2) Tools and materials required
- Plastic trim removal tool for removing interior trim panels.
- Screwdriver set and suitable bits for the fasteners used.
- Small pliers for working with accessible retaining clips, if required for the specific version.
- Flashlight, soft support for the removed trim panel, and a container for fasteners.
- Clean cloth and protection for surrounding visible surfaces.
3) Step-by-step installation procedure
- Secure the vehicle against movement, switch off the ignition, and leave the door open for safe access.
- Refer to the service procedure to determine how to access the handle. If the work requires disconnecting electrical components, follow the manufacturer’s instructions for disconnecting the power supply.
- Protect the surrounding trim and carefully remove any covers that block access to the fasteners.
- Remove the relevant fasteners. If the door trim panel must be removed, gradually release its clips using a suitable tool rather than pulling forcefully.
- Support the trim panel and disconnect any connectors by holding their bodies after releasing the retaining clips. Do not leave the panel hanging from the wiring or operating cable.
- Before disconnecting anything, note the routing and attachment of the operating mechanism, for example by taking a photograph.
- Carefully release the rod or cable connection as appropriate for the actual version and remove the original handle.
- Compare the two handles side by side and check the contact surfaces and the condition of the connected mechanism.
- Fit the replacement handle, secure it as specified, and connect the operating mechanism. Check that all retaining clips are fully engaged.
- Before refitting the trim, check that the handle moves freely and returns correctly, and that the connected control is not twisted, pinched, or under unnatural tension.
- Reconnect any connectors and refit the trim panel and covers. Check the wiring routing and that the clips are seated correctly; do not force any part into place.
- If the power supply was disconnected, restore it according to the manufacturer’s procedure and perform a final function check.
4) Post-installation checks and function verification
First, with the door open, check that the handle moves freely and returns correctly. Before closing it for the first time, make sure you can access the vehicle through another door. Then, without applying excessive force, test opening the door from both inside and outside, as well as the locking function, depending on the vehicle’s equipment. If you disconnected electrical components in the door, check that they work too. If the handle sticks or the door cannot be opened and secured reliably, do not use the vehicle until the fault has been rectified. To check the handle itself, testing while the vehicle is stationary is generally sufficient.
5) Most common installation mistakes and how to avoid them
- Mixing up versions: before installation, compare not only the appearance but also the markings, mounting points, and mechanism connection.
- Cable or rod not secured properly: check that the end fitting and the relevant retaining clip are seated correctly.
- Operating control pinched under the trim panel: retain the original routing and check it before refitting the trim.
- Damaging clips by prying too forcefully: locate all mounting points first and use plastic trim removal tools.
- Overlooking a faulty lock: if there is increased resistance, do not apply force; inspect the entire connected mechanism.
Reasons for Part Damage
Interior door handles generally become damaged most often through a combination of wear and excessive strain. The following causes do not describe the condition of this specific part:
- Repeated forceful pulling: puts excessive strain on the handle’s mounting points and moving parts.
- Increased resistance in the lock, cable, or rod: transmits more force to the handle than is needed for normal operation.
- Material aging and frequent use: can lead to play, cracks, or impaired return of the control.
- Improper removal: prying at the wrong point can damage the mount or retaining clips.
- Mechanical impacts and unsuitable cleaning: can damage the finish and visible surfaces.