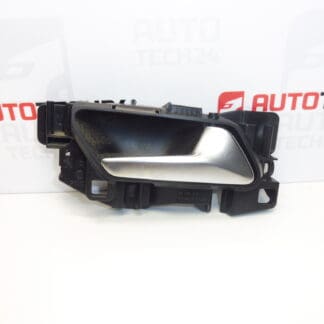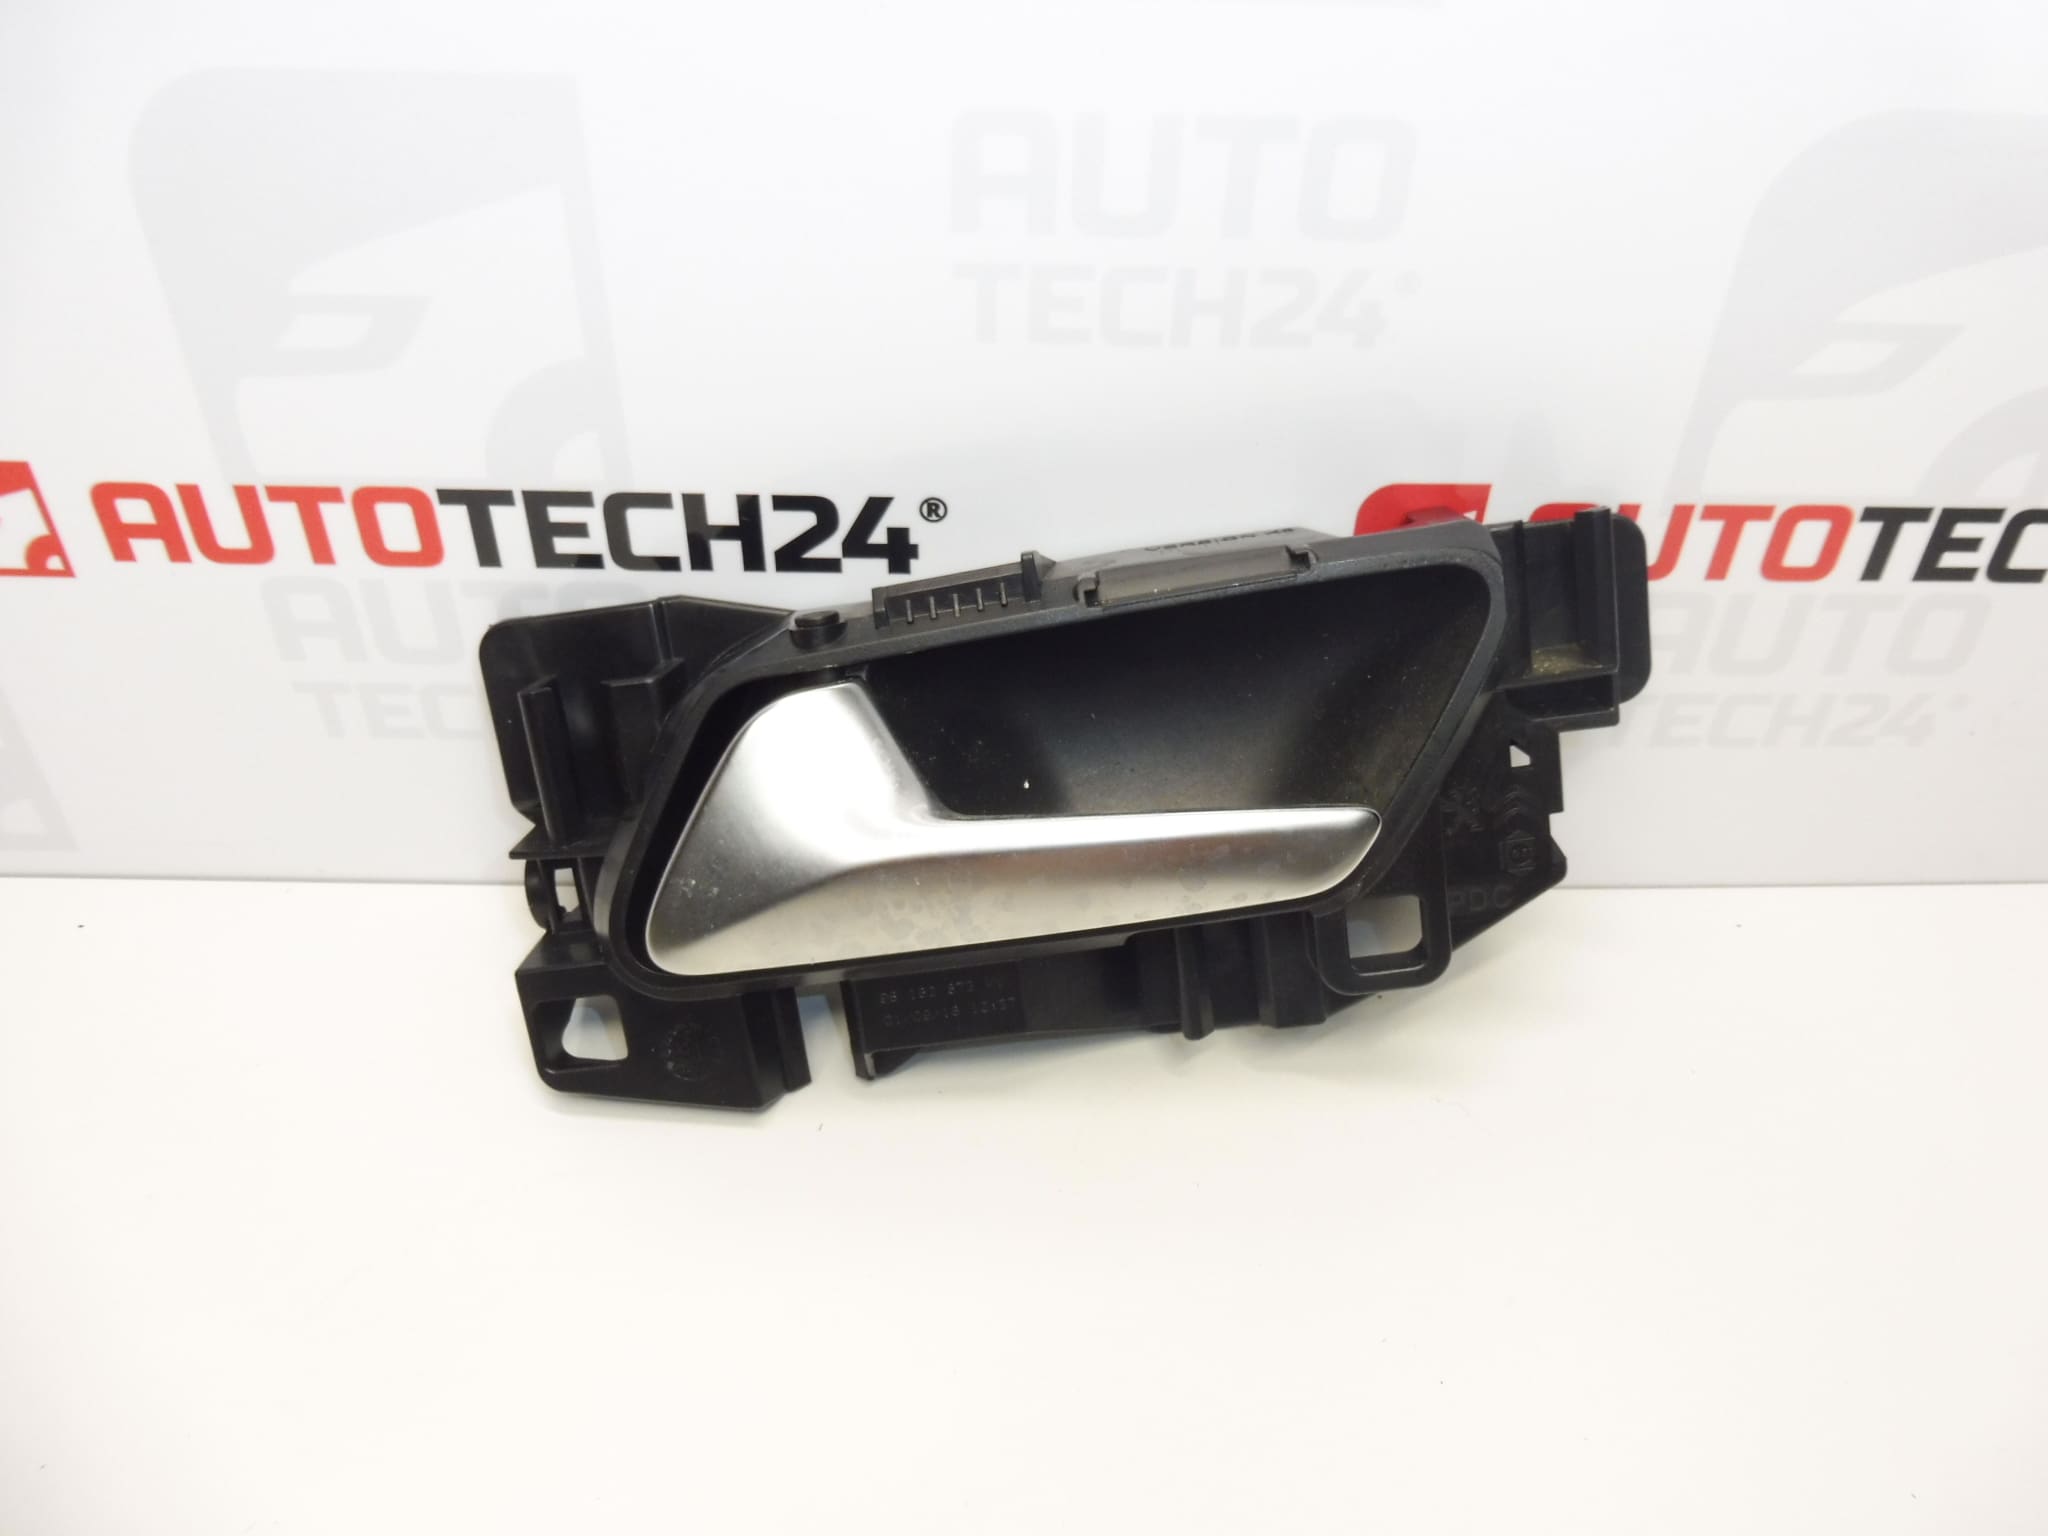
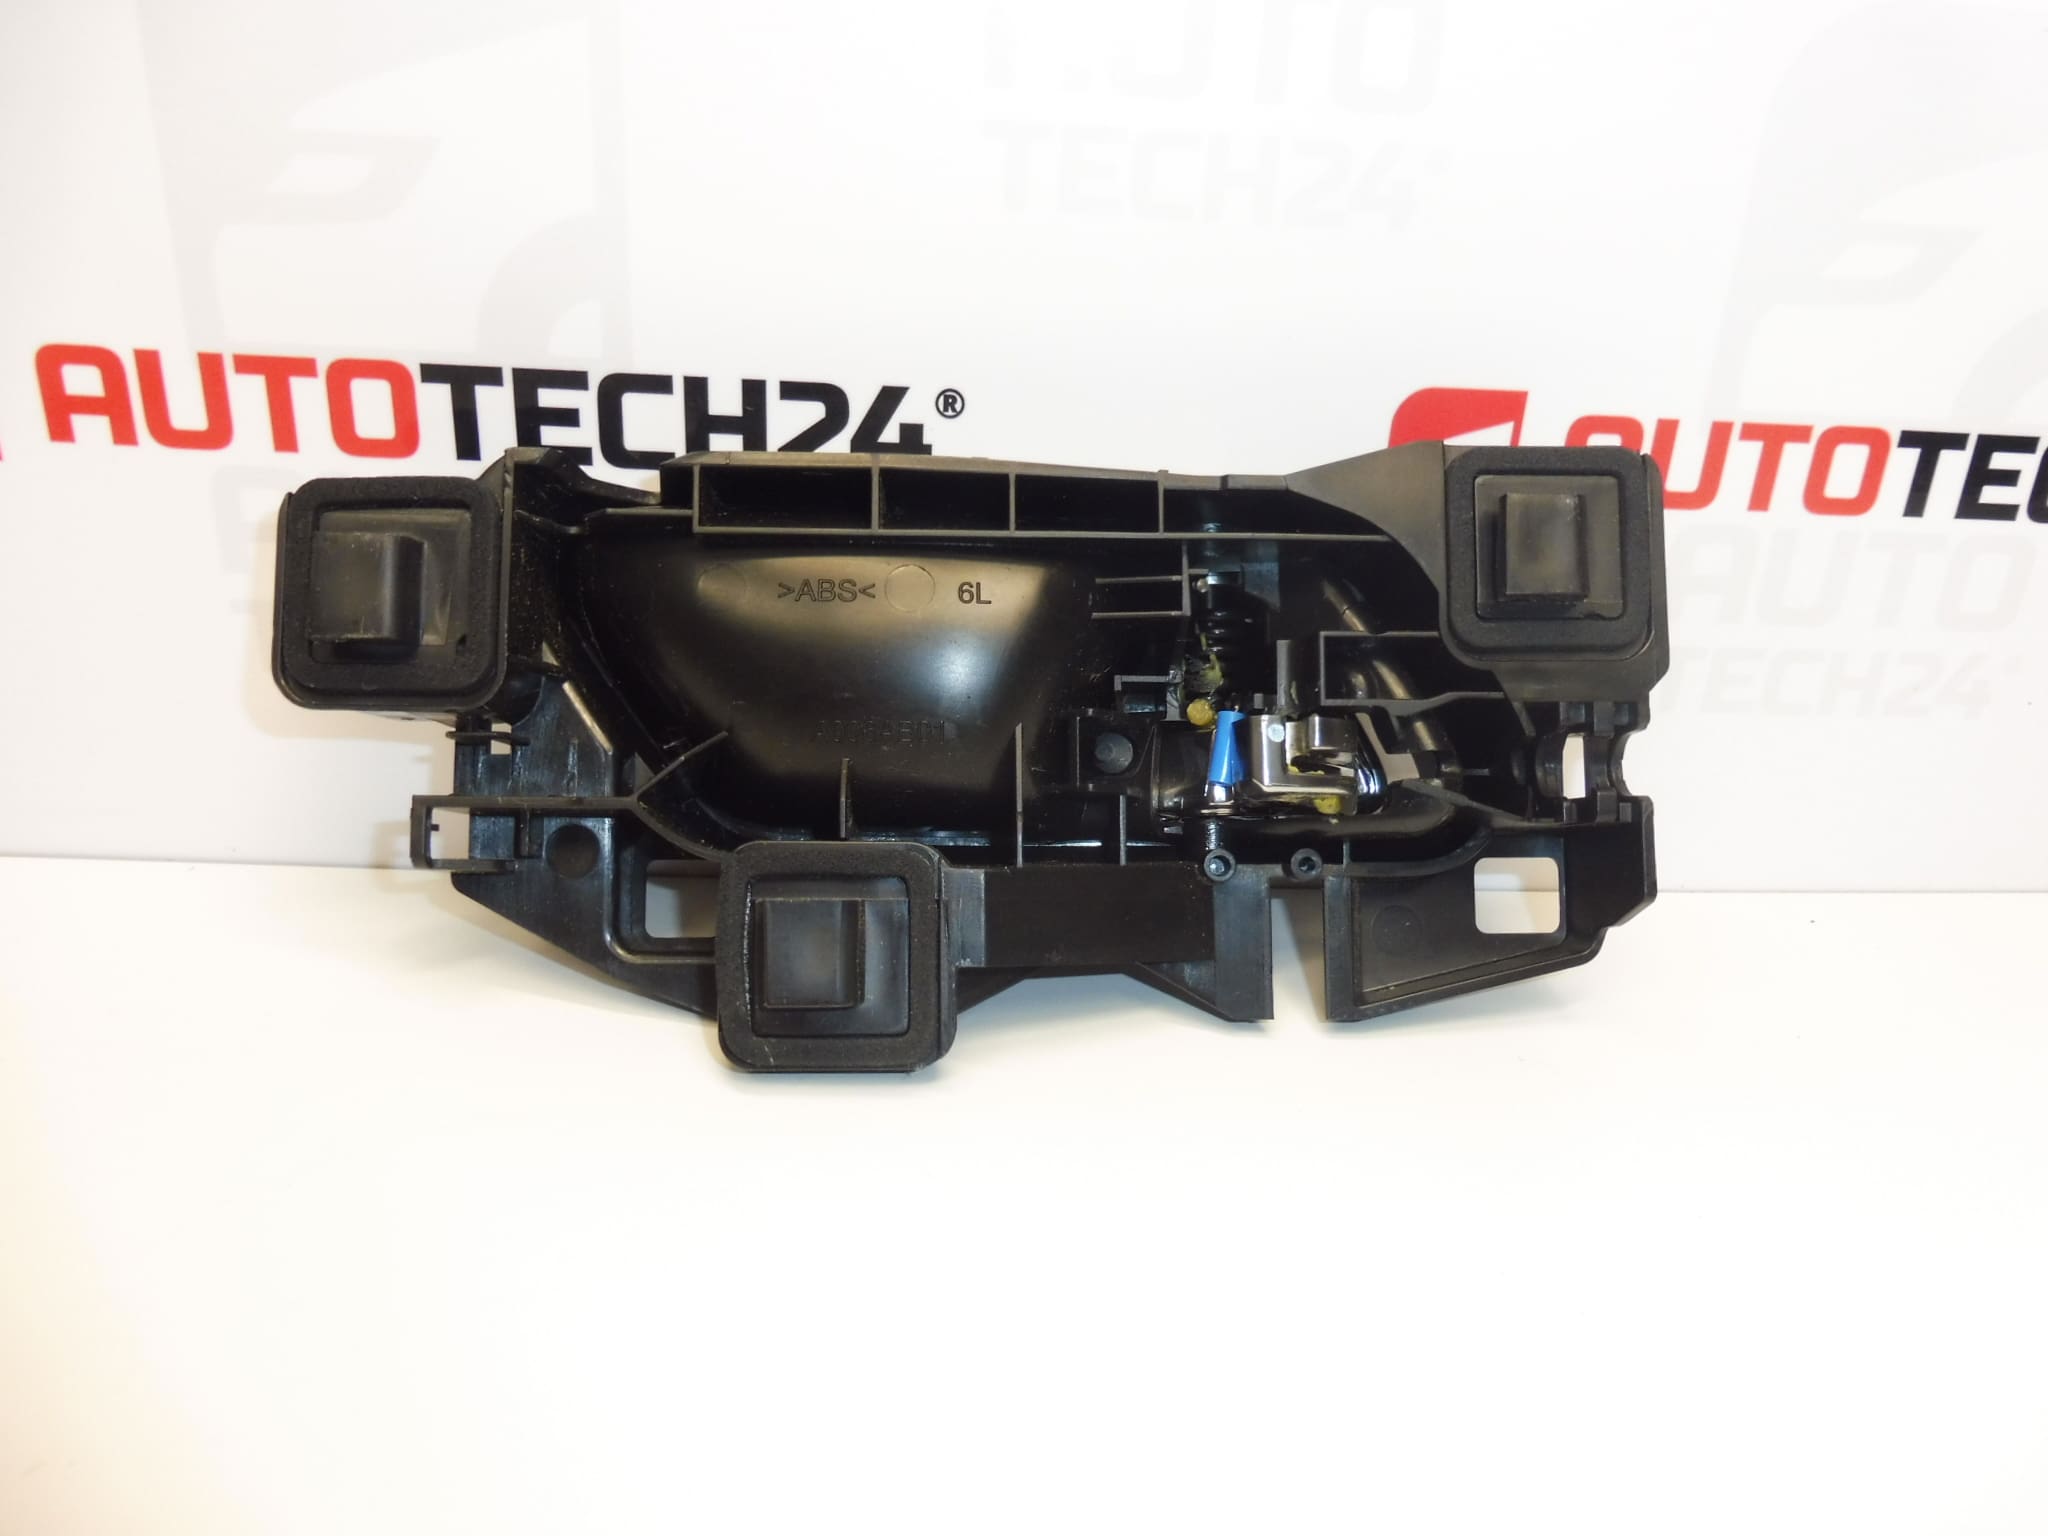
Descrizione
Driver’s door opening control for Stellantis group vehicles CITROEN PEUGEOT OPEL FIAT TOYOTA
Color HVV – SILVER
Part description
Used interior driver’s door handle with product number 98182873VV is used to open the door from inside the vehicle. It is a suitable choice when replacing a damaged handle, for example if the lever or its mounting has broken. Before replacing it, it is important to distinguish a fault with the handle itself from a problem with the associated control mechanism or lock.
The source materials list the models Citroën Berlingo K9, OPEL COMBO E K9, PEUGEOT PARTNER III and PEUGEOT RIFTER. When selecting a part, compare number 98182873VV, the shape, mounting points and the connection design to the mechanism of the original part. The model name alone may not distinguish all versions.
Technical information
- Manufacturer: not specified; the source materials list the designation Stellantis CITROEN PEUGEOT.
- Model: Citroën Berlingo K9 | OPEL COMBO E K9 | PEUGEOT PARTNER III | PEUGEOT RIFTER.
- Part type: interior handle / door opening control.
- Fitment: driver’s door.
- Condition: used part.
- Additional numbers: not specified.
- Specific FIAT and TOYOTA models: not specified.
Product codes
- Product codes: 98182873VV.
The product number is important for identifying the part. Compare it with the marking on the original handle, as well as its design.
Installation recommendations
The following procedure is a general guide to replacing an interior door handle. The exact method for removing the trim, securing the handle and connecting the control mechanism depends on the specific vehicle model and version. Follow the manufacturer’s service procedure.
1) Before installation
- Compare the product number, handle shape, mounting points and cable or rod connection method with the old part.
- Inspect the used part: check for cracks, damaged mounts, excessive play and smooth lever movement.
- Check whether the problem is caused by a loose or damaged cable or rod, or a seized lock. Installing a new handle will not resolve this fault on its own.
- Prepare a place to keep the fasteners neatly organized and secure the door to prevent unintended movement.
2) Tools and materials required
- Standard hand tools suitable for the fasteners used.
- Plastic trim removal tool for removing the interior trim.
- Work light, protective gloves and a clean cloth.
- A container for screws and clips; replace any damaged fasteners with equivalent ones.
3) Step-by-step installation procedure
- Park the vehicle safely, switch off the ignition and open the driver’s door.
- Refer to the service procedure to determine how to access the handle. If electrical components need to be disconnected, follow the prescribed power disconnection procedure.
- Carefully remove the necessary covers and release the relevant fasteners. Do not pry the trim until all of its fasteners have been released.
- If the door trim needs to be moved aside or removed, support it. Disconnect any connectors by holding their housings after releasing the locks, not by pulling on the wires.
- Before disconnecting the cable or rod, record its routing and the position of its retainer, for example by taking a photograph.
- Release the handle and carefully disconnect the associated control mechanism. Do not use excessive force on the plastic clips.
- Check the condition of the mounting points, cable or rod, and remove any dirt from the contact surfaces. Address any faults found before fitting the replacement part.
- Connect the used handle in the same way as the original part. Check that the ends and all retainers are correctly seated.
- Fit the handle into the mounting points and secure it according to the manufacturer’s procedure. Plastic parts must not be strained by incorrect seating or overtightened fasteners.
- With the door open, check that the lever moves smoothly, returns to its original position and transfers movement to the control mechanism. Before closing the door for the first time, make sure it can be opened again.
- Reinstall the removed trim and any connectors. Check that no cables or wires are pinched and that all clips are correctly secured.
- If the power supply was disconnected, reconnect it using the prescribed procedure and perform a final function check.
4) Post-installation checks and function verification
- Repeatedly test opening the door from both the inside and outside, as well as the locking and unlocking functions.
- Check that the handle does not stick, returns to its original position and is not obstructed by the trim.
- Check that the door closes securely and stays latched. If the door’s electrical equipment was disconnected, check its operation too.
- A test drive is generally not required to verify the handle itself. Do not drive the vehicle unless safe door closing and opening have been confirmed.
5) Common installation mistakes and how to avoid them
- Cable or rod not secured correctly: check the ends and their retainers before refitting the trim.
- Damaged mounts from prying: first locate and release all fasteners, then use a suitable plastic tool.
- Pinched cable or wiring: maintain the original routing of the cable and wiring and check that they are not obstructed.
- Overtightened fasteners: follow the manufacturer’s instructions and do not try to correct a wrongly seated part by tightening it further.
- Failure to address a lock fault: if there is unusually high resistance, do not use force; find the cause first.
Reasons why the part gets damaged
Interior door handles can generally become damaged as a result of repeated mechanical stress, material aging or a fault in the associated mechanism. This is not a description of the condition of this specific part.
- Wear of moving parts: frequent use can cause play and make the lever less easy to operate.
- Excessive force when opening: pulling against a seized lock or damaged cable can overload the handle and its mounts.
- Aging of plastic parts: temperature changes and prolonged stress can contribute to brittleness and cracking.
- Rough removal: prying without releasing the clips can damage the mounting points or connection to the control mechanism.
- Incorrect previous installation: an incorrectly routed cable, incomplete fastening or tension at the mounting point increases stress on the part.